
Using Camelot Exchange with Enkrypt
Exploring Arbitrum? Camelot Exchange is a leading DEX on Arbitrum chain. Follow this guide to discover everything Camelot has to offer!


About Camelot Exchange
Camelot Exchange is an Arbitrum-native DEX (Decentralized Exchange) and Launchpad that places a strong emphasis on community involvement and ecosystem support. What makes Camelot Exchange different is the versatile, efficient protocol which provides a customizable infrastructure for builders and users to obtain sustainable liquidity.
Enkrypt is a multichain, self-custodial, and open-source crypto wallet built by the team behind MEW (MyEtherWallet). With Enkrypt, users and developers can generate accounts, manage tokens and NFTs, and interact with DApps on Arbitrum, as well as parachains. Follow the instructions in this guide on how to use Enkrypt with Camelot Exchange!
Using Camelot Exchange with Enkrypt
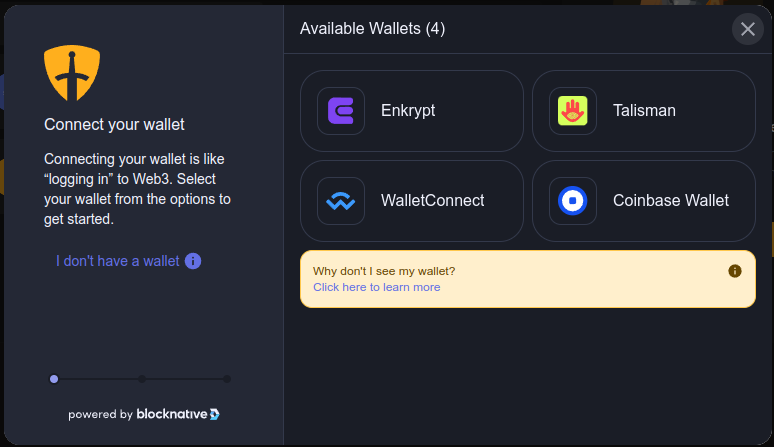
To begin, you'll need a multichain wallet, like Enkrypt! For help downloading and setting up Enkrypt, click here.
Head to Camelot Exchange. Click ‘Connect’ at the top right. You should see the Arbitrum network selected in the application, and Enkrypt will automatically switch to Arbitrum network when you connect.
Click ‘Enkrypt’.
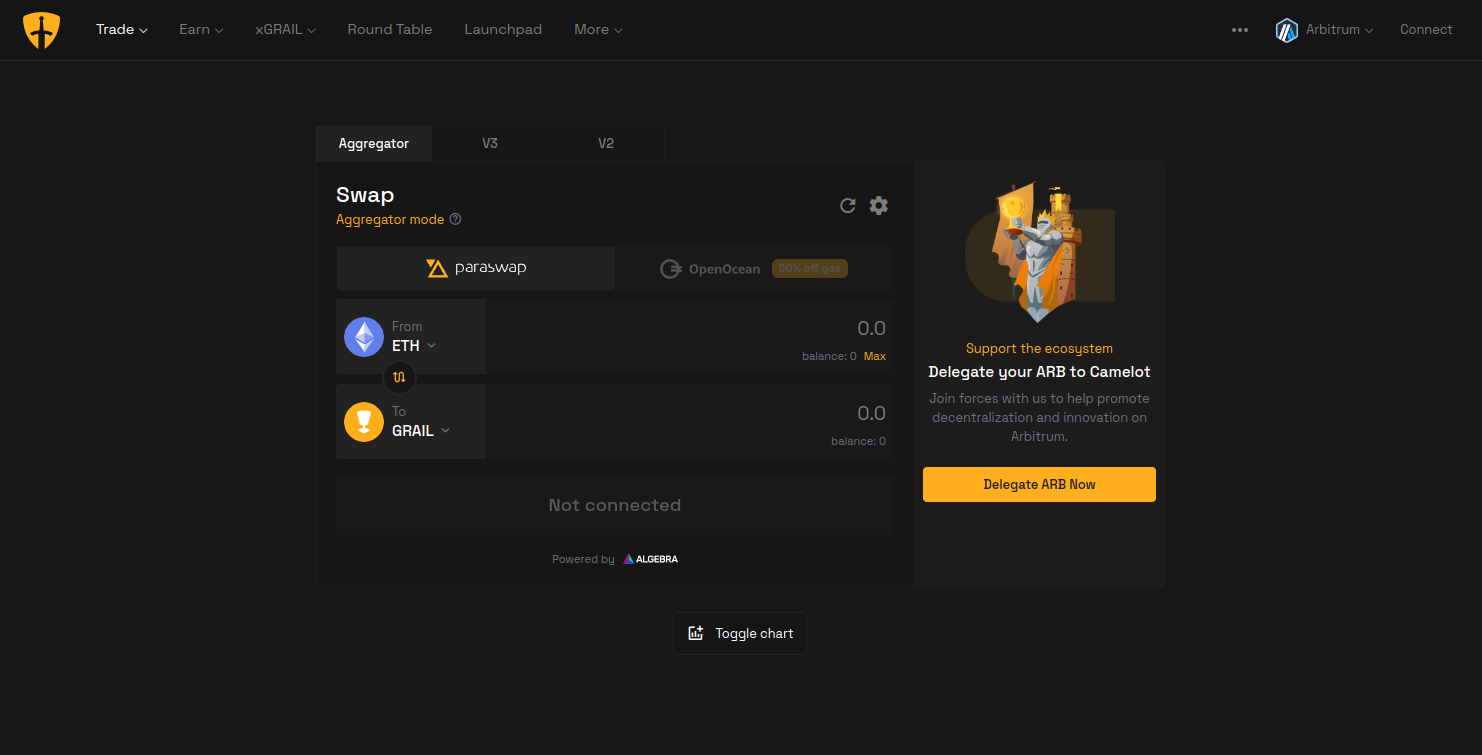
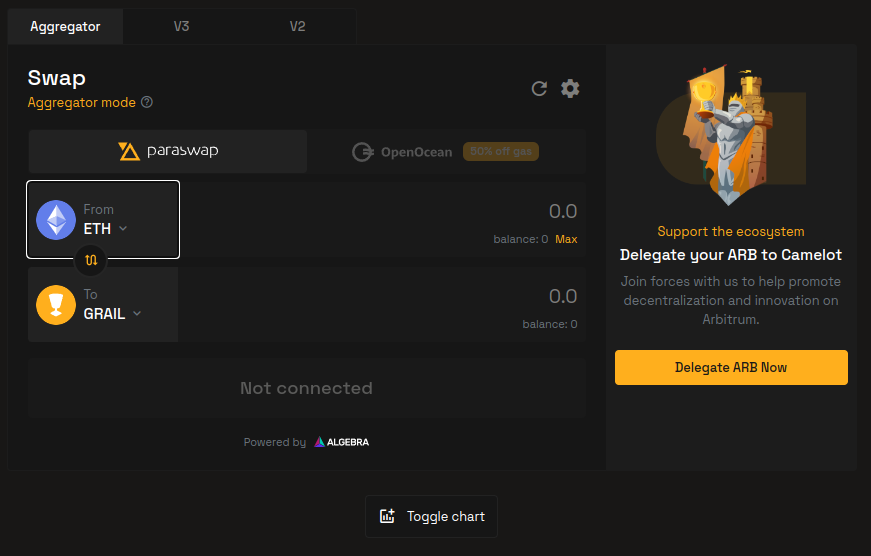
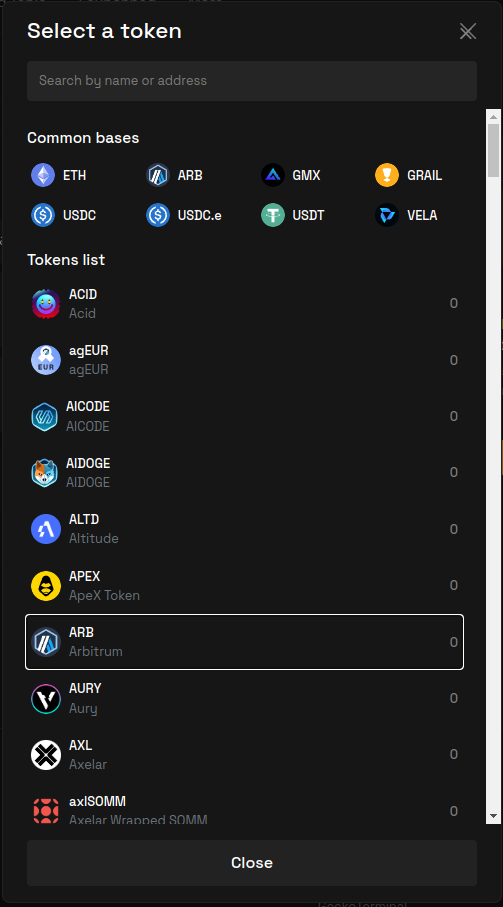
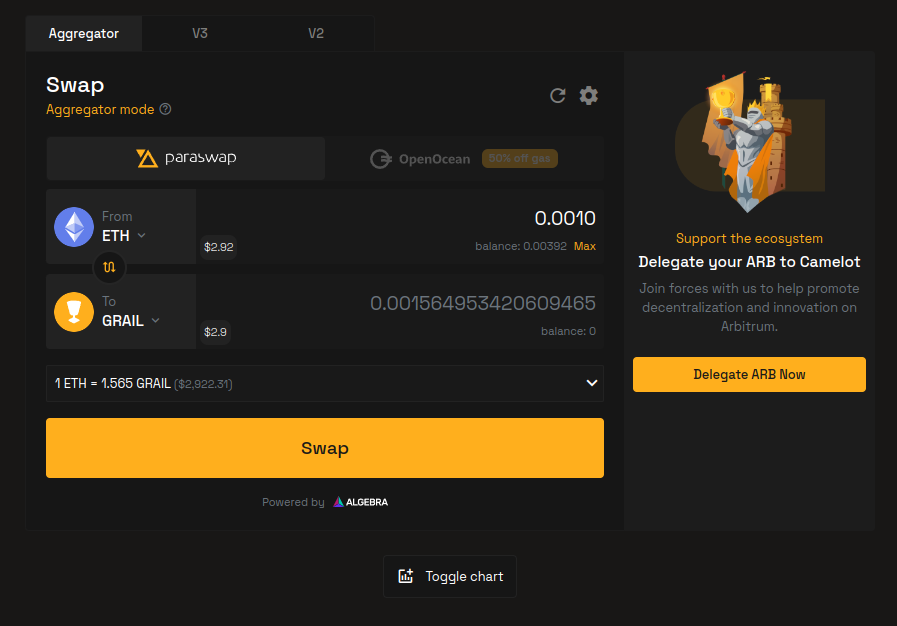
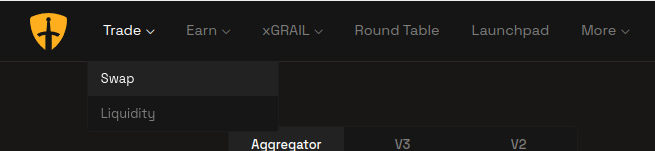
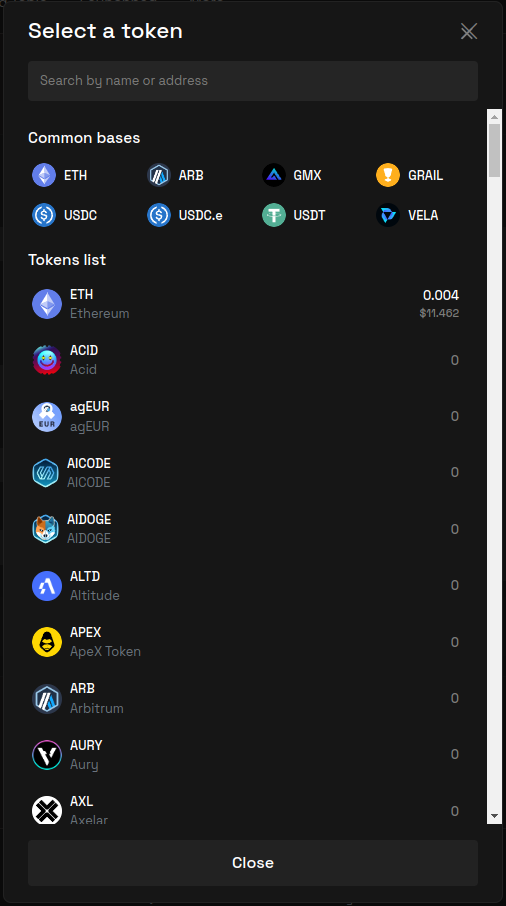
Once you're connected, you should be on the ‘Swap’ page, which is located under the ‘Trade’ tab from the top menu. There are 3 different swap modes to choose from. The ‘Aggregator’ mode uses both the liquidity from V3 and V2 to optimize your swap, while the V3 and V2 modes will use their respective liquidity pools. To initiate a trade, select which tokens you're trading to and from by clicking on the token drop-down menu.
After selecting your to and from tokens, enter in how much you'd like to swap.
Click ‘Swap’ when you’re ready. If you have tokens you want to swap on Arbitrum, but they are on a different network, first you will need to bridge them to Arbitrum using the Arbitrum Bridge.
You will be asked to confirm your transaction.

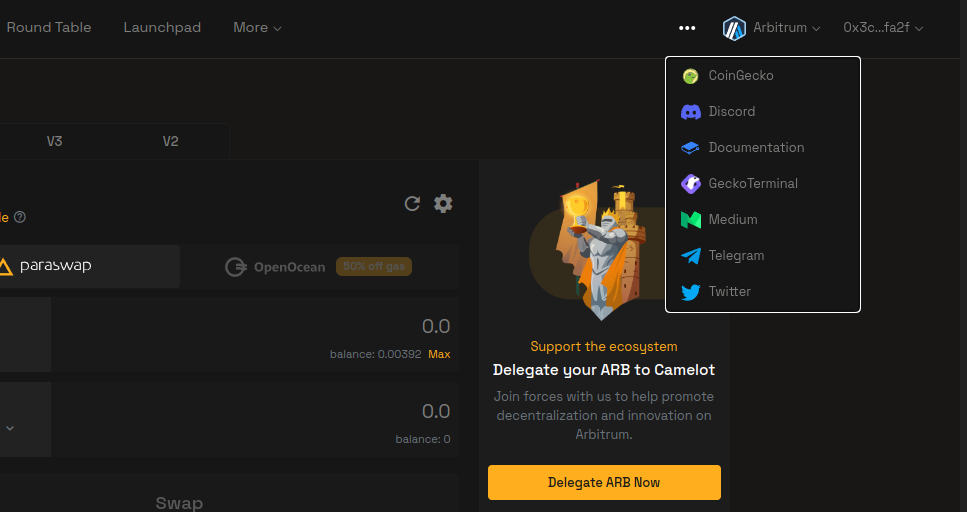
You can view all their socials and documentation by clicking the 3 dots at the top right next to the network selection drop-down and your public address.
Adding Liquidity on Camelot Exchange
By clicking on the ‘Trade’ drop-down, you can select ‘Liquidity’ to add your assets to the liquidity pools.
There are 2 versions that you can provide liquidity to, V3 and V2. The V3 liquidity pools allow you to have a concentration of liquidity at the selected ranges, while the V2 liquidity pools allow for a more stable spread of your liquidity. We use the V3 liquidity pool because it usually offers a higher yield for your assets, but it can be more risky. You can choose which tokens you want to add into a liquidity pool.
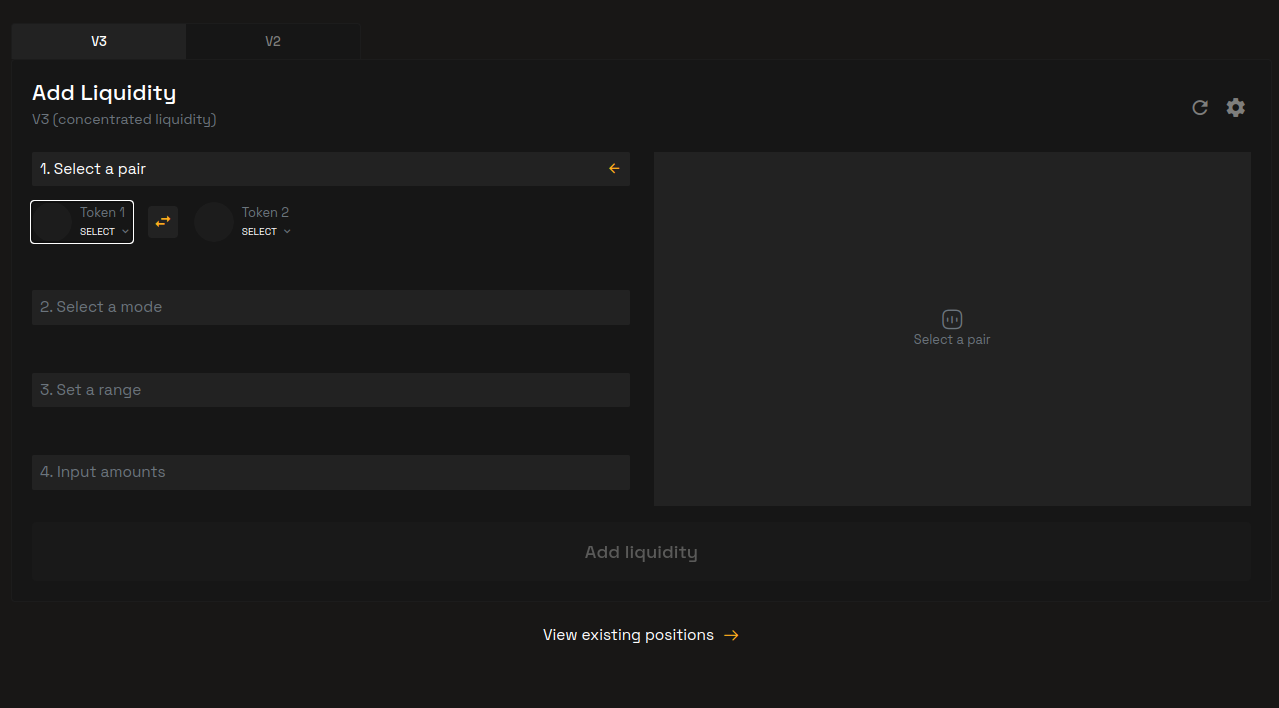
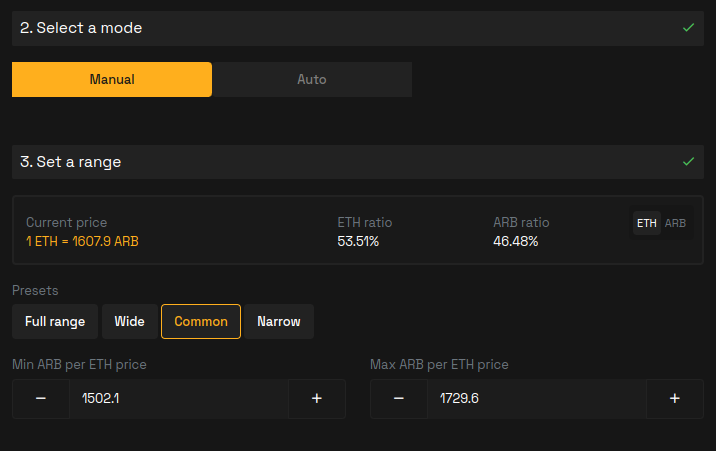
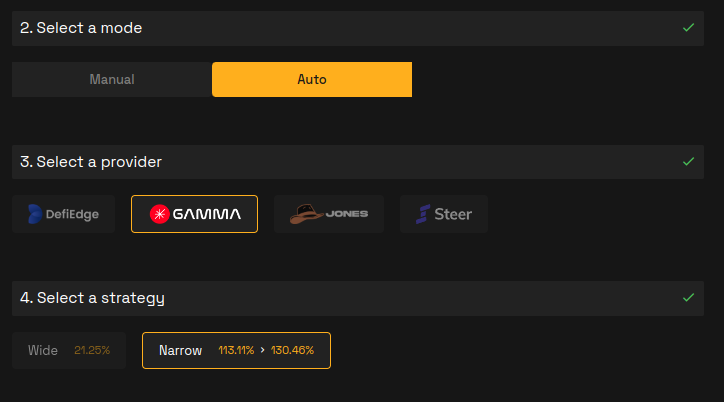
Once you select your tokens you want to add to the pool, select the mode type and your range if you chose manual mode, or choose a provider and a strategy for auto mode.
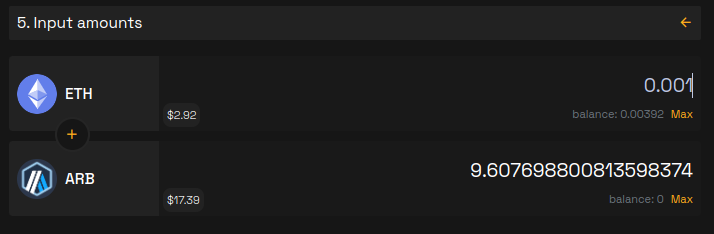
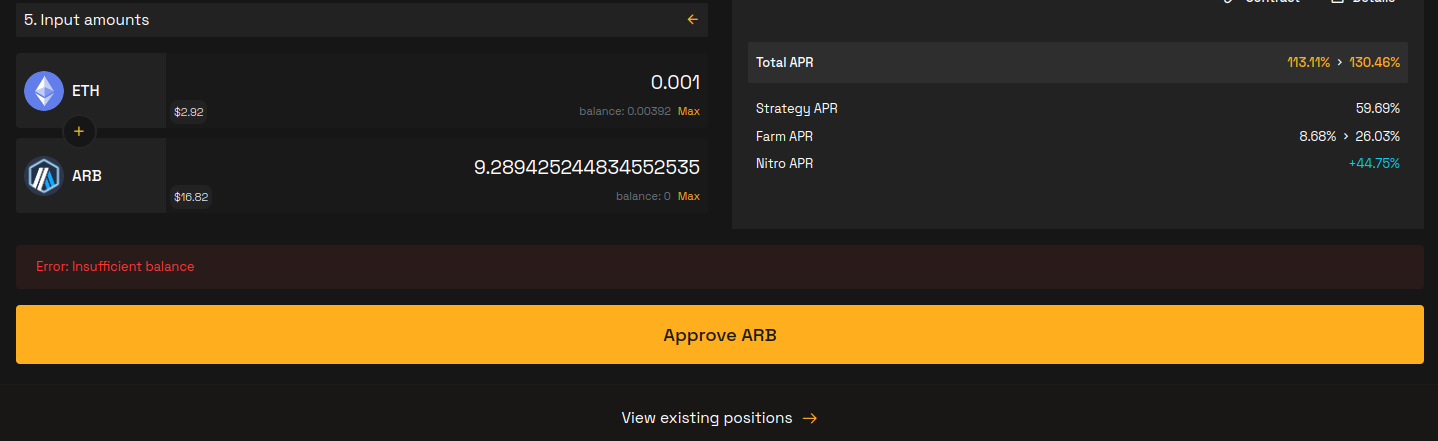
Input the amount you want to add to the liquidity pool.
You might need to approve the tokens to proceed with the transaction but once the tokens are approved you can click ‘Confirm’ to deposit the tokens into the liquidity pool.
Be cautious when approving tokens and swaps as this allows the contract to interact with the tokens in your wallet. Make sure you trust the platform you are using and understand what permissions you are signing!
Click on ‘Earn’ drop-down to view the ‘Positions’, ‘Pools’, ‘Nitro’ and ‘Genesis’ page options.

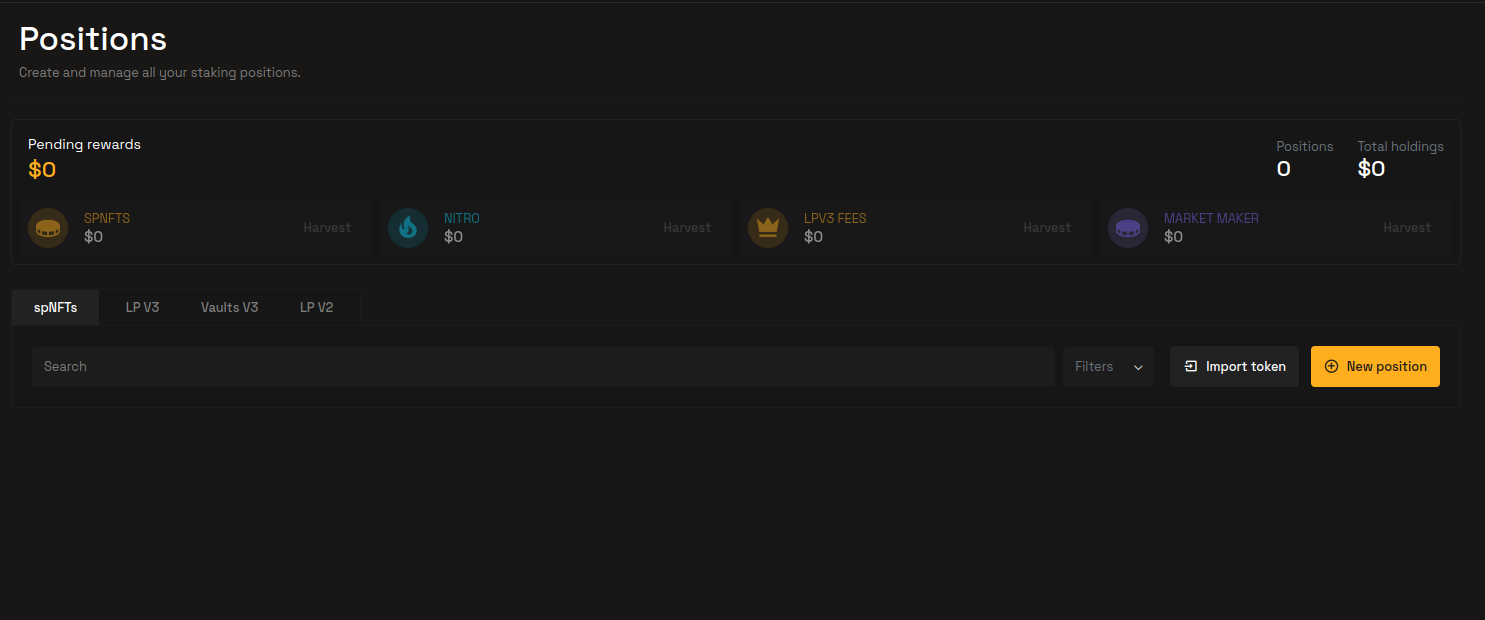
Clicking on ‘Positions’ will bring you to the management page for your positions on the liquidity pools (LPs), allowing you to remove, edit or add a new position.
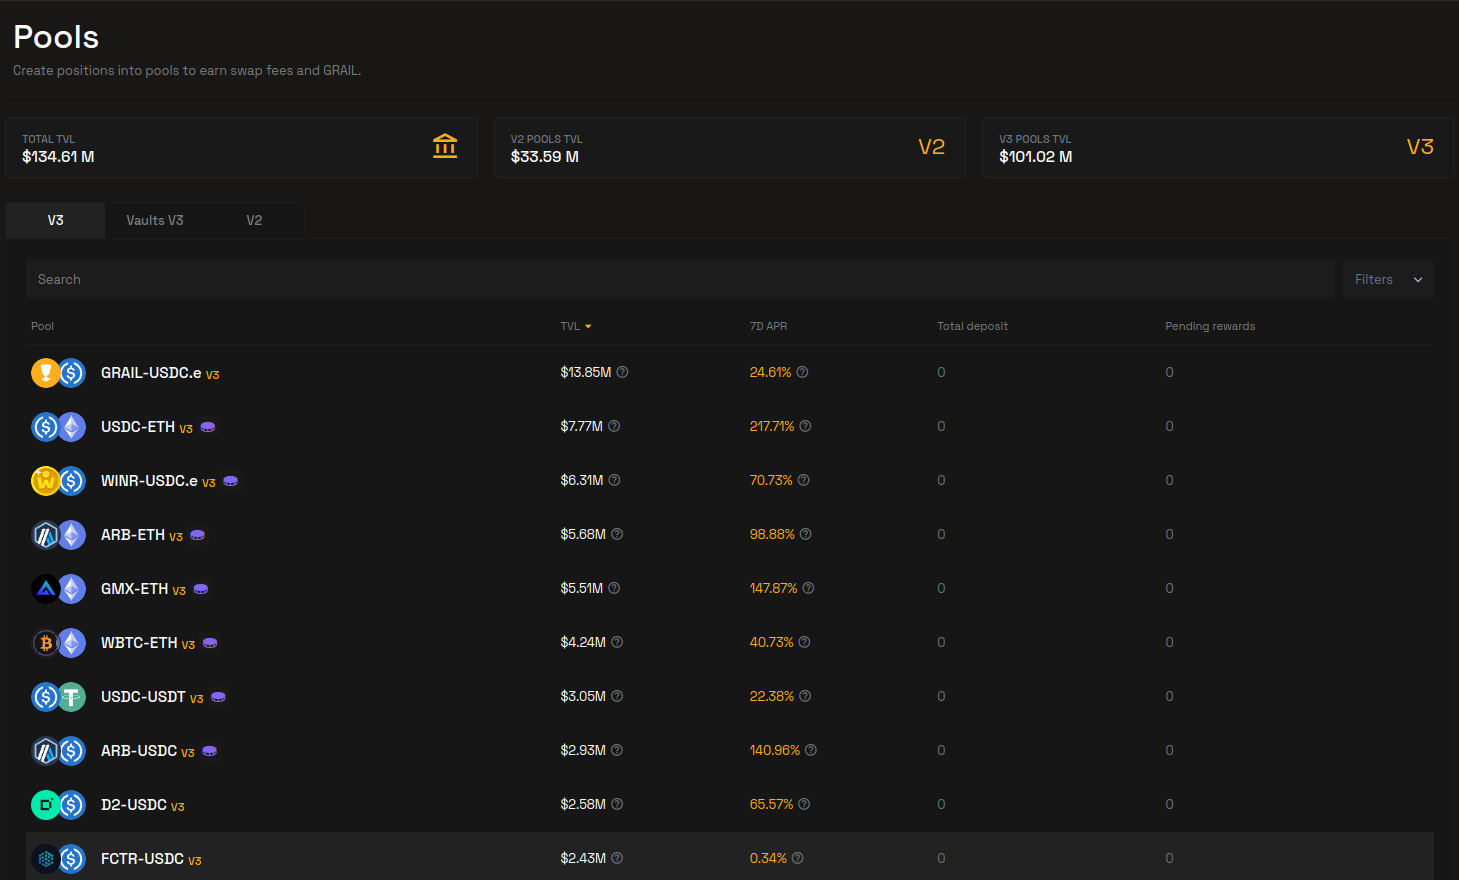
Clicking on ‘Pools’ option will show you all the available LPs you can add liquidity to.
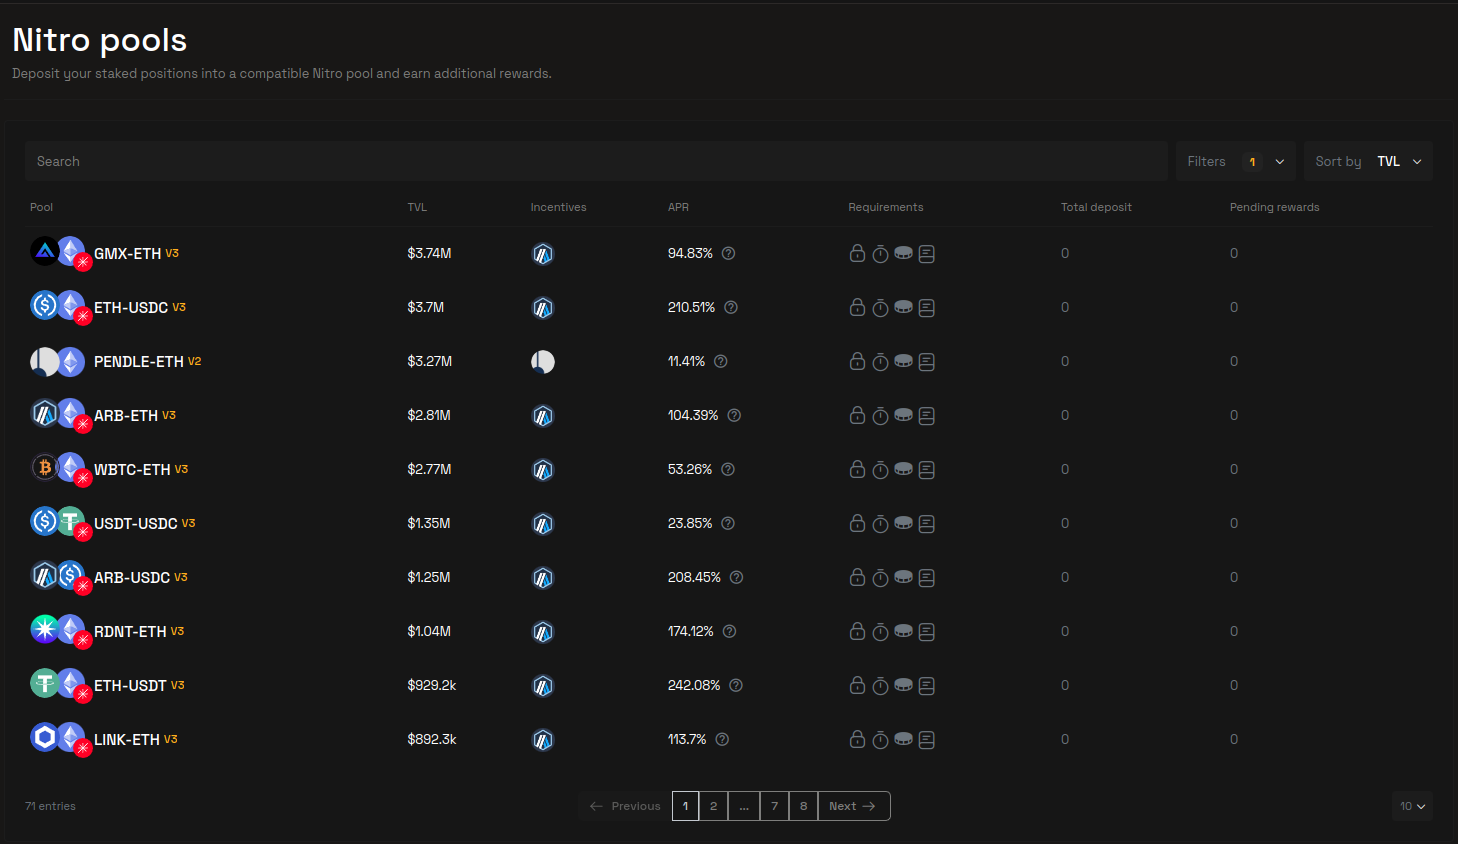
Clicking on ‘Nitro’ will show you the available pools where you can deposit your staked positions to earn additional rewards.
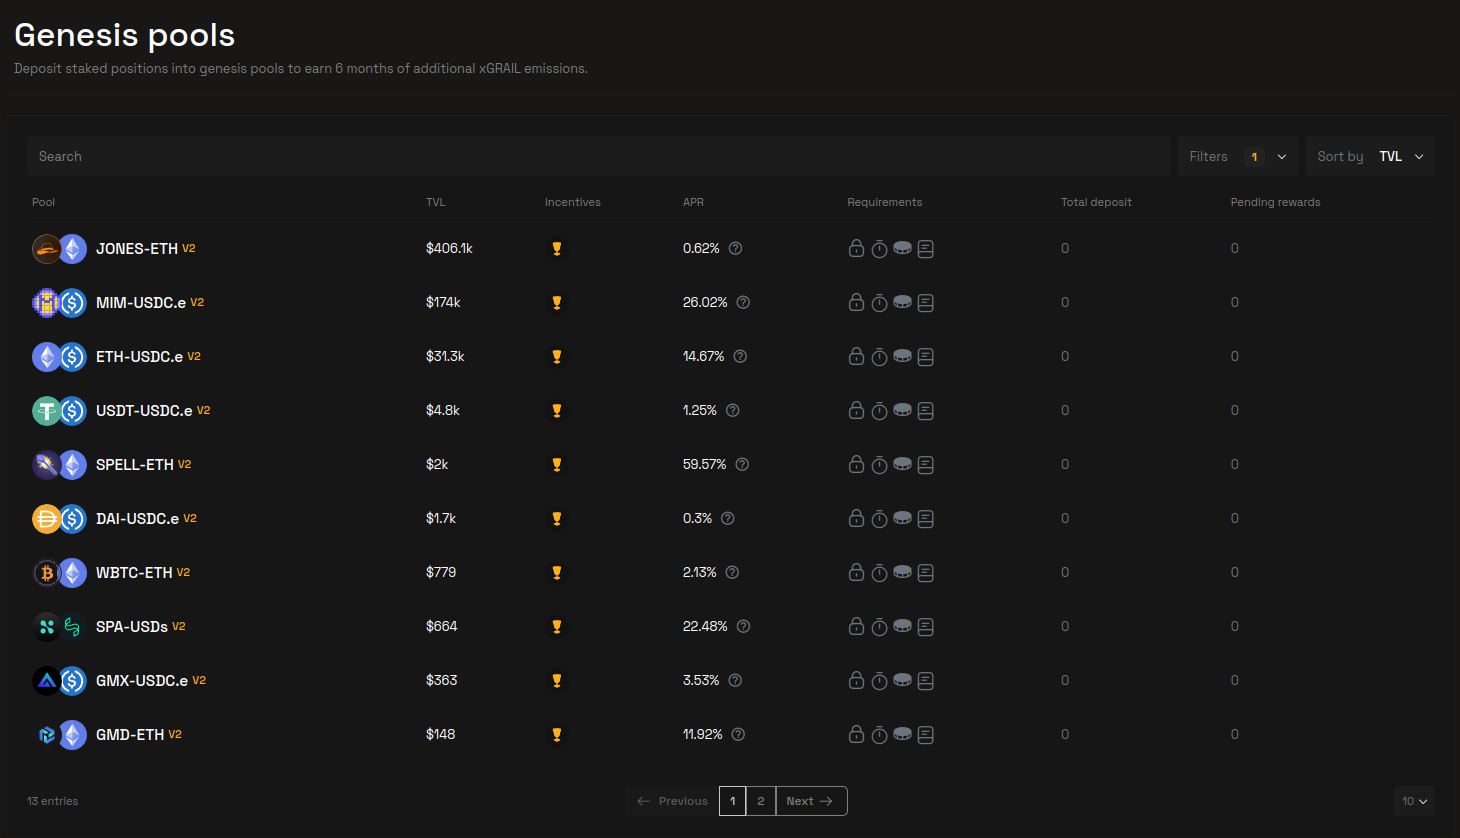
Click ‘Genesis’ to view the available genesis pools that allow you to deposit your staked positions into to earn additional rewards.
xGRAIL
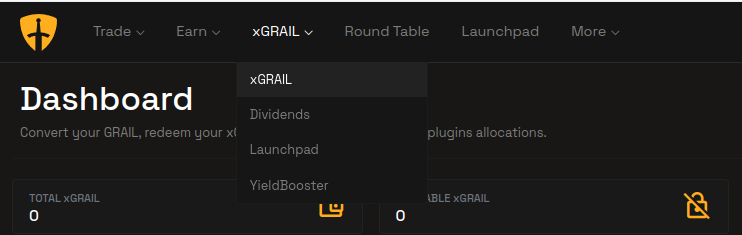
xGRAIL is the Camelot Exchange’s governance token. Click on the ‘xGRAIL’ drop-down to view the ‘xGRAIL’, ‘Dividends’, ‘Launchpad’ and ‘YieldBooster’ page options.
Clicking on ‘xGRAIL’ will bring you to the xGRAIL Dashboard where you can convert your GRAIL, redeem your xGRAIL and manage your xGRAIL plugins allocations.

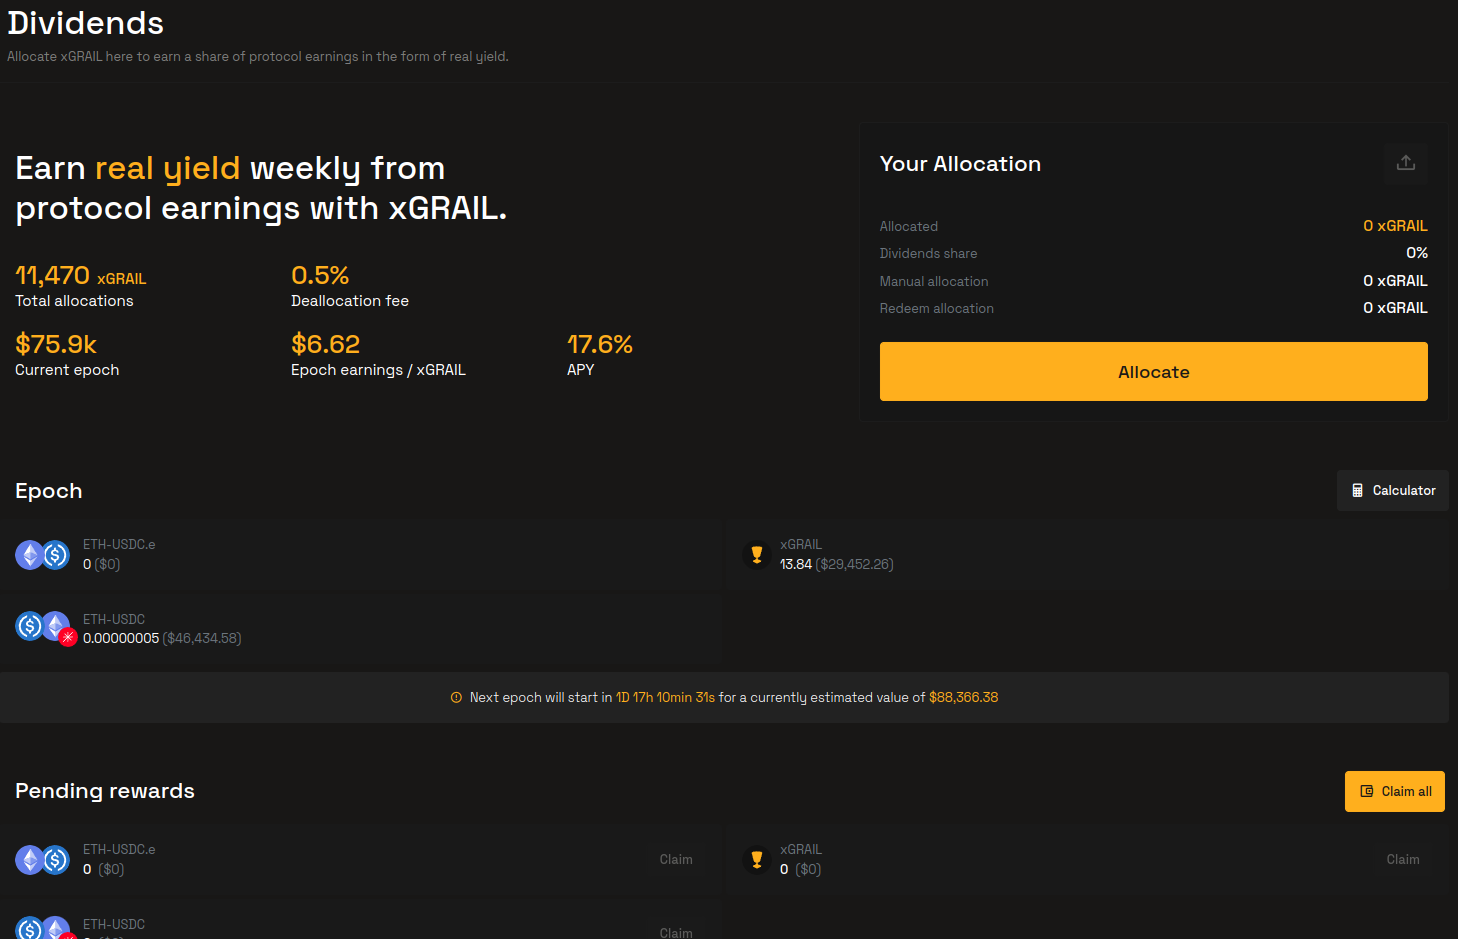
Clicking on ‘Dividends’ brings you to the dividends management page where you can allocate xGRAIL to earn a share of protocol earnings in the form of real yield.
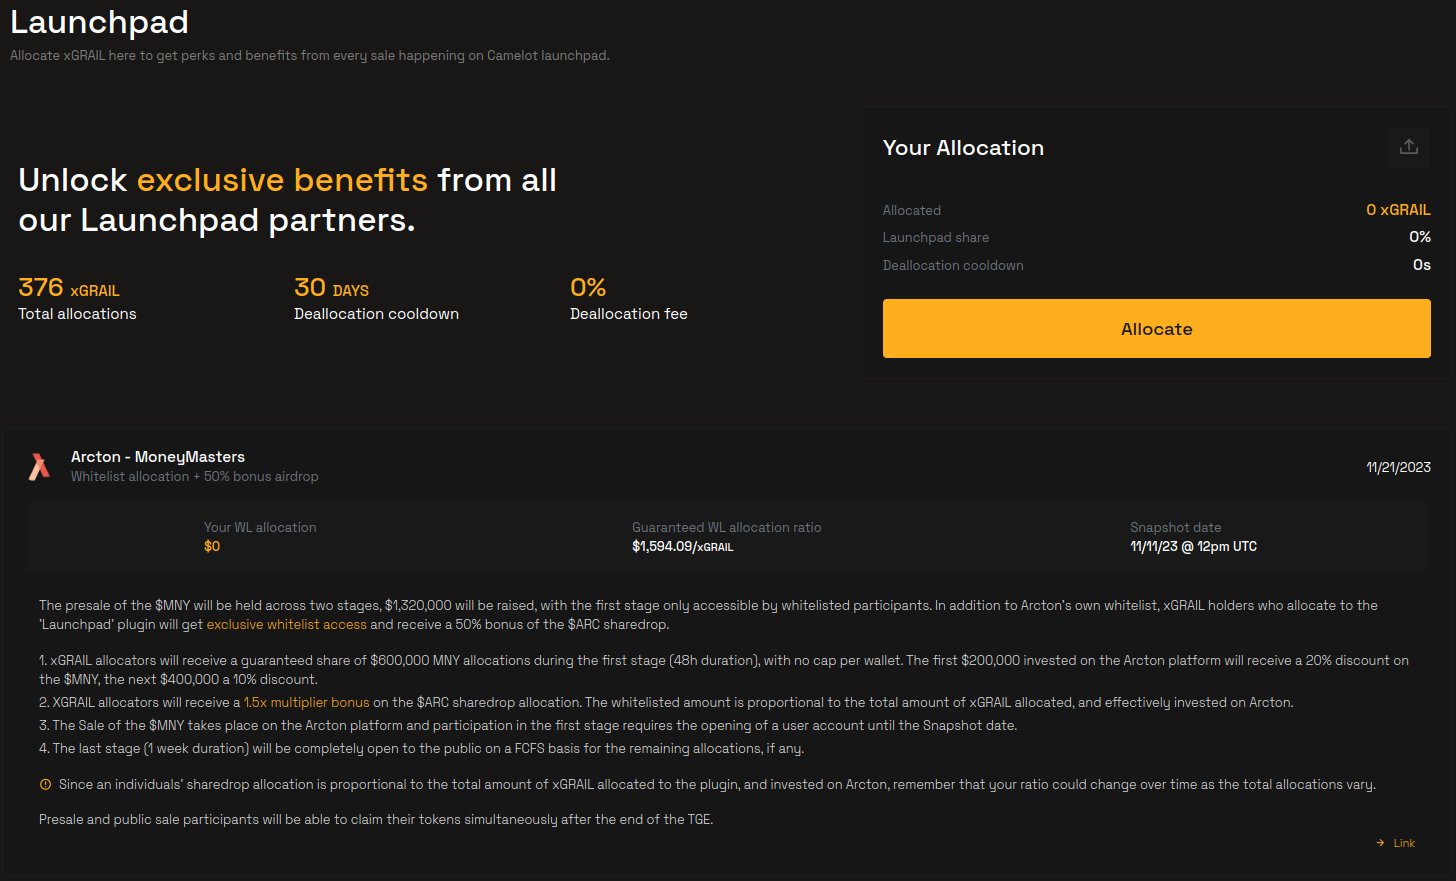
Clicking on ‘Launchpad’ allows you to allocate xGRAIL to get perks and benefits from every sale that happens on Camelot Launchpad.
Clicking on ‘YieldBooster’ allows you to allocate xGRAIL here to increase the yield of your staking positions.

Round Table
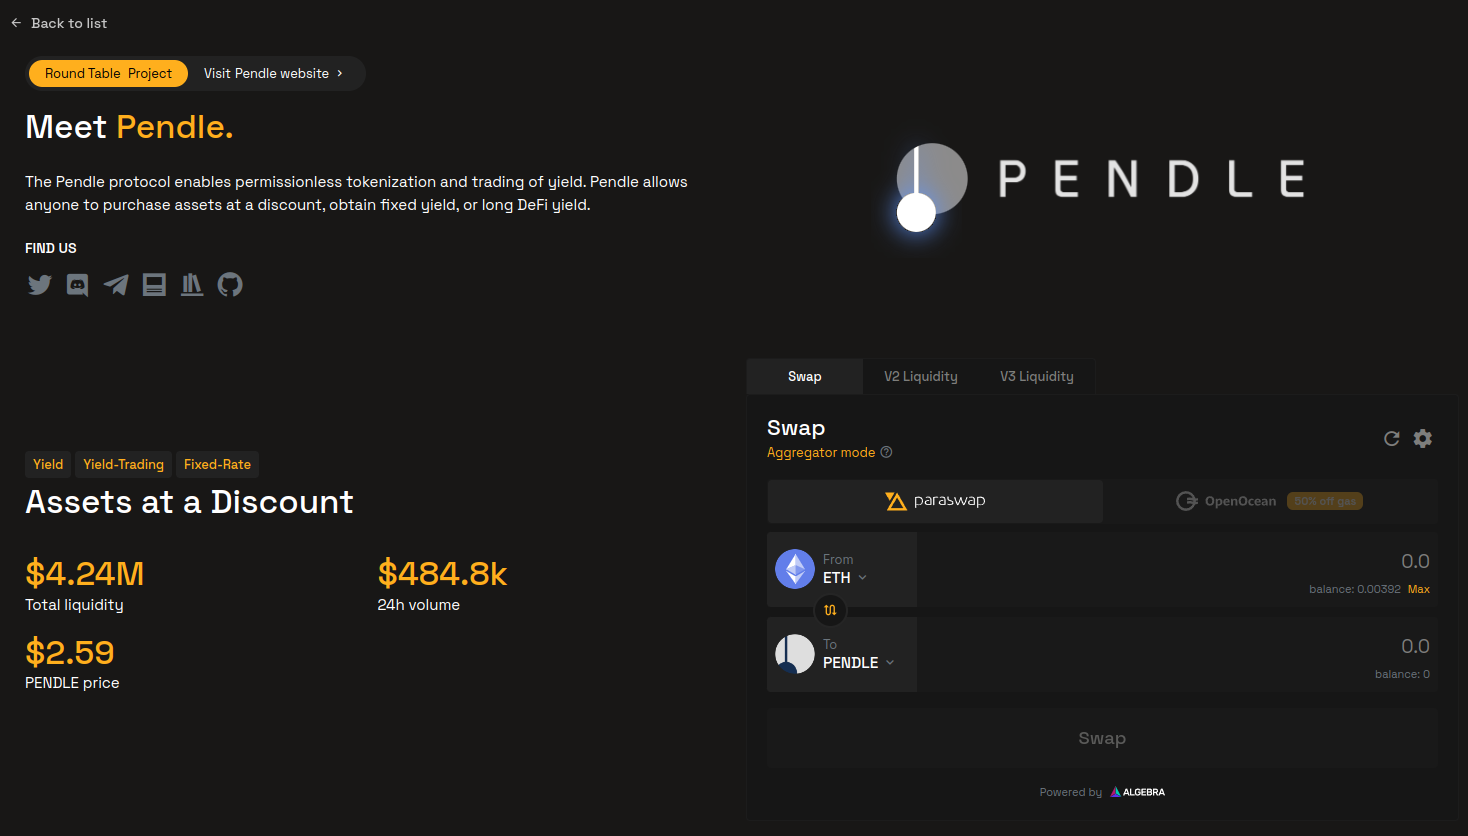
Click on ‘Round Table’, you can see all the Camelot partner protocols that you can support to gain community rewards.

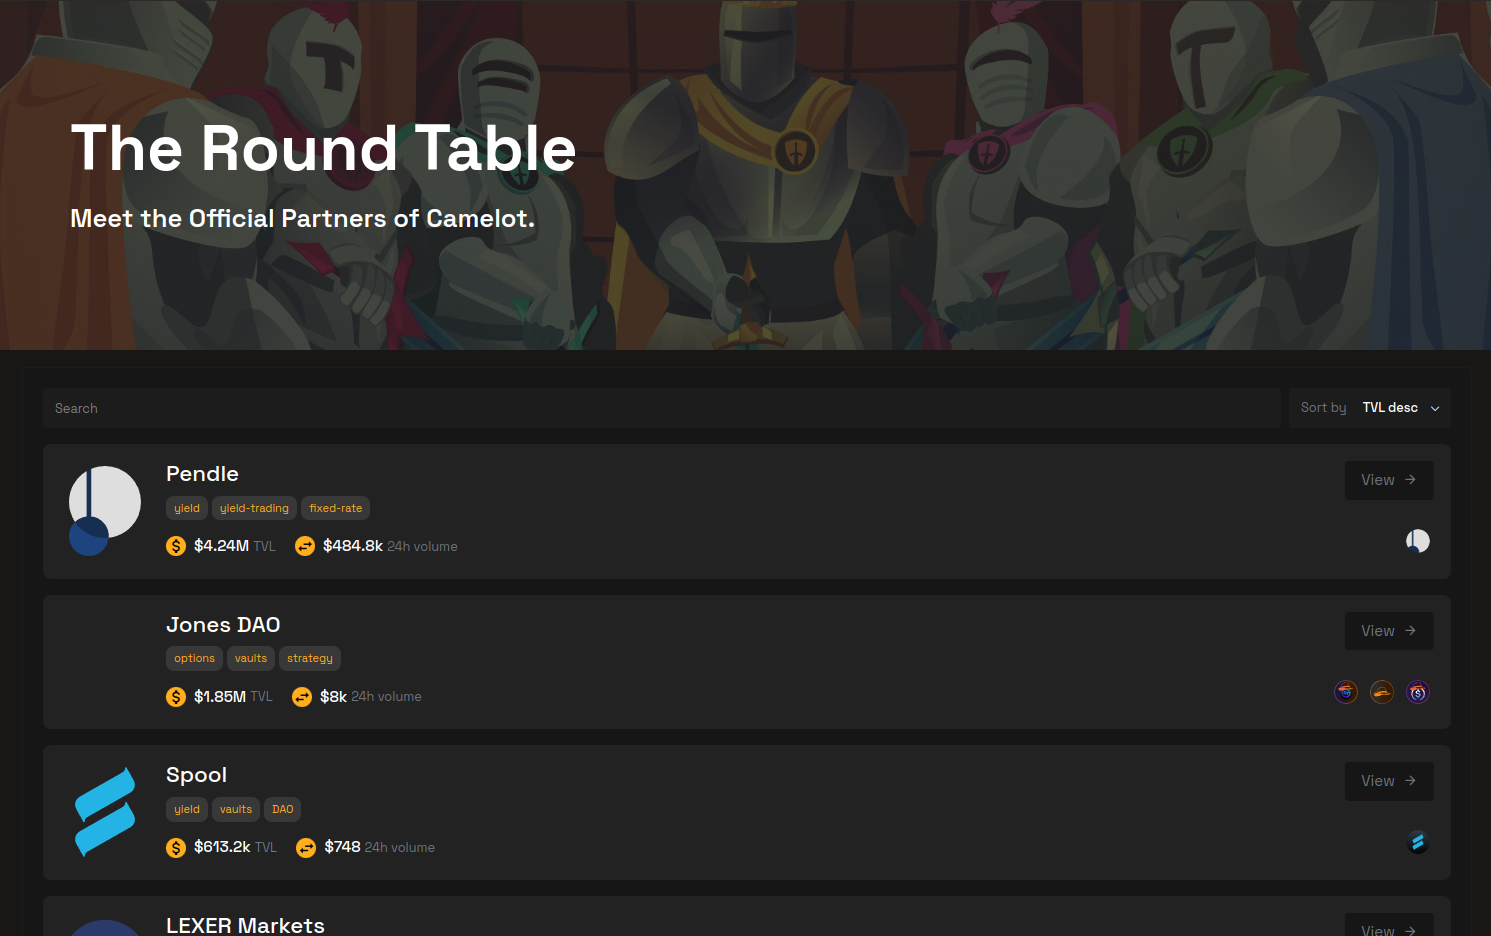
Click ‘View’ on a project to view more information about the protocol.
Launchpad
Click ‘Launchpad’ to view all the upcoming projects that are looking for funding.

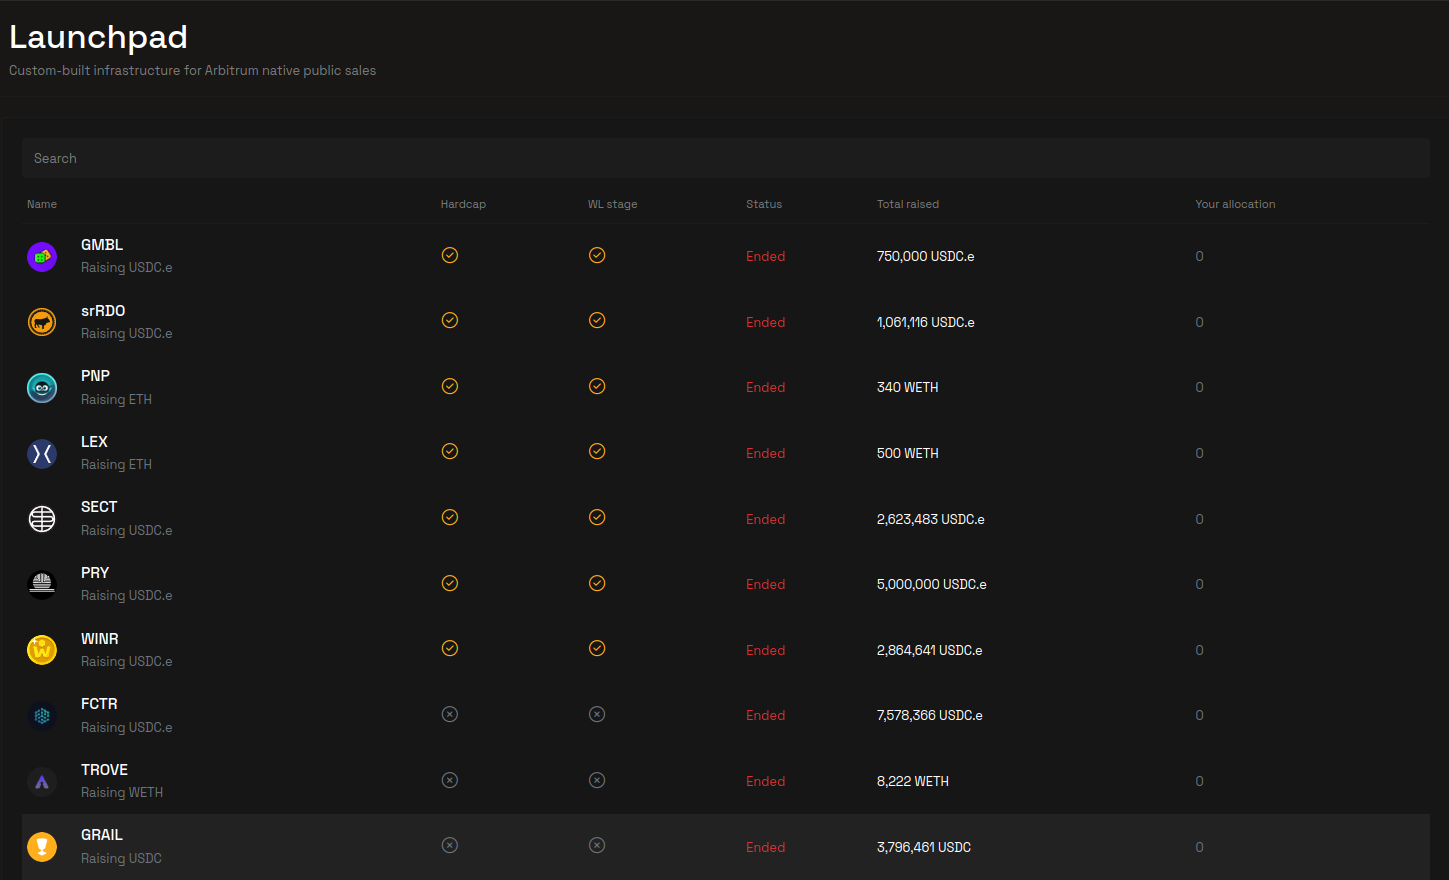
Click on a project to view more details about the presale.

Thank you for checking out our guide on using Camelot Exchange with Enkrypt. Make sure to download Enkrypt for a seamless web3 multichain wallet experience. Please let us know on our socials what guides you want to see in the future. Meanwhile, if you like mobile crypto wallets, try our mobile app, MEW Wallet, available on iOS and Android!