
How to use X Layer on Enkrypt
Curious of X Layer? Enkrypt makes it easy. Check out everything going on over on X Layer with the help of our guide. Connect to X Layer!

Get your Ethereum assets onto X Layer to start using web3 with lower fees
Enkrypt is a multichain, non-custodial, and open-source web3 browser wallet built by the team behind MEW (MyEtherWallet). With Enkrypt, users and developers can generate accounts, manage tokens and NFTs, and interact with DApps on X Layer, as well as Solana, Bitcoin, Substrate and EVM chains. Follow the instructions in this guide in order to use X Layer on Enkrypt!
Layer 2s and scalability networks like X Layer are compatible with Ethereum, but you can't just send assets from Ethereum to X Layer in a regular transaction. The way to transfer assets between Ethereum and Layer 2s is through applications called bridges.
To start using the X Layer network instead of Ethereum, you will need to bridge your assets to X Layer.
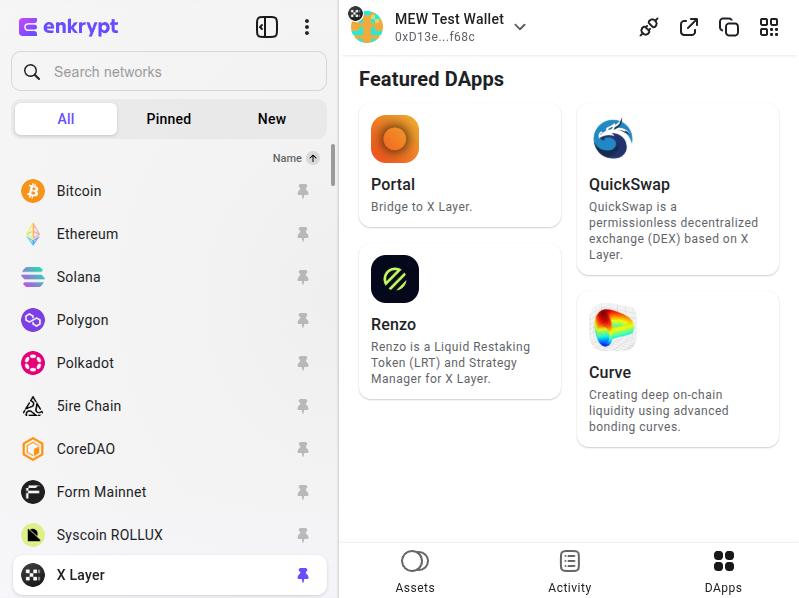
Pinning the Network
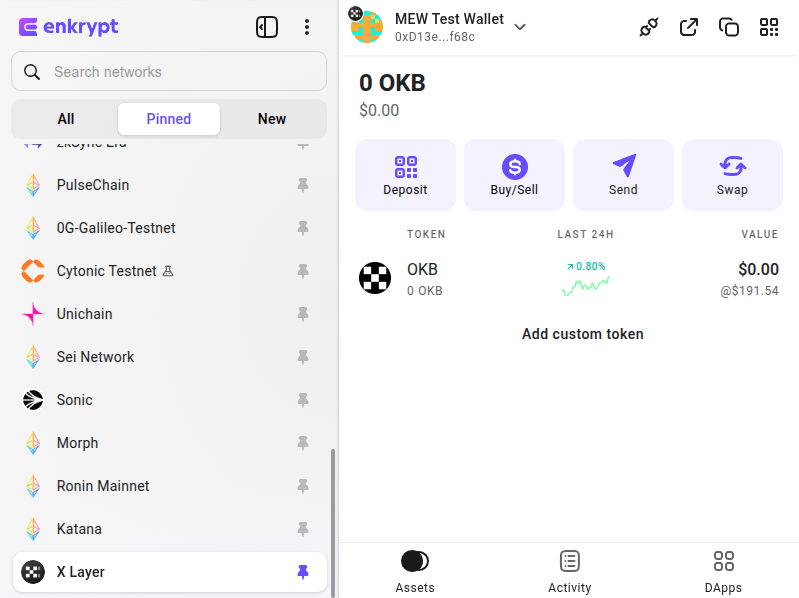
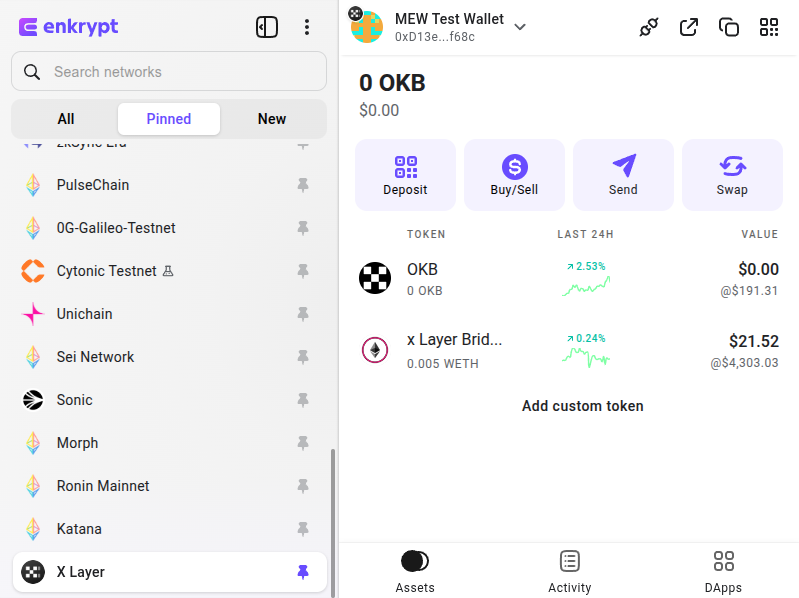
First, unlock your Enkrypt wallet, search for the X Layer in the network list then click the Pin icon.
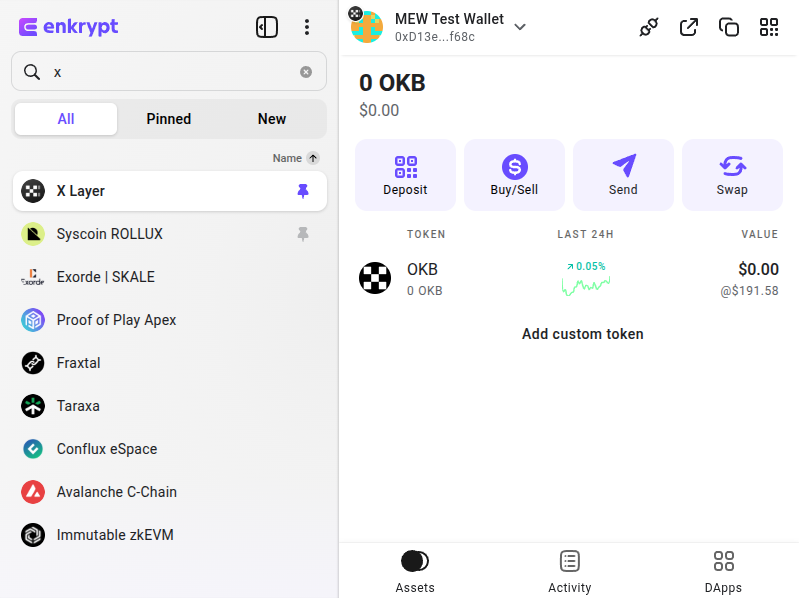
You should see the X Layer network in your Pinned tab.
Bridging your tokens to X Layer
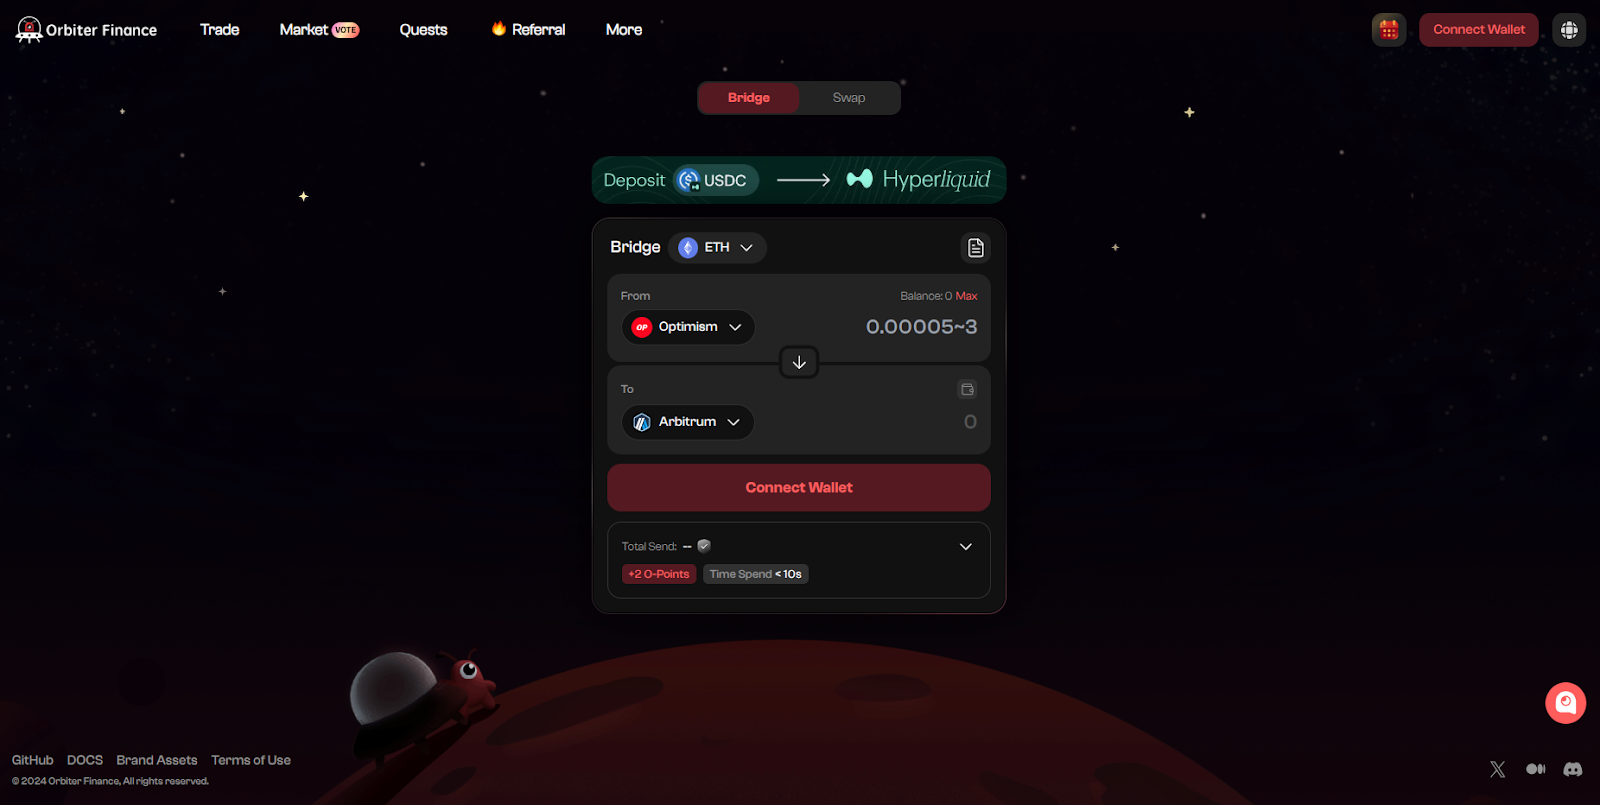
First, head to Orbiter Finance then click the ‘Connect wallet’ button at the top right.
Orbiter Finance is a third-party DApp and is not affiliated with MEW in any way. Bridging assets from network to network involves some inherent risk. Please do your research and proceed at your own discretion.
Click ‘Connect’ to the right of ‘EVM’.
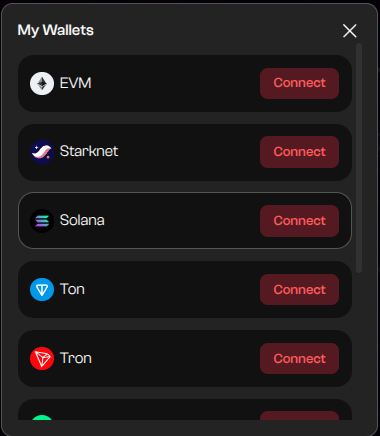
Select ‘Enkrypt Wallet’.
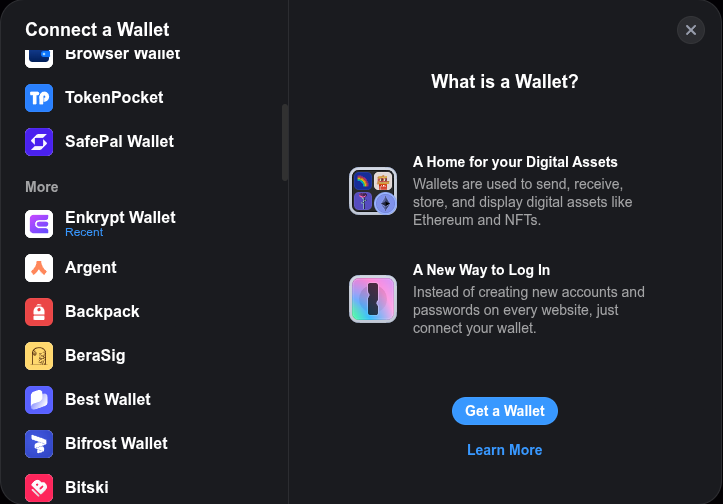
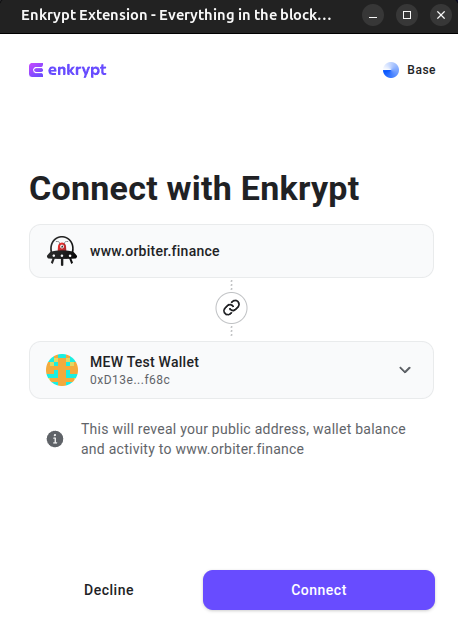
Select the account you want to connect with then click ‘Connect’.
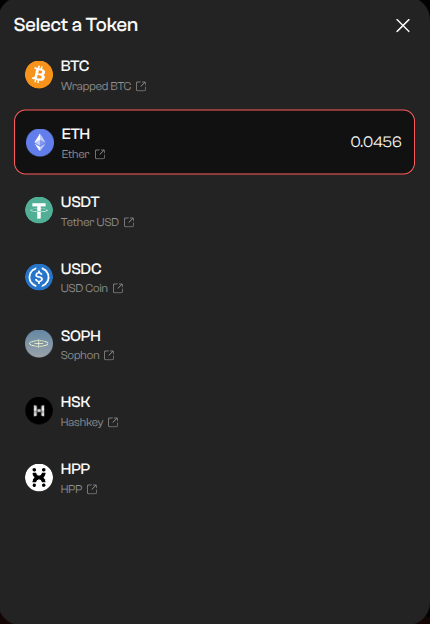
Click the token dropdown to open the token selection menu.
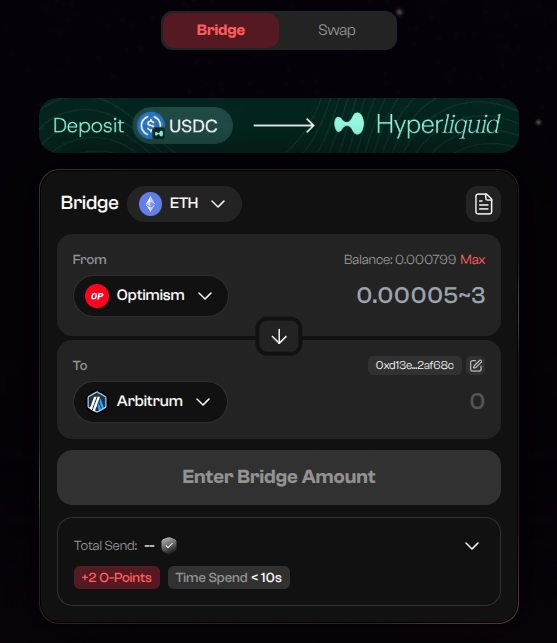
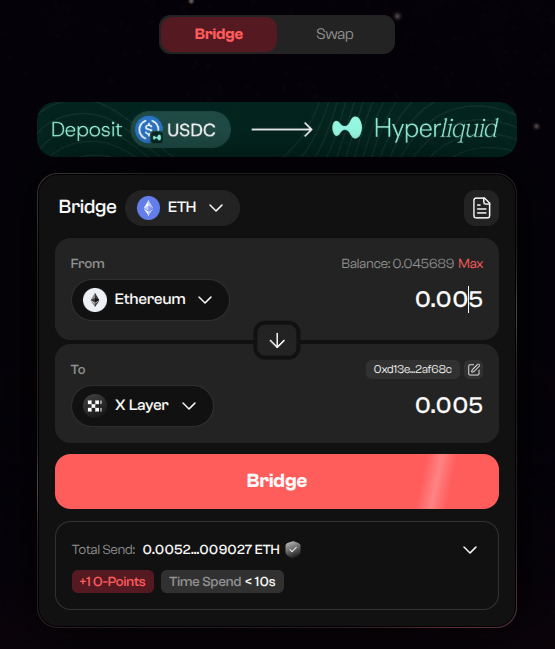
Select the token you want to bridge. We will leave it on ETH for this example.
Select the From network dropdown to open the network selection menu.

We will choose Ethereum for this example.
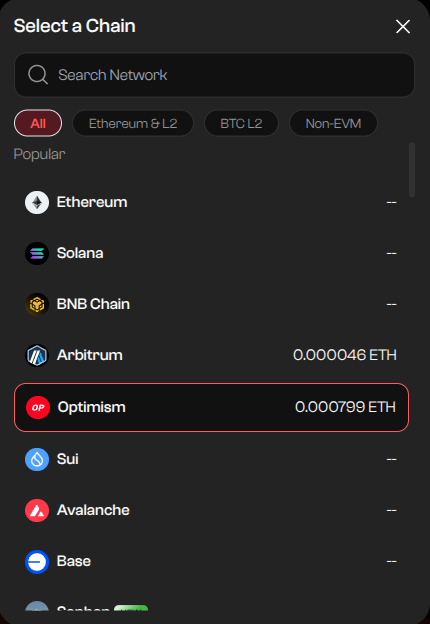
Select the ‘To’ network dropdown to open the network selection menu.
Select the network you want to bridge to. We will choose X Layer for this guide.
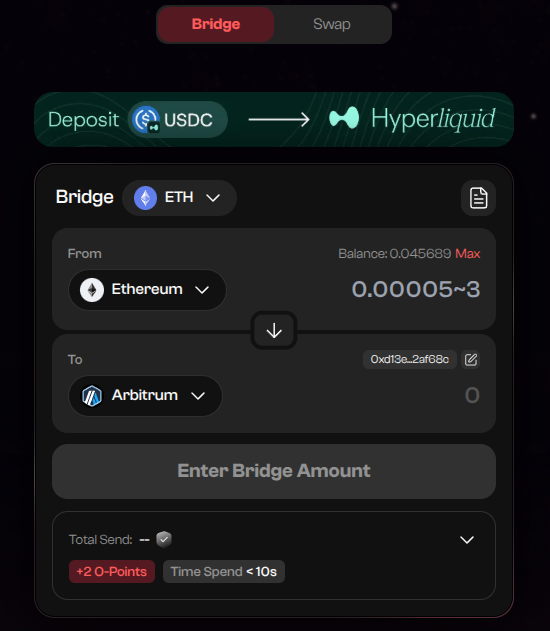
Enter the amount you want to bridge then click ‘Bridge’.
On the Enkrypt pop up, confirm the transaction by clicking ‘Send’.

Now your bridging transaction is submitted and you just need to wait for confirmation.
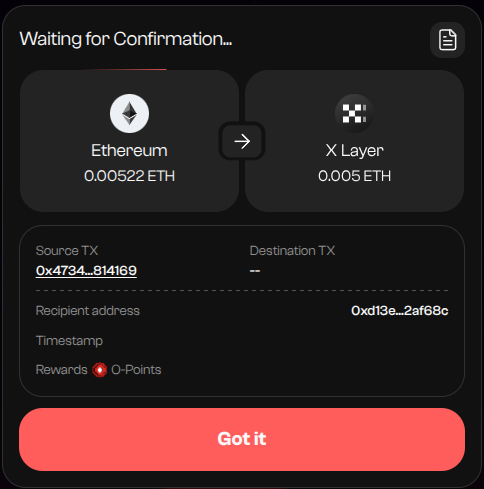
Once your transaction is confirmed the pop up will change to show the destination transaction hash and will state ‘Completed’ at the top.

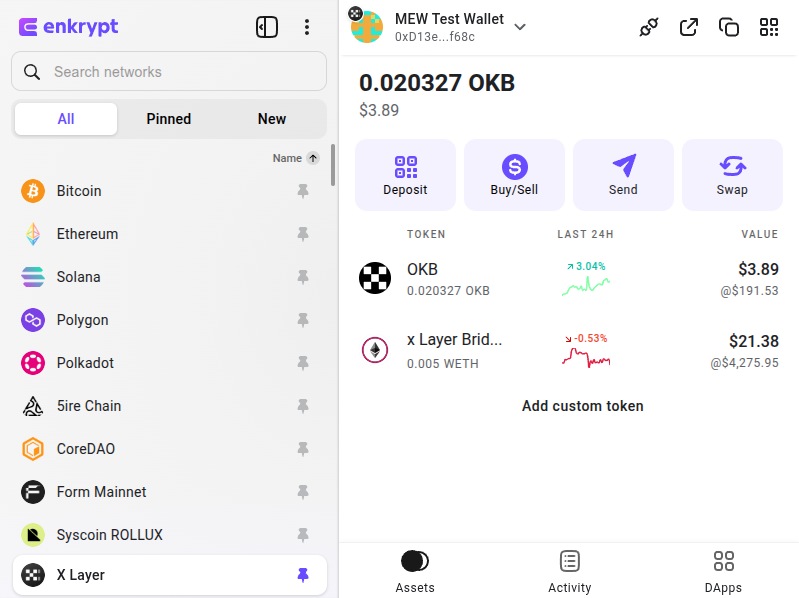
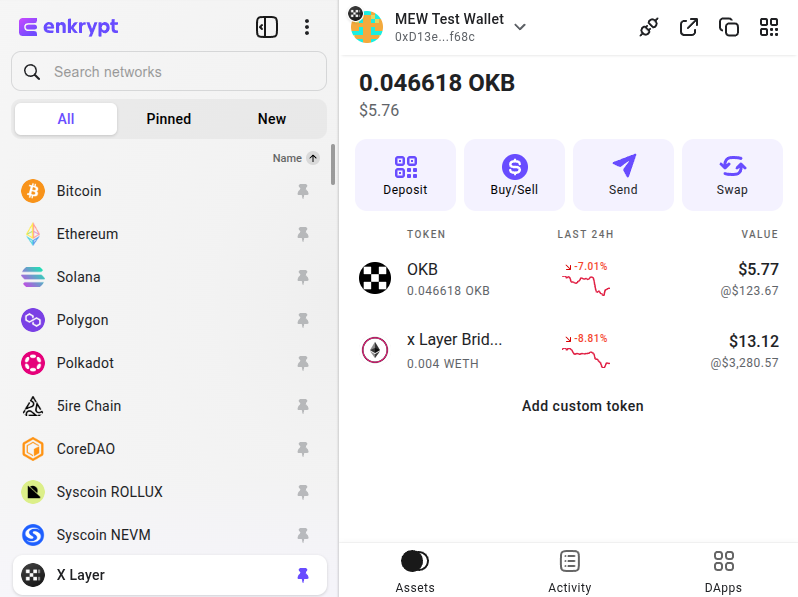
You should also be able to see your tokens in your Enkrypt wallet.
Swapping your Tokens
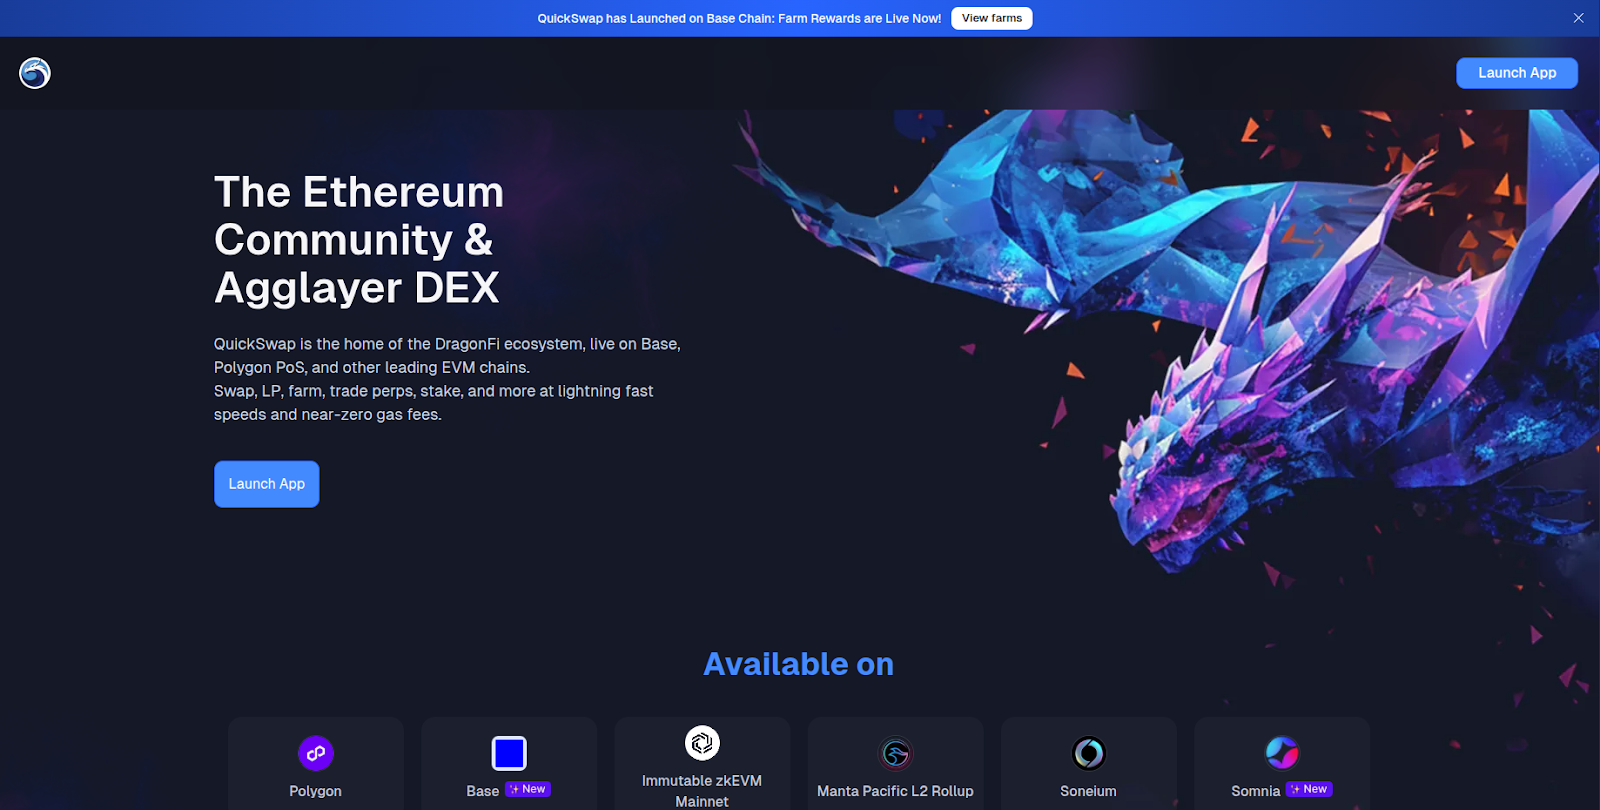
First, make sure you are on the X Layer network on the left hand menu then click ‘DApps’ at the bottom right of the Enkrypt wallet.
Then click the ‘QuickSwap’ option.
Disclaimer: Keep in mind QuickSwap is a third-party DApp and is not affiliated with MEW in any way. Using DeFi involves some inherent risk. Please do your research and proceed at your own discretion.
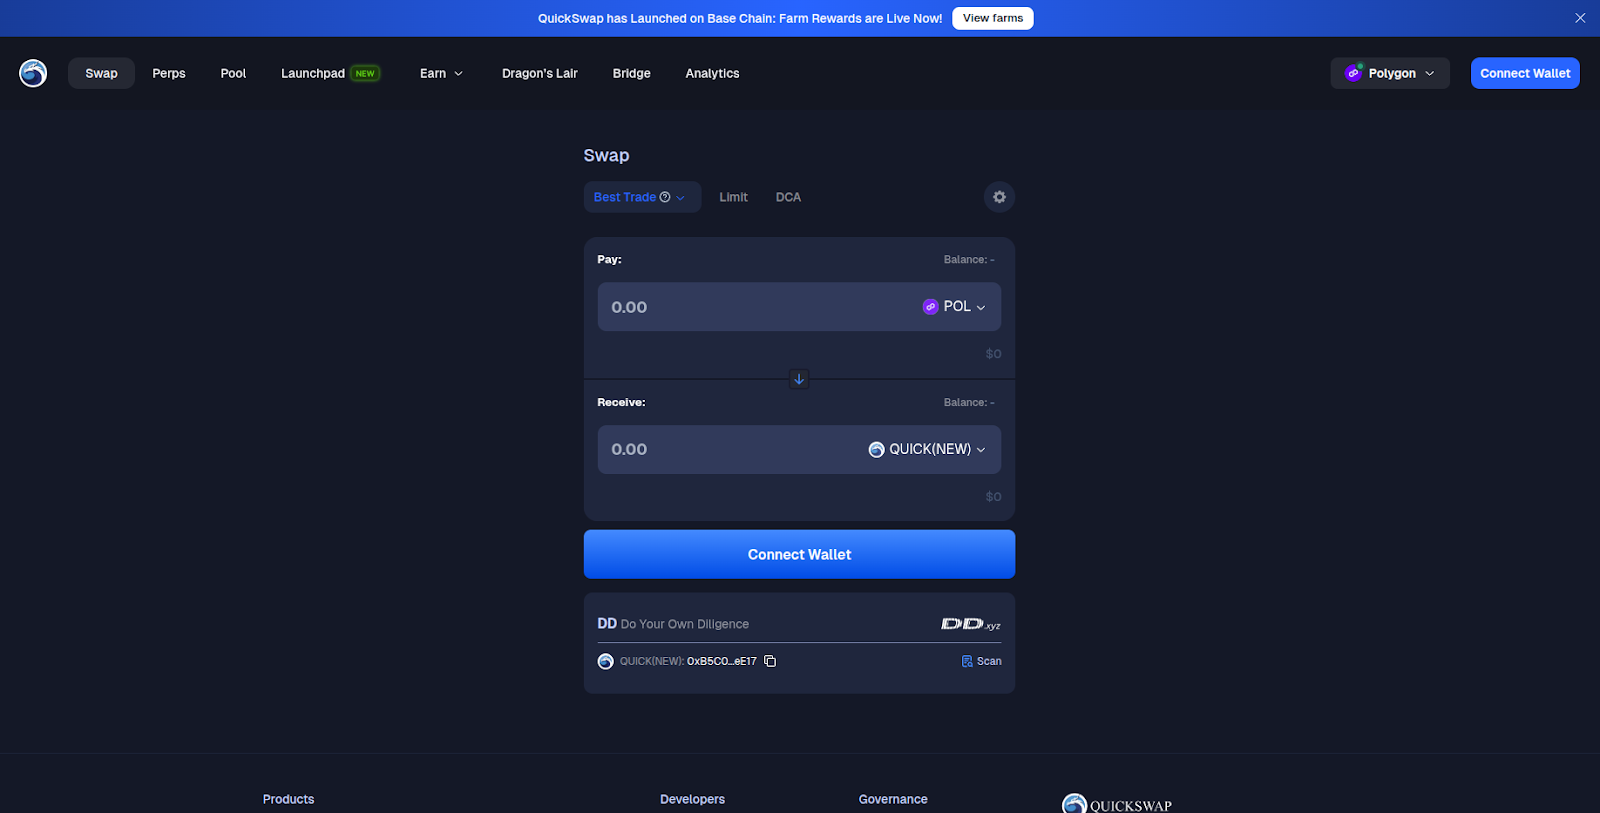
Click ‘Launch App’.
Click ‘Connect Wallet’.
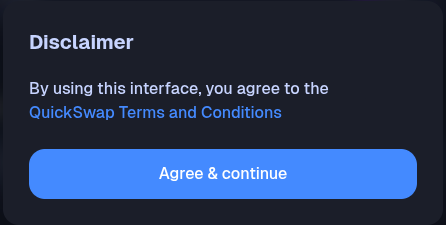
You may have to accept the Terms and Conditions before using the website. Review the Terms and Conditions then click ‘Agree & continue’.
Then select the ‘Enkrypt’ option.
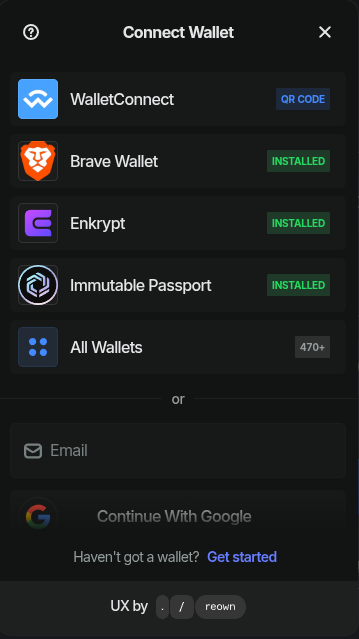
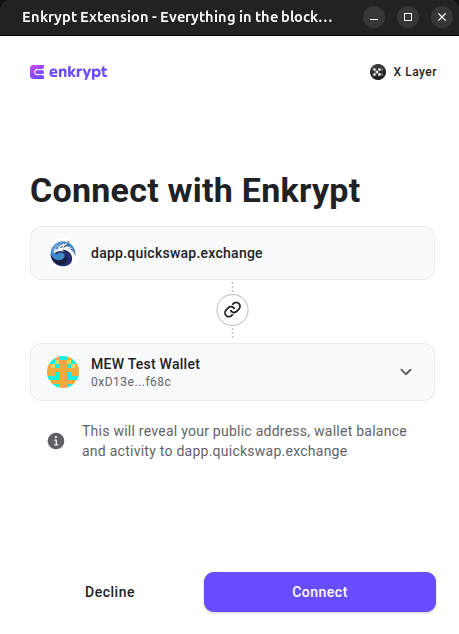
On the Enkrypt pop up, select the account you want to connect with then click ‘Connect’.
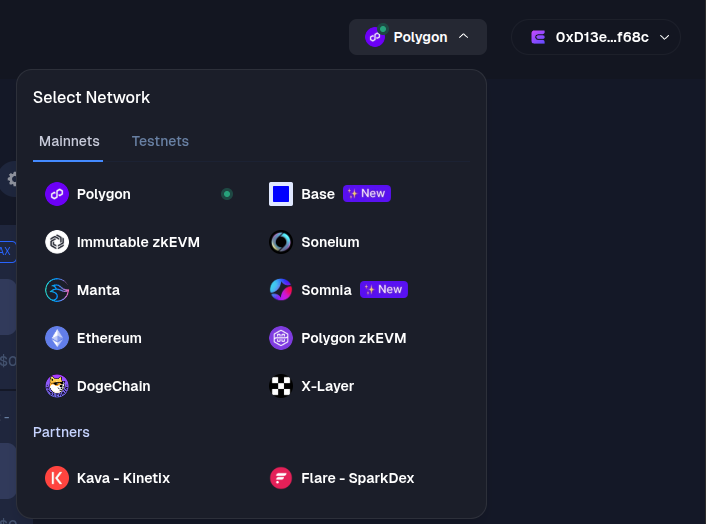
At the top right select the network dropdown then select the ‘X-Layer’ option. Enkrypt will automatically change it’s network to X-Layer as well.
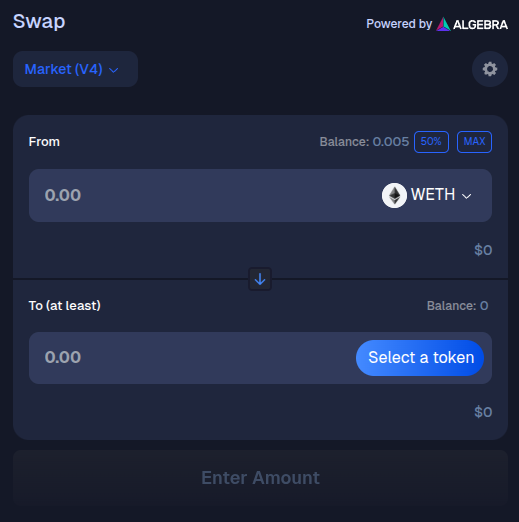
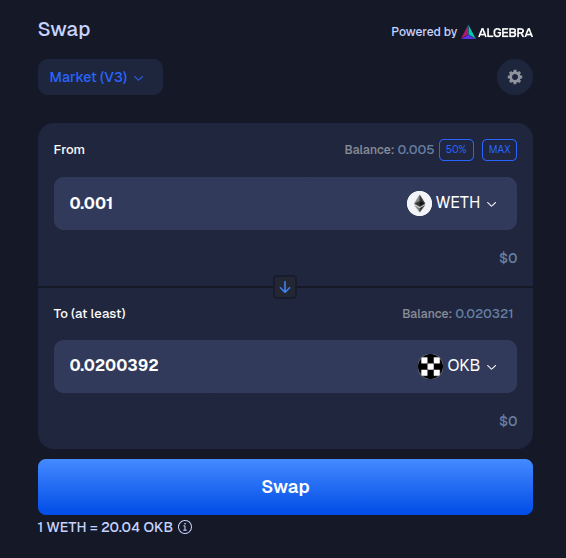
On the swap form, click the From token dropdown to open the token list.
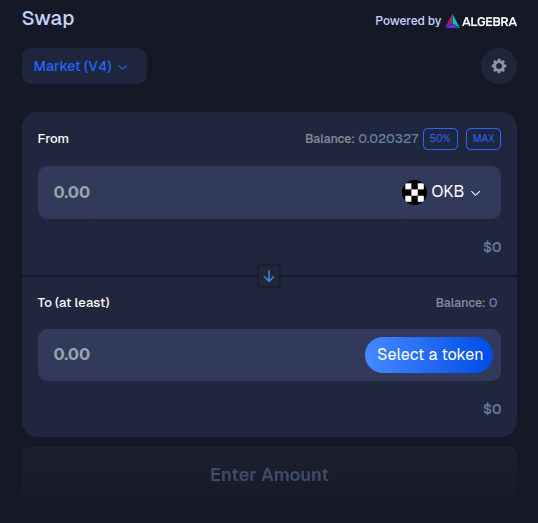
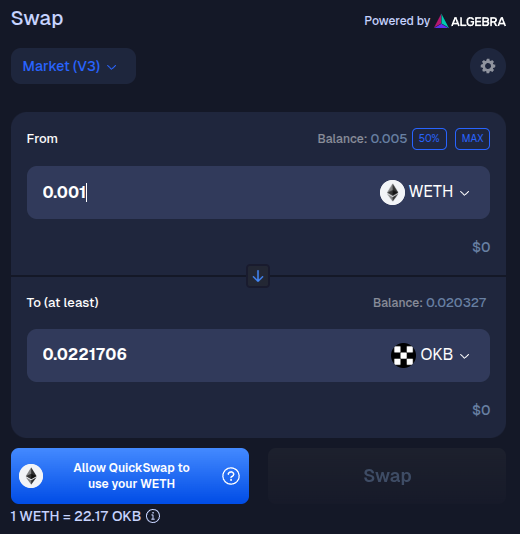
Select the token you want to swap. We will choose WETH for this example.
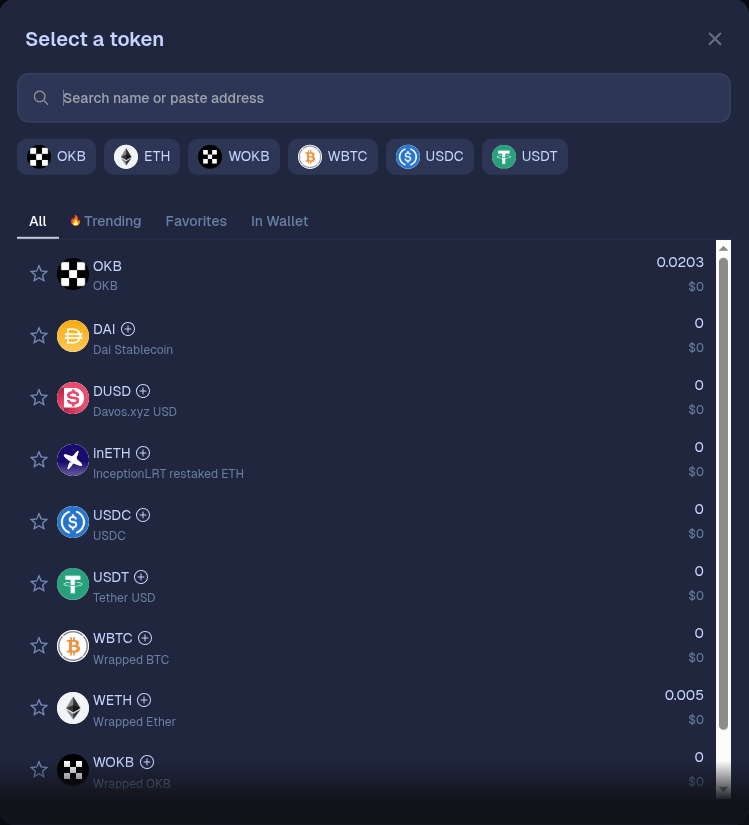
Click the To ‘Select a token’ button to open the token list.
Select the token you want to receive. We will select OKB for this example.

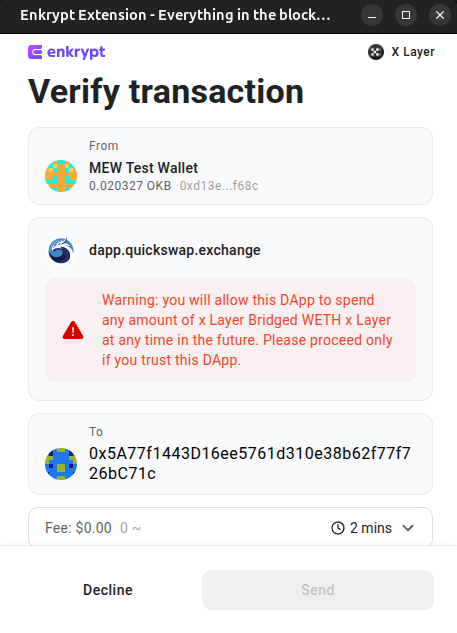
You may have to approve the dapp to use your tokens. Click ‘Allow QuickSwap to use your WETH’.
On the Enkrypt pop up, confirm the approval transaction by clicking the ‘Send’ button.
Enter the amount you want to swap then click ‘Swap’.
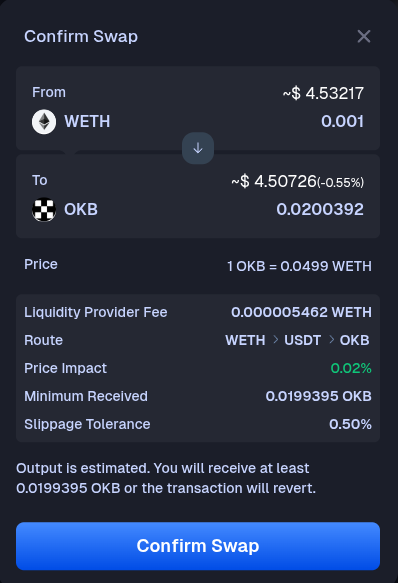
Review the swap and if everything looks good then click ‘Confirm Swap’.
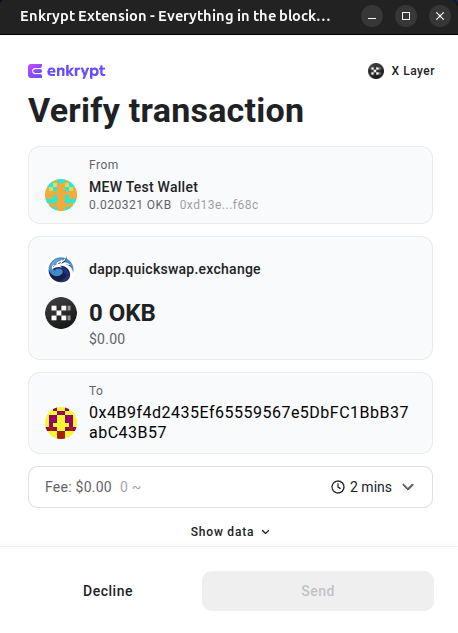
Confirm the transaction on the Enkrypt pop up by clicking the ‘Send’ button.
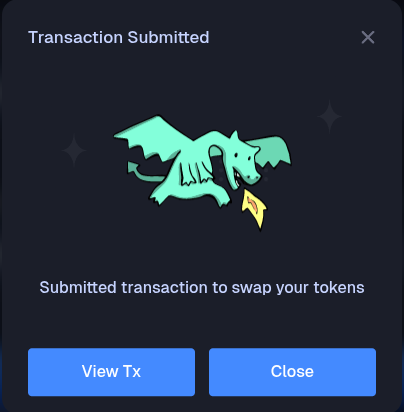
There should be a pop up on the website stating your transaction is submitted.
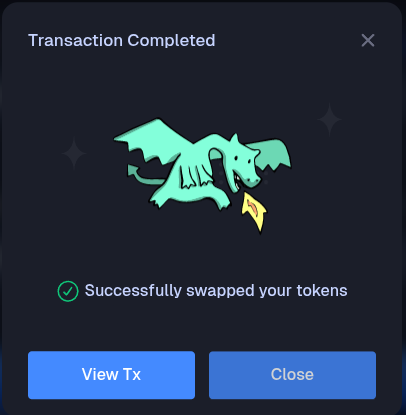
Once your swap is completed, the pop up will change to state that your tokens were swapped successfully.
You should now see your tokens in your Enkrypt wallet.
Thank you for checking out our guide on How to use the X Layer network with Enkrypt! Don't forget to download Enkrypt for a seamless web3 multichain wallet experience. We would love to hear from you on our social media about any guide suggestions you have for the future. Also, if you enjoy using mobile cryptocurrency wallets, give our MEW Mobile app a try, it's available on both iOS and Android platforms!