
How to use Hyperdash with Enkrypt
Hyperdash helps keep you informed. Enkrypt keeps you connected. Explore Hyperdash using Enkrypt with the help of our guide!


Hyperdash is a crypto analytics platform built for the Hyperliquid ecosystem that helps traders track real-time market activity, wallet performance, liquidity trends, and trader behavior. It offers dashboards, leaderboards, and visual tools like liquidation heatmaps so users can quickly understand what top traders are doing and how the market is moving. HyperDash essentially acts as a live data hub, making complex on-chain information easy to read and useful for making trading decisions — including features like performance tracking and optional copy-trading.
Disclaimer: The information provided in this article is for educational and informational purposes only and should not be considered financial, investment, or trading advice. Always do your own research and consult with a qualified financial advisor before making any investment decisions. Cryptocurrency markets are highly volatile and carry significant risk.
Creating an Account
First, head to the Hyperdash then click ‘Login’ at the top right.
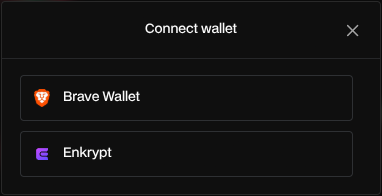
Click ‘Sign in with Wallet’.
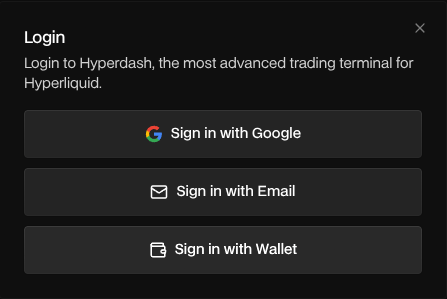
Select ‘Enkrypt’.

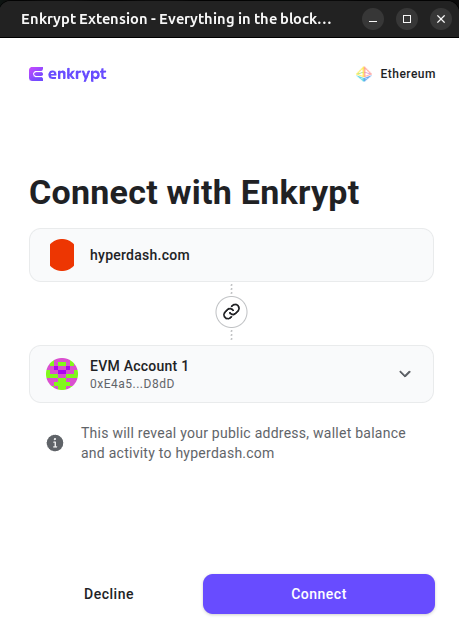
Select the wallet you want to connect with then click ‘Connect’.

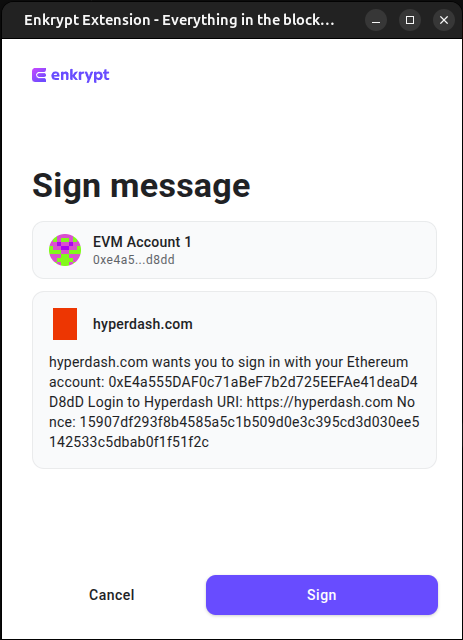
Next, you will need to sign a login message. On the Enkrypt pop up, click ‘Sign’ to sign the message.
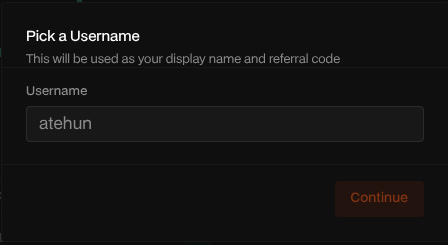
After you have successfully signed in, you will be asked to create a username. Enter a username then click ‘Continue’.
Deposit into Hyperdash
Deposit by Transferring Crypto
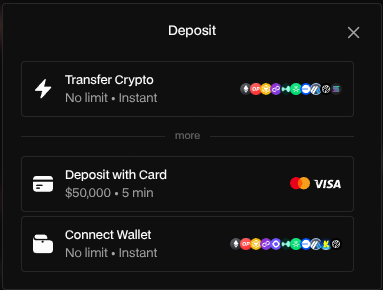
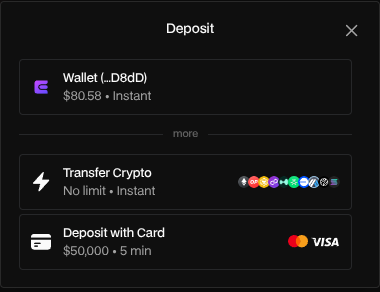
To deposit tokens by sending from your Enkrypt wallet, click ‘Deposit’ at the top right of the page.

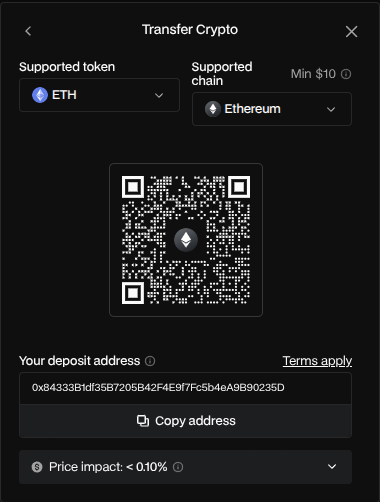
You can choose to connect your wallet, deposit with a card or transfer crypto. For this example, we will choose ‘Transfer Crypto’.
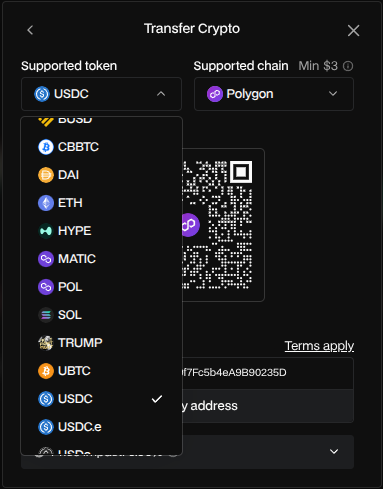
You can select which token you want to deposit by clicking the supported token dropdown.
Select the token you want to deposit. We will choose ETH for this example.
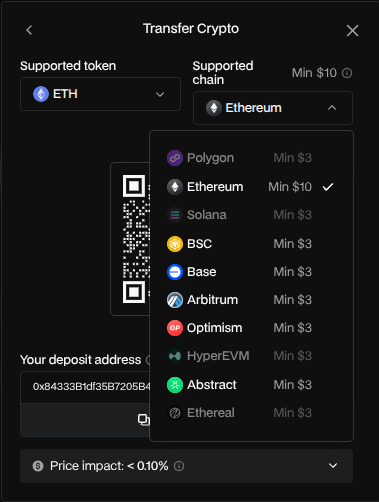
You can change the network you are going to deposit your token on by clicking the ‘Supported chain’ dropdown. We will leave it on the Ethereum network.
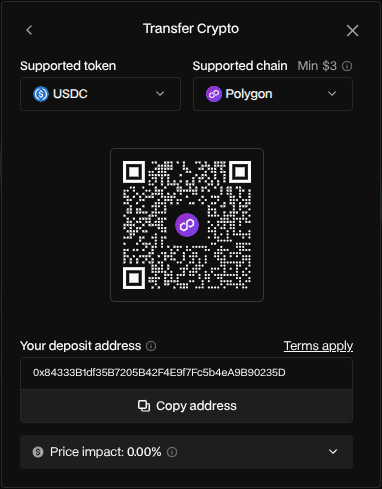
Copy the deposit address then open your Enkrypt wallet.
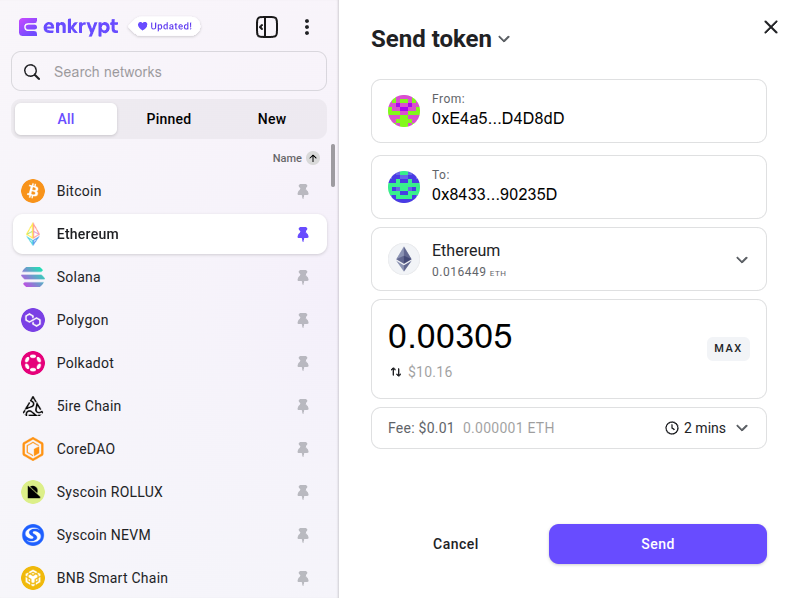
On your Enkrypt wallet, make sure you are on the correct network then click ‘Send’.

Paste in the deposit address in the ‘To’ text field then enter the amount you want to deposit then click ‘Send’.
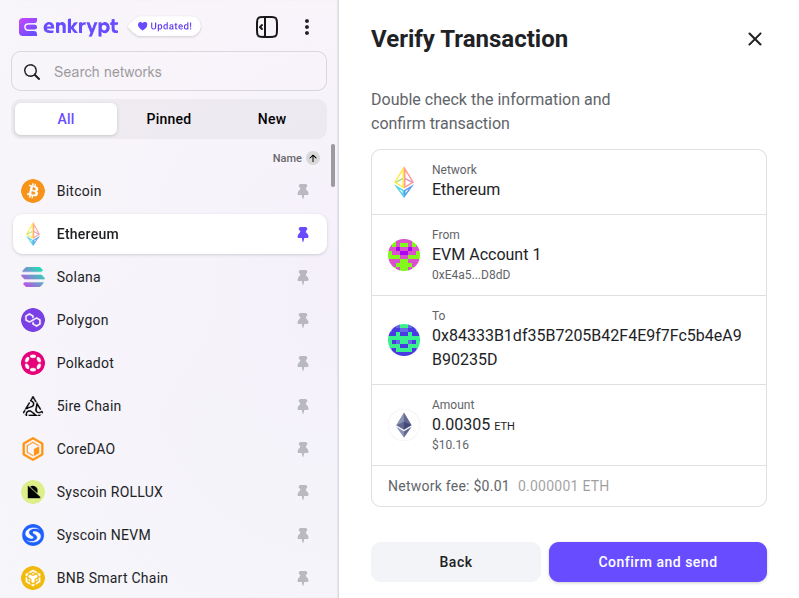
Review the transaction then click ‘Confirm and Send’.
You should get a checkmark confirming your transaction has been successfully sent.
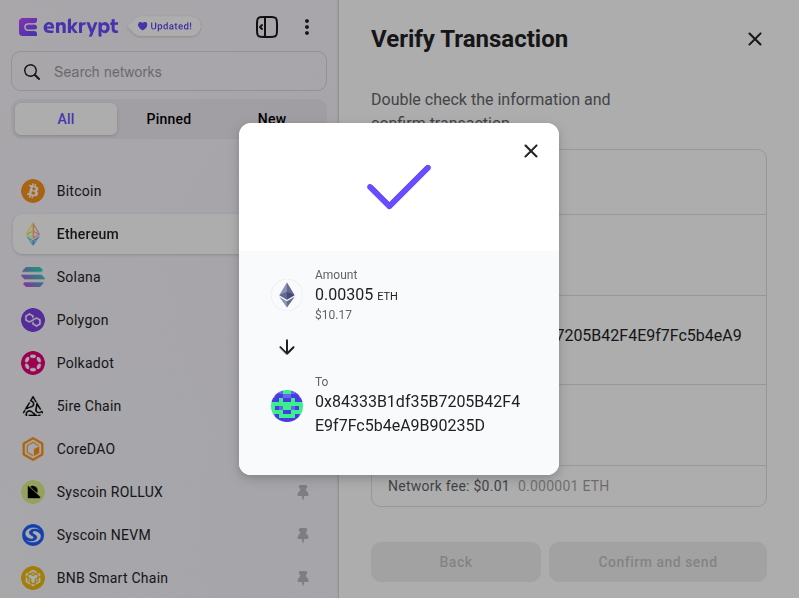
Once the transaction has been confirmed, you should see your balance updated at the top right of the page.

Deposit by Connecting Wallet
To deposit tokens by connecting your wallet, click ‘Deposit’ at the top right of the page.
You can choose to connect your wallet, deposit with a card or transfer crypto. For this example, we will choose ‘Connect Wallet’.

Select ‘Enkrypt’.
On the Enkrypt pop up, select the account you want to connect with then click ‘Connect’.
You should see your wallet connected. Select your wallet to proceed.
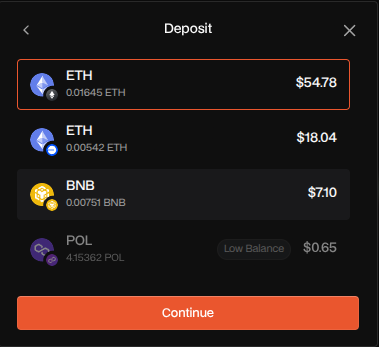
Select the token you want to deposit then click ‘Continue’.
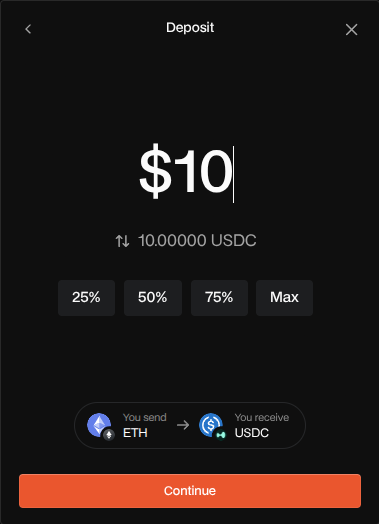
Enter the amount you want to deposit then click ‘Continue’.
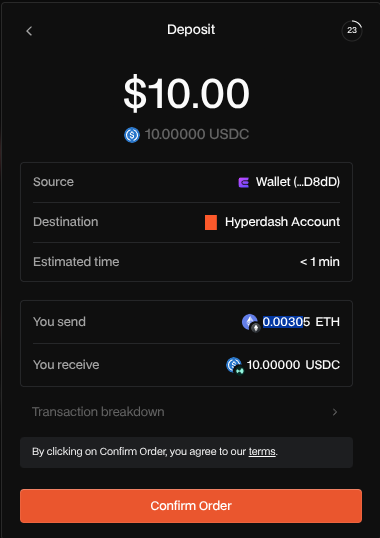
Review the deposit then click ‘Confirm Order’.
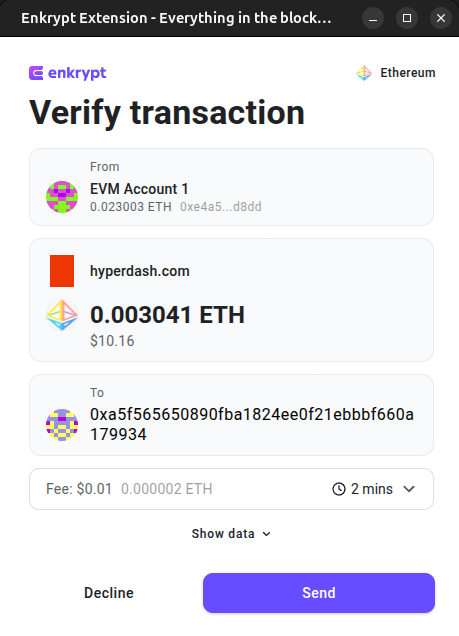
On the Enkrypt pop up, review the transaction then click ‘Send’ to confirm the transaction.
Once the transaction has been confirmed, you should see your balance updated at the top right of the page.

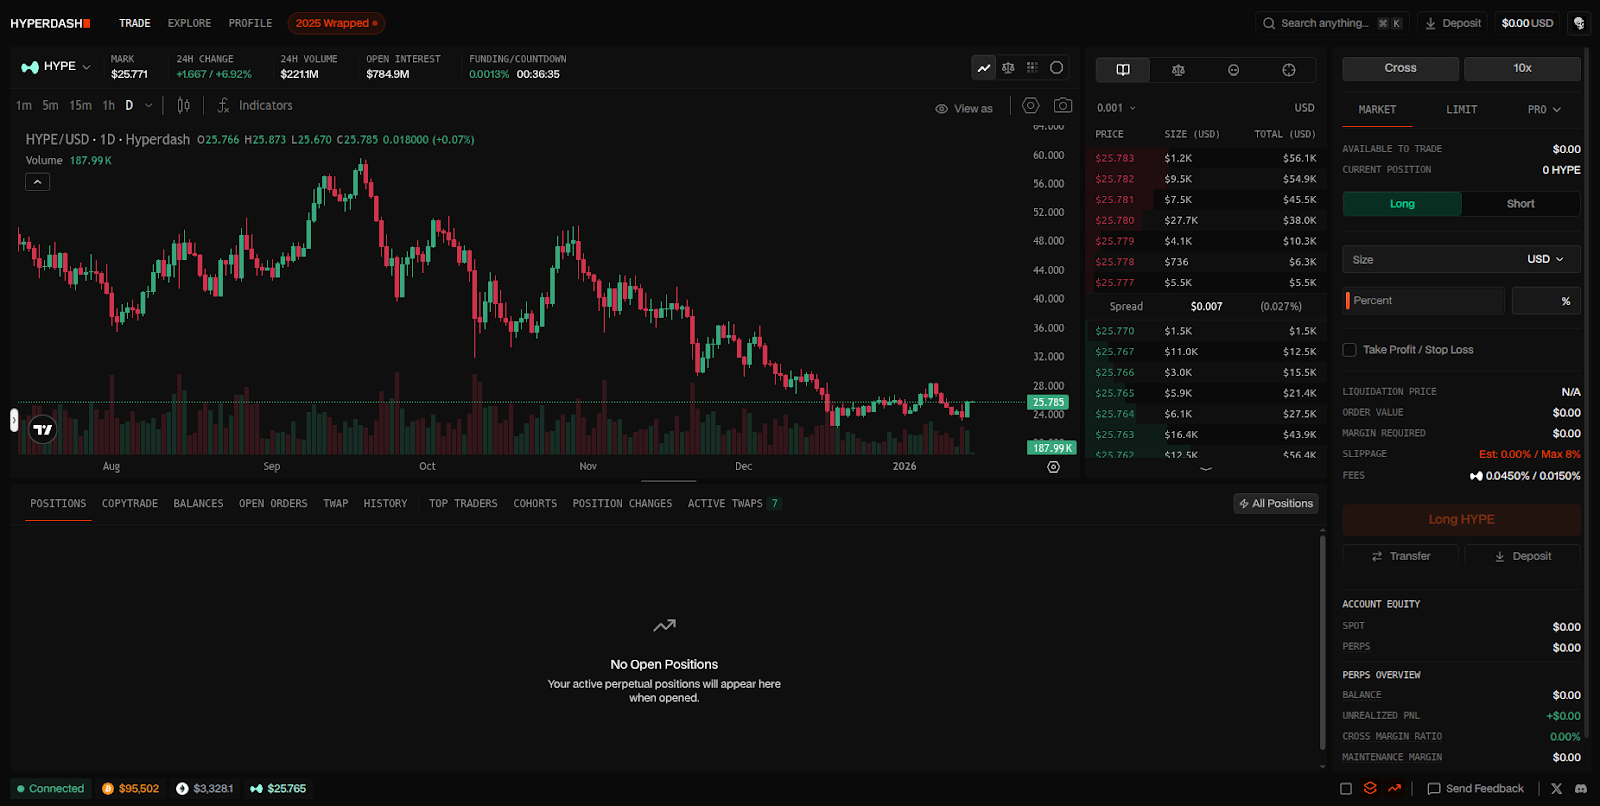
Creating a Position
On the Trade page, you should see the chart and order book of the token that is selected.
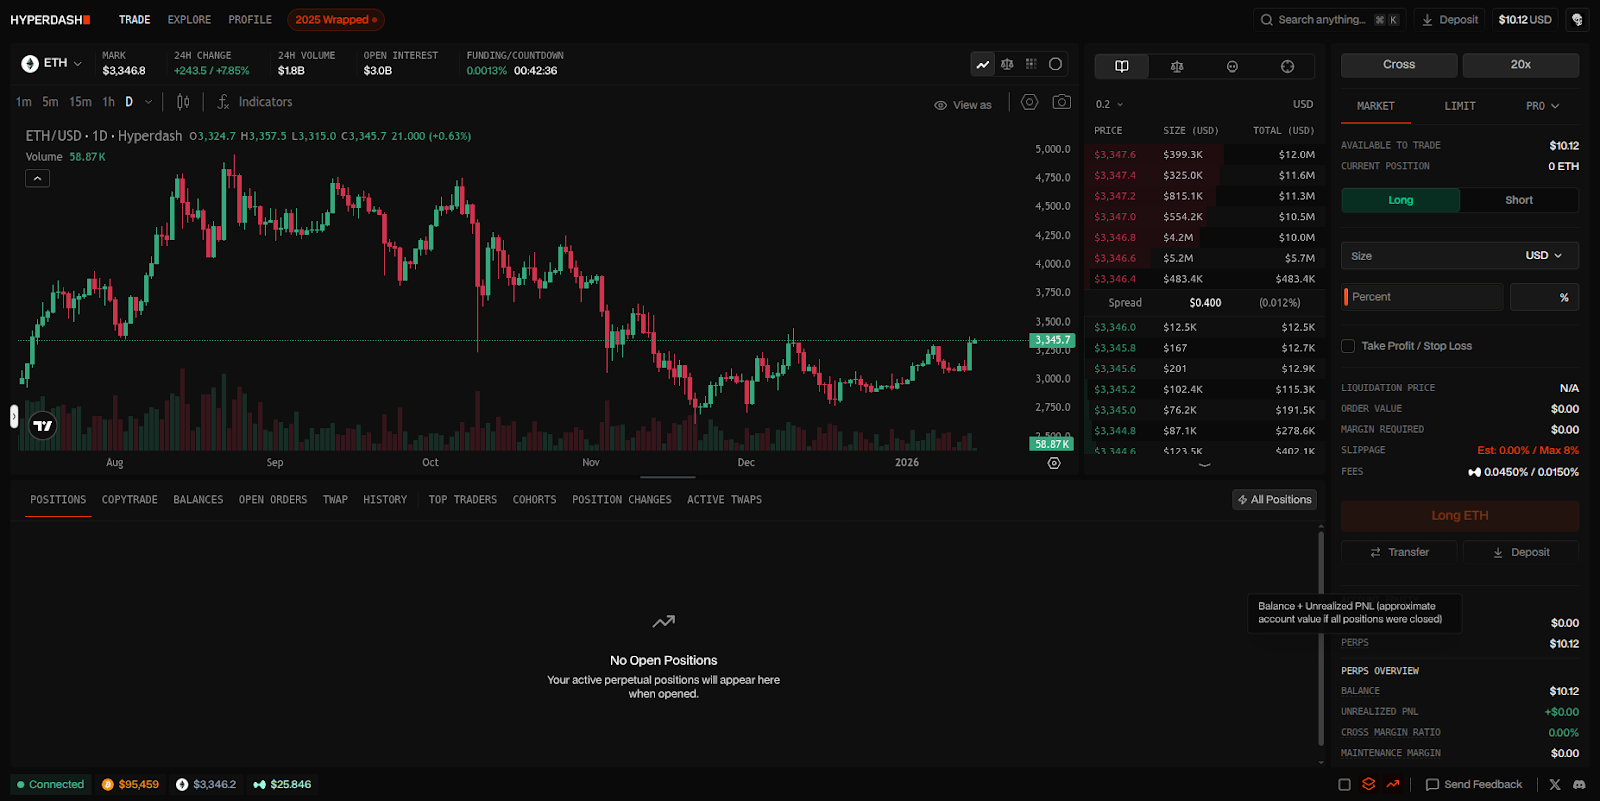
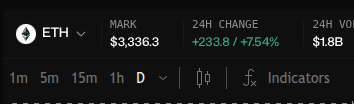
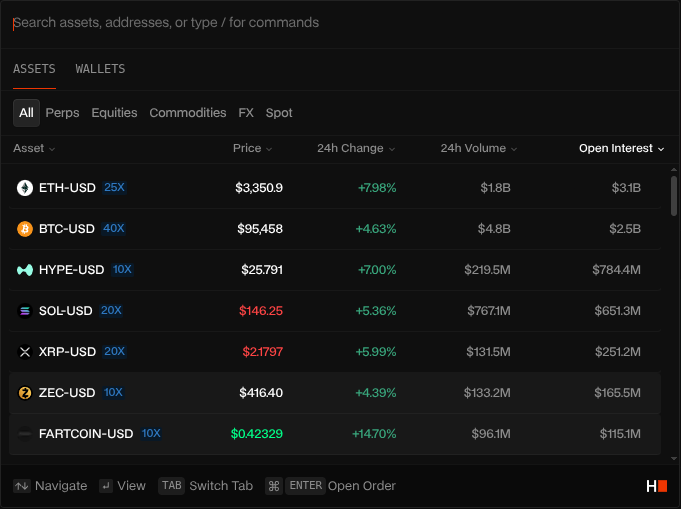
You can change the token by selecting the token dropdown.
You can change which token to fiat pairing you want to trade in. You can also leverage trade Equities, Commodities, Forex and Spot trade. We will choose the ETH-USD perpetual trade for this example.
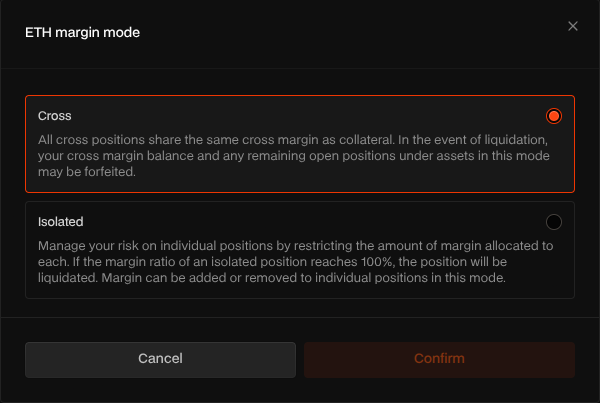
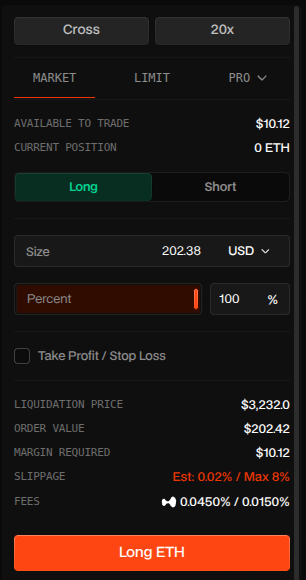
You are able to change the Margin type by clicking ‘Cross’ and the Leverage amount by clicking the ‘20x’.

Clicking the ‘Cross’ button will open the margin mode pop up. We will leave the margin mode on Cross for this example.
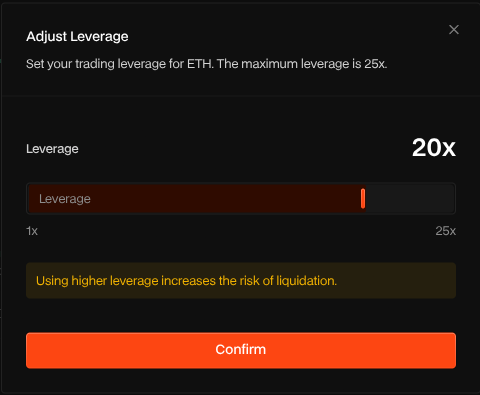
Clicking the ‘20x’ button will open the leverage slider. We will leave it at 20x for this example.
You can change the order type from Market to Limit or ‘Pro’. We will leave it on the Market and the ‘Long’ option.
Enter the amount you want to trade then click ‘Long ETH’.
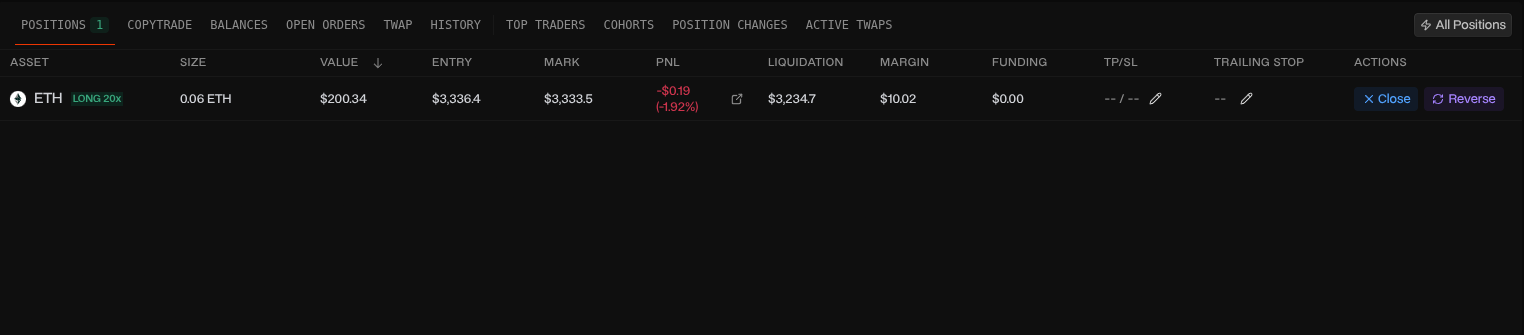
You should see your open position at the bottom of the page under the ‘Positions’ tab.
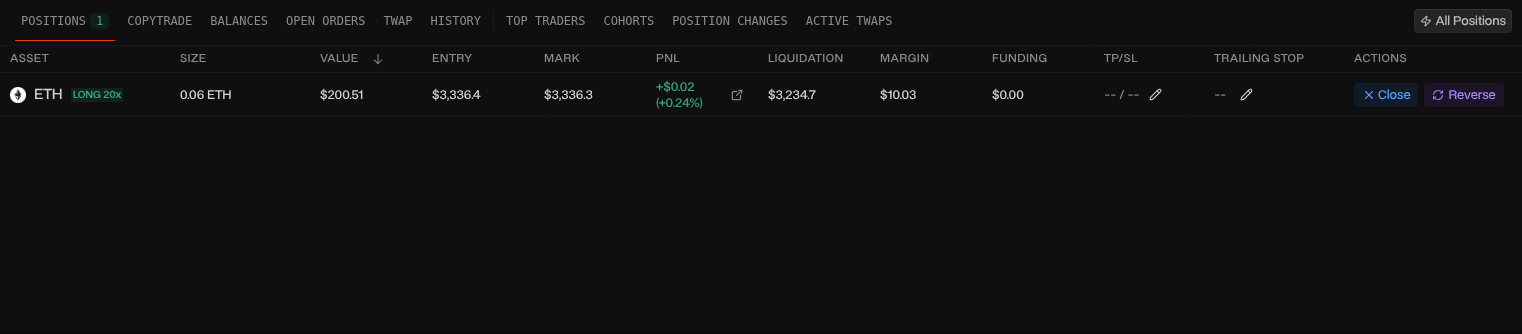
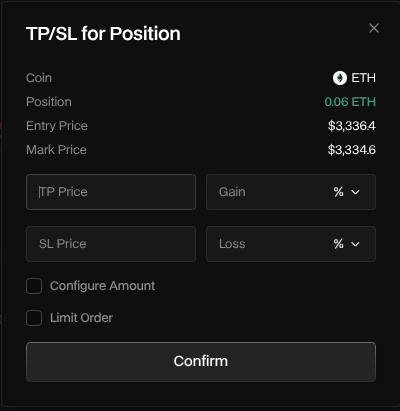
You can set the Take Profit or Stop Loss for the position by clicking the pencil icon under the ‘TP/SL’ column.
Enter the price you want to set for the TP or SL then click ‘Confirm’.
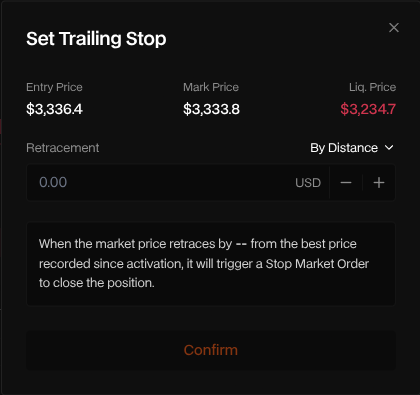
You can set the Trailing Stop for the position by clicking the pencil icon under the ‘Trailing Stop’ column.
Enter the Retracement amount you want to set then click ‘Confirm’.
Closing a Position
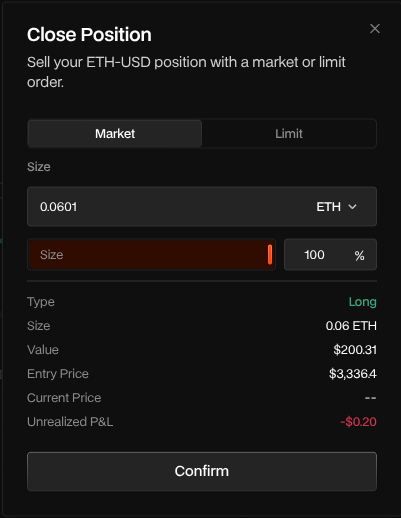
Under the ‘Positions’ tab you should see all your open positions. To close a position, click ‘Close’ on the right of the Position you want to close.
Enter the amount you want to close then click ‘Confirm’.
You should no longer see the position under your ‘Positions’ tab.
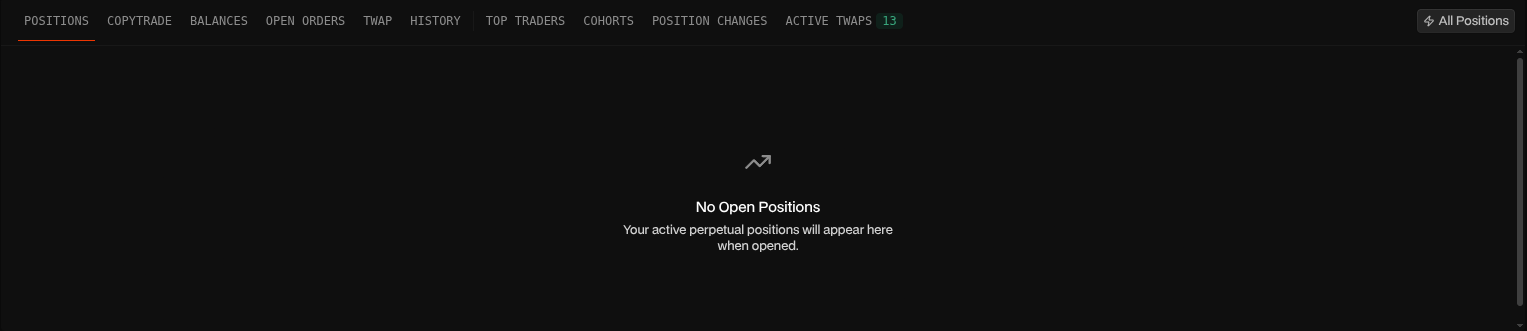
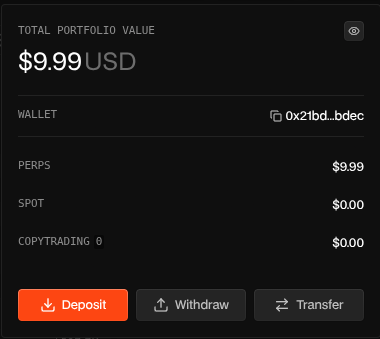
You should see the USD balance at the top right of the page.

Withdrawing Your Balance
To withdraw your balance, click your USD Balance at the top right of the page.

Click the ‘Withdraw’ button.
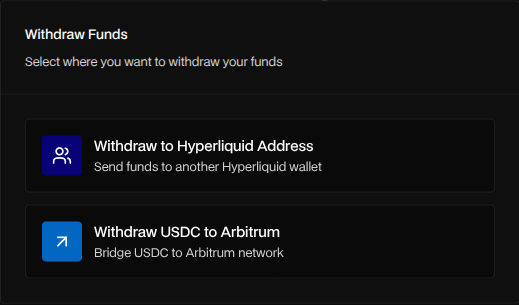
Select ‘Withdraw USDC’ to Arbitrum.
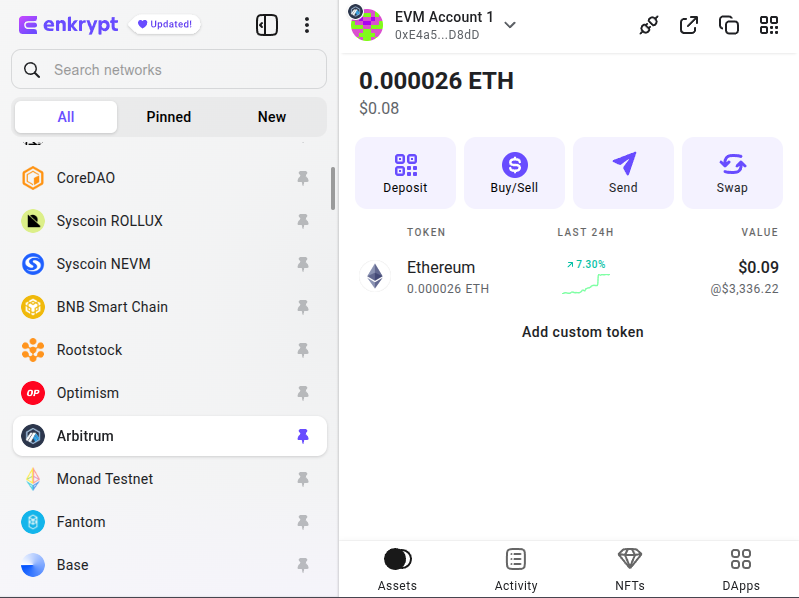
On your Enkrypt wallet, copy your Arbitrum wallet address by changing your network to Arbitrum then clicking the copy button at the top right of the wallet.
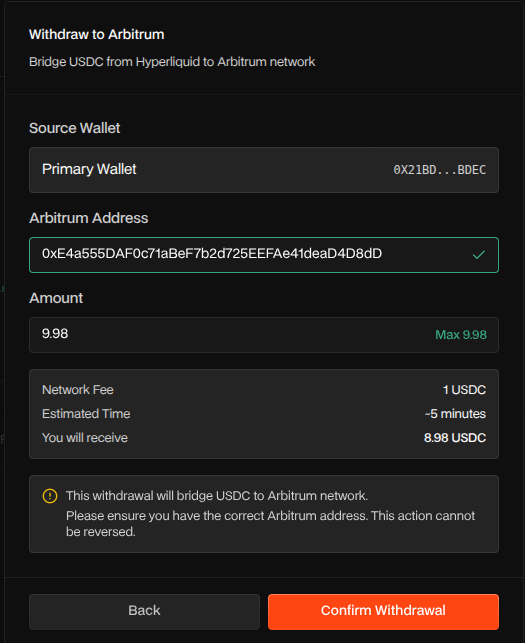
Back on Hyperdash, paste in your Arbitrum wallet address, enter the amount you want to withdraw then click ‘Confirm Withdrawal’. The withdrawal process should take about 5 minutes to complete.
Thank you for checking out our How to use Hyperdash guide! Make sure to follow us on X(Twitter) and let us know your thoughts. Sign up for our newsletter to stay up to date with MEW releases, and check out our weekly podcast Crypto Currents for the latest news in crypto.