
How to use Aster with Enkrypt
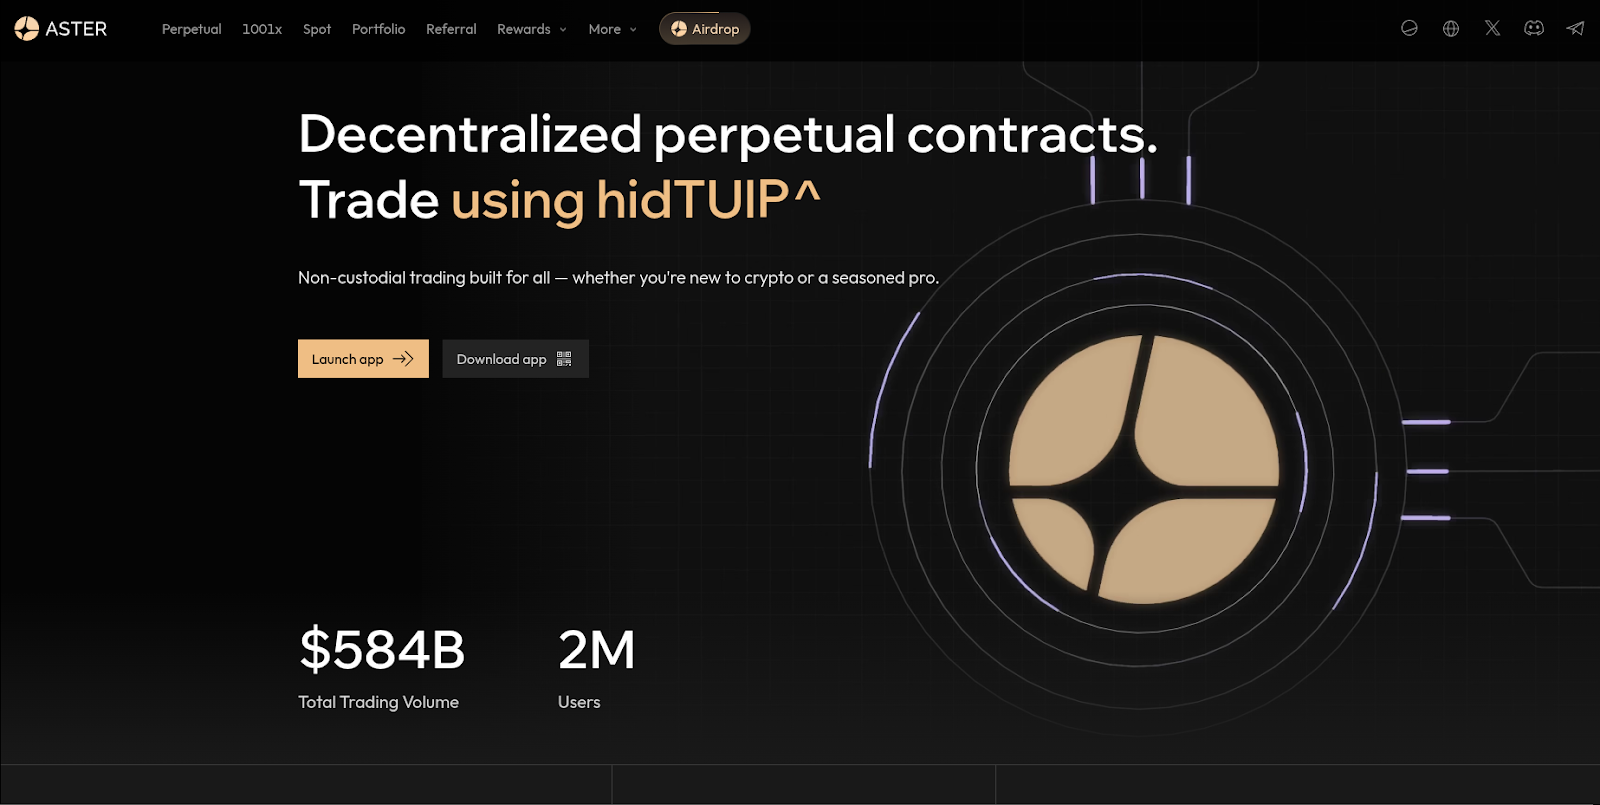
Aster is a decentralized perpetuals exchange, where you can trade leveraged onchain assets! Get started with Aster on Enkrypt today.


Aster is a decentralized exchange that combines perpetual derivatives, spot trading, and yield earning in one platform. Built from the merger of Astherus and APX Finance, it offers deep liquidity, low fees, and multiple trading modes like Pro, 1001x, and Spot. Alongside trading, it supports yield-bearing assets such as as BNB and USDF, aiming to deliver a fast, secure, and user-friendly DeFi experience with future plans for cross-chain execution and its own layer-1 chain.
Enkrypt is a multichain, non-custodial, and open-source web3 browser wallet built by the team behind MEW (MyEtherWallet). With Enkrypt, users and developers can generate accounts, manage tokens and NFTs, and interact with DApps on Base, Ethereum, Solana, as well as Bitcoin, Substrate and any EVM chains. Follow the instructions in this guide on how to use Enkrypt with Aster!
Connecting Your Wallet
First, head to the Aster website then click ‘Launch App’.
Disclaimer: Keep in mind Aster is a third-party DApp and is not affiliated with MEW in any way. Using DeFi involves some inherent risk. Please do your research and proceed at your own discretion. This article is for educational purposes only and does not constitute financial advice. Prediction markets involve risk, and you should always do your own research before participating.
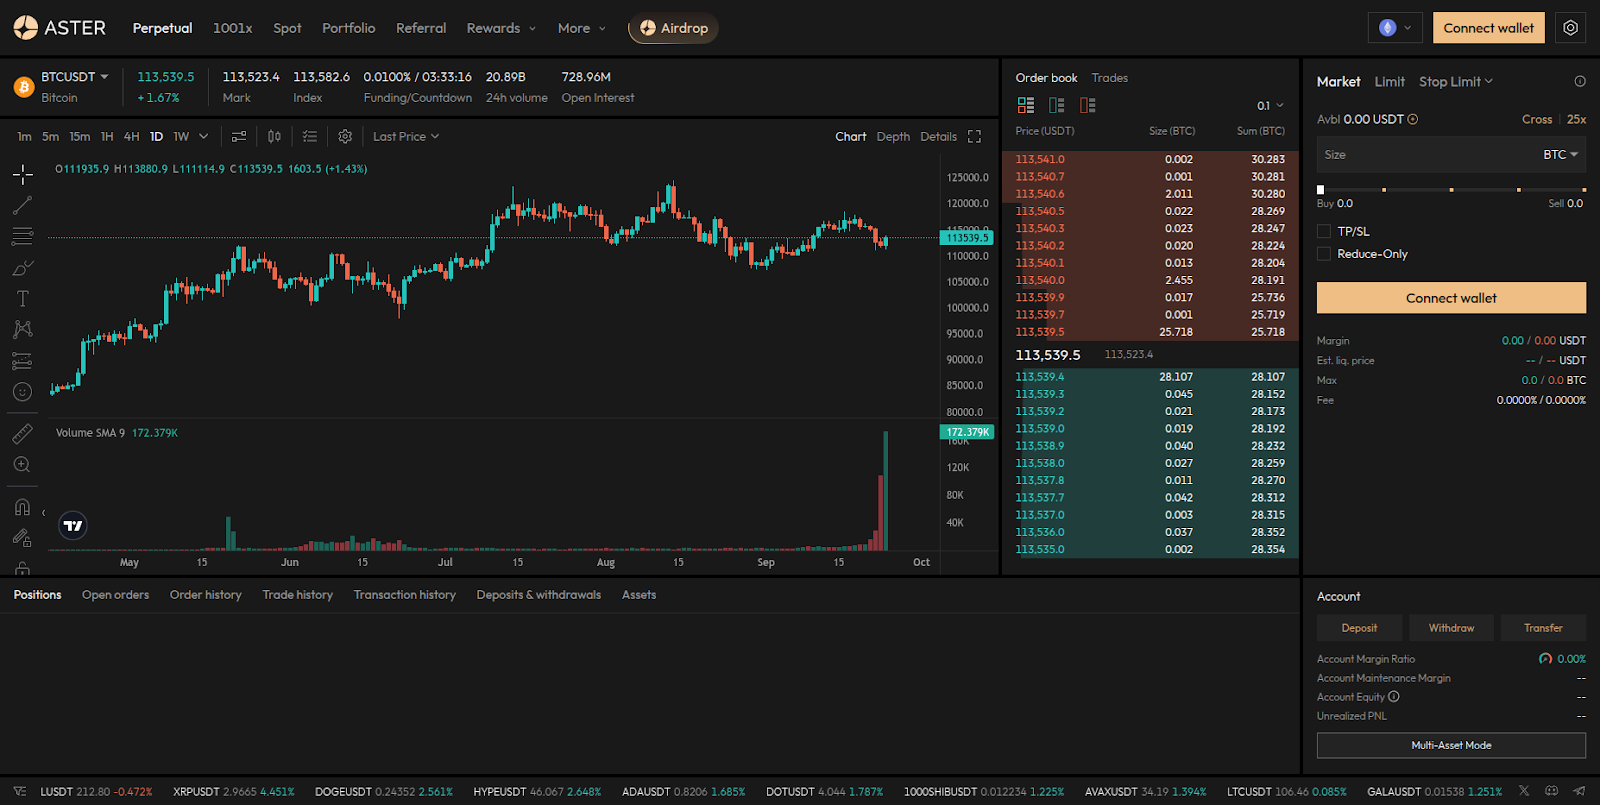
Click ‘Connect wallet’ at the top right of the page.
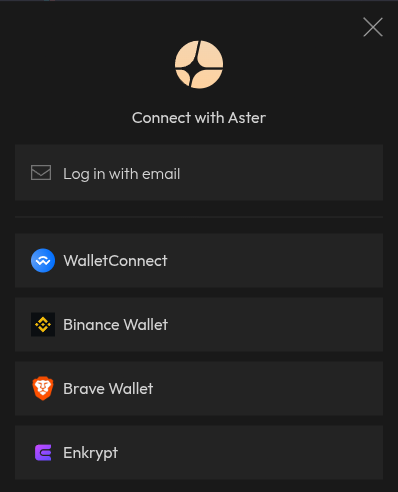
Select ‘Enkrypt’.
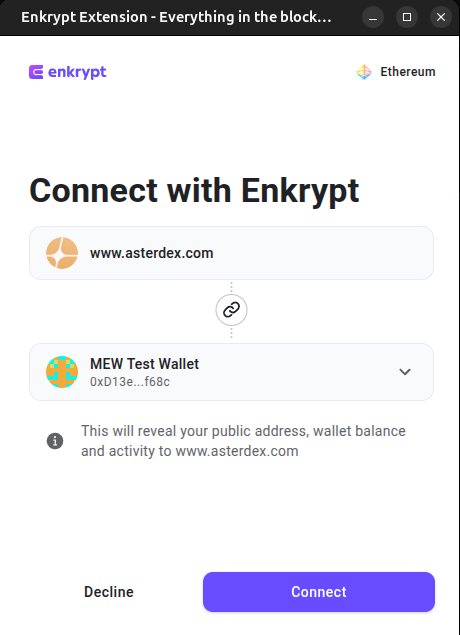
On the Enkrypt pop up, select the account you want to connect with then click ‘Connect’.
Next, you will need to sign a message to verify your ownership and compatibility with your wallet. Click ‘Send request’.
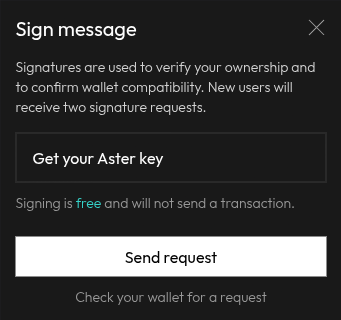
On the Enkrypt pop up, sign the message by clicking ‘Sign’.

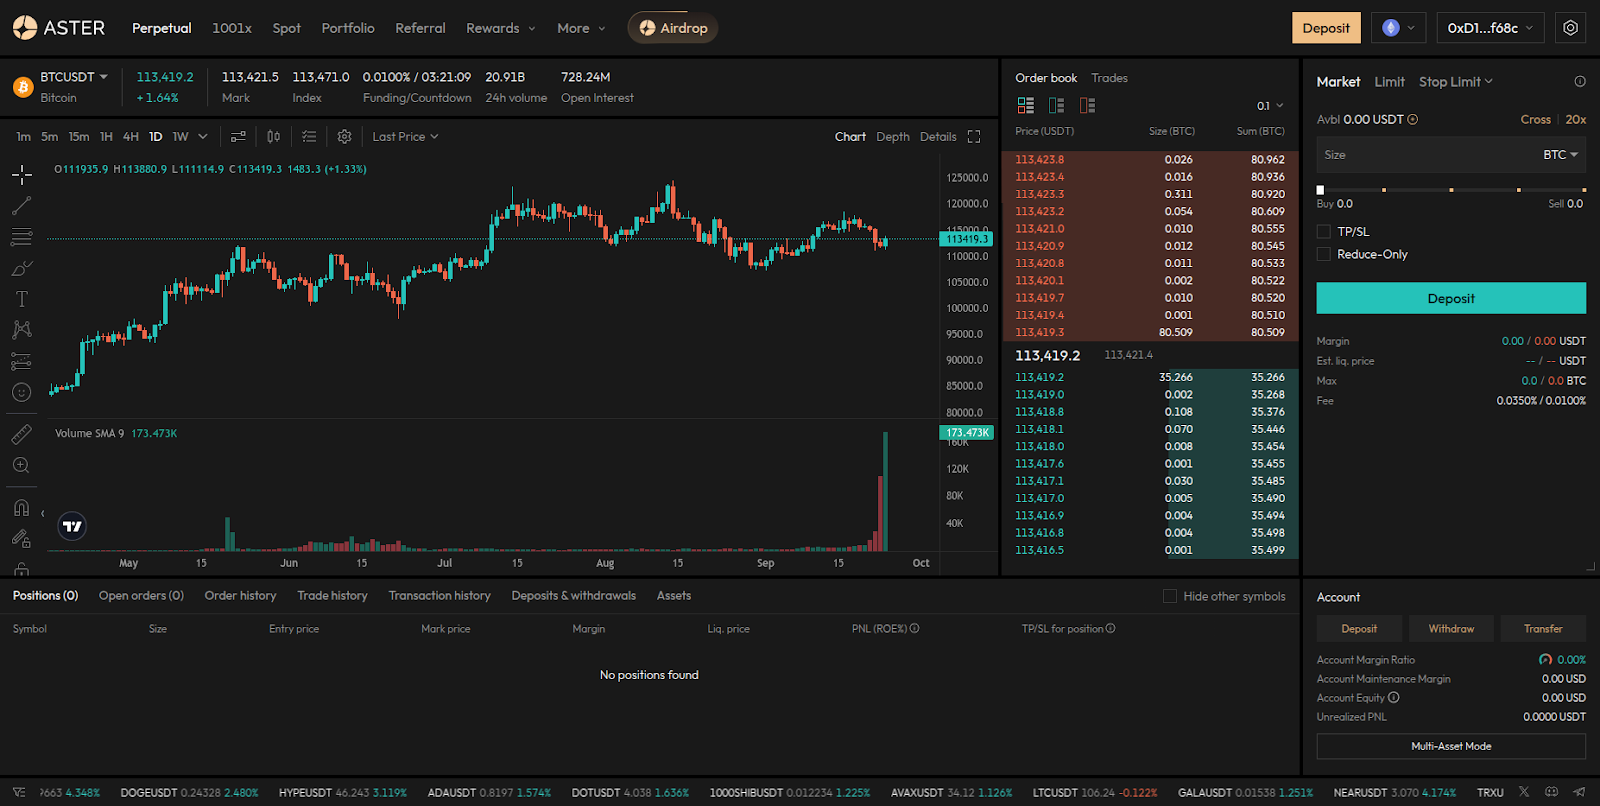
Your wallet is now connected and you are ready to start depositing tokens to start trading!
Depositing Tokens
At the top right of the page, click ‘Deposit’.
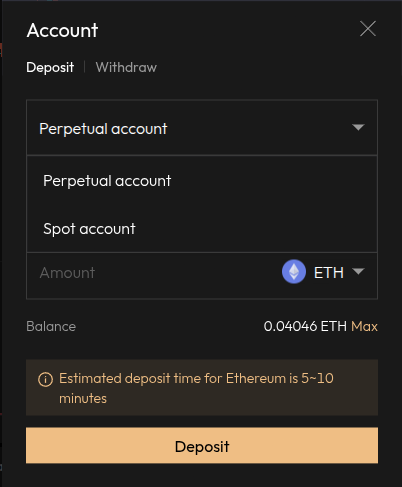
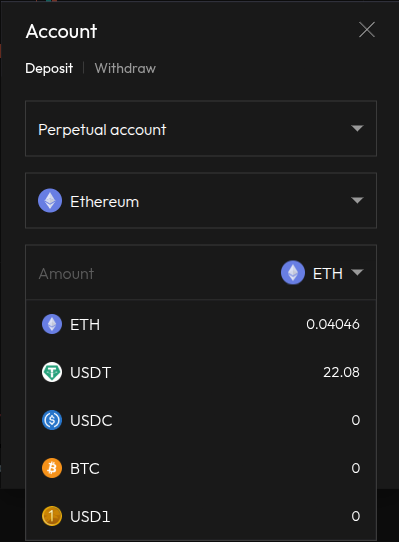
On the deposit pop up, you can click the ‘Perpetual account’ dropdown to open the account selection.
Here, you can choose which account you want to deposit your tokens into. We will leave it on ‘Perpetual account’ for this example.
Aster supports both perpetual and spot trading. Spot trading is the direct purchase or sale of an asset for immediate settlement at the current market price. Perpetuals trading uses derivative contracts that track the asset’s price without an expiry date, allowing traders to use leverage and speculate on price movements without owning the asset itself.
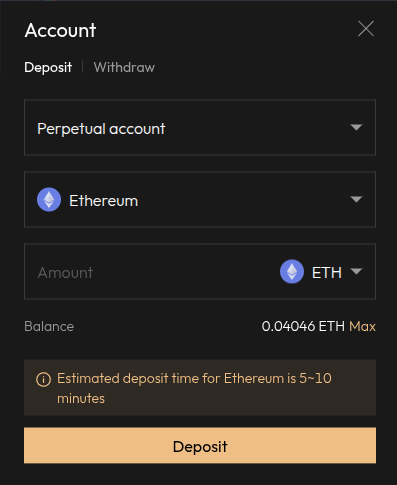
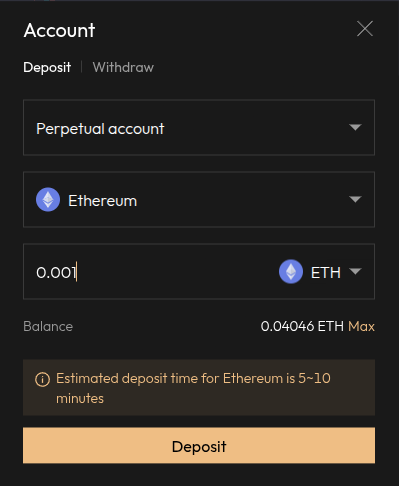
You can also click the ‘Network’ dropdown to change the network you want to deposit from. For this example, we will choose Ethereum.

Click the ‘Token’ dropdown to change which token you want to deposit. We will choose ETH for this example.
Enter the amount you want to deposit then click ‘Deposit’.
On the Enkrypt pop up, confirm the transaction by clicking the ‘Send’ button.
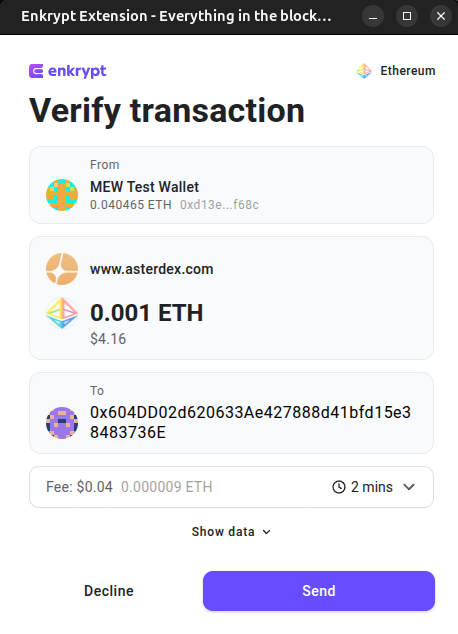
There should be a pop up that states you need to wait for a confirmation on your transaction for your tokens to be successfully deposited.
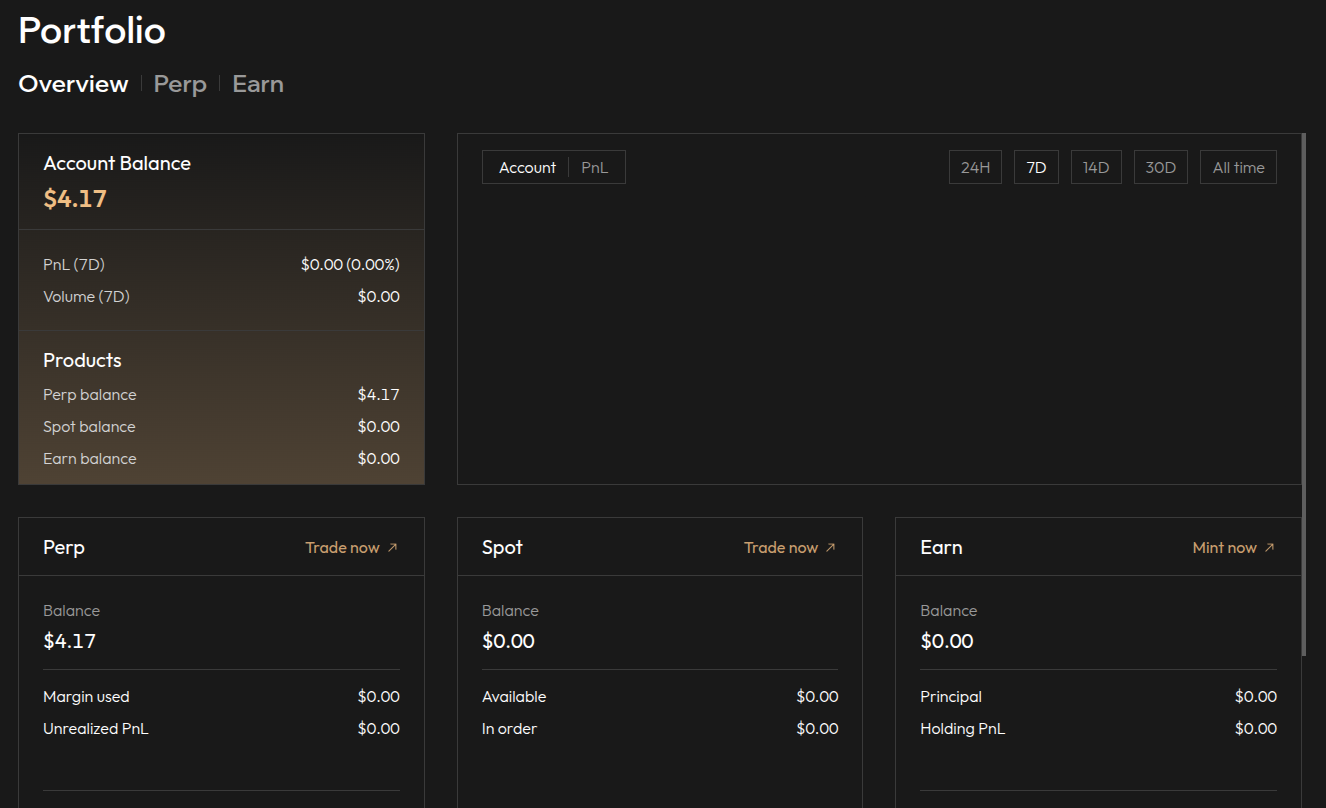
Once the transaction is confirmed, you can view your account balance by clicking ‘Portfolio’ in the navigation bar.

Here, you can view your total account balance including Spot and Earn balance.
Perpetual Trading
Create a Perpetual Trade
First, click ‘Perpetual’ in the navigation bar.

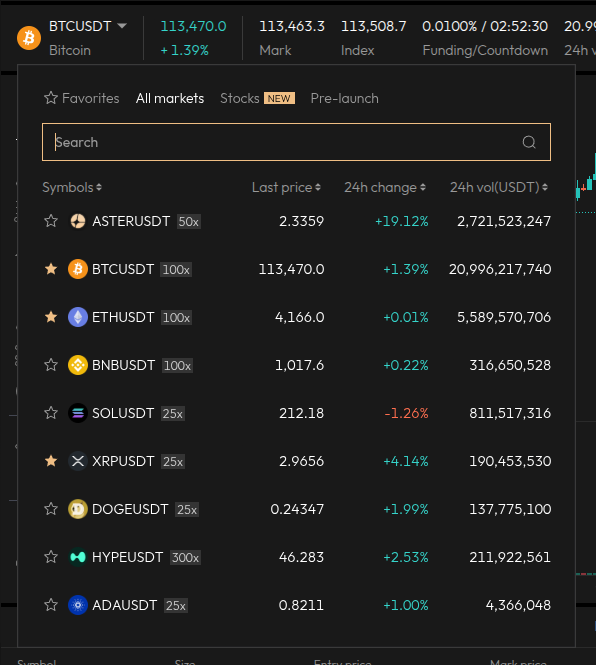
Click the token dropdown at the top left above the chart to open the token pair selection menu.
Select the token pair you want to trade.
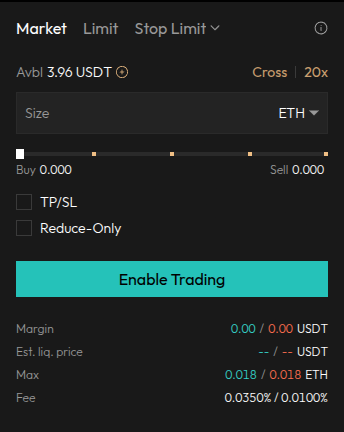
Click ‘Enable Trading’.
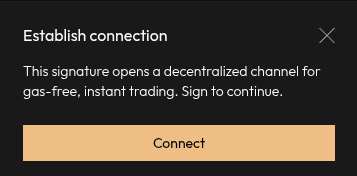
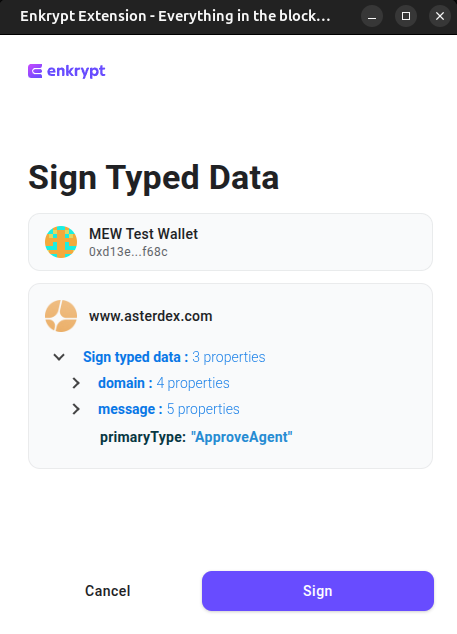
Next, you will need to establish a connection. Click ‘Connect’ to establish the connection.
On the Enkrypt pop up, sign the message by clicking ‘Sign’.
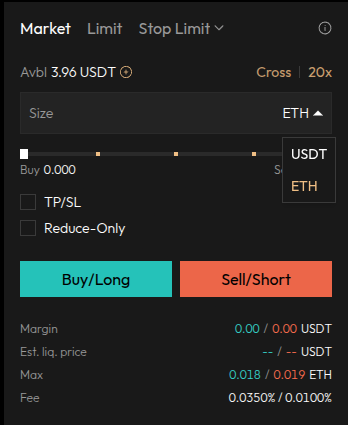
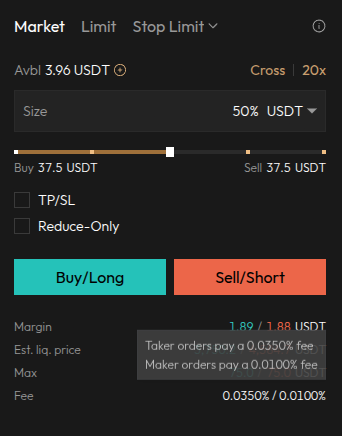
On the buy form, you can click the token dropdown to change the currency. We will choose ‘USDT’ for the example.
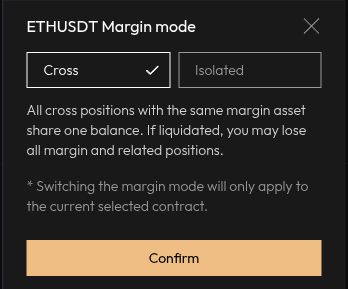
You also have the option to change the margin mode by clicking ‘Cross’ at the top right of the form.

You can select between Cross or Isolated margin modes. We will leave it on Cross for this example.
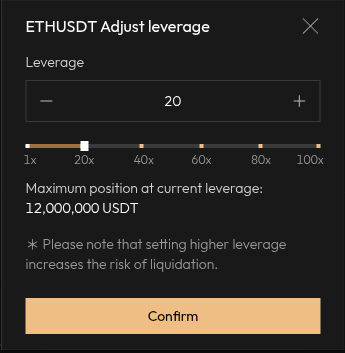
You can change the leverage amount by clicking the multiplier at the top right of the buy form.
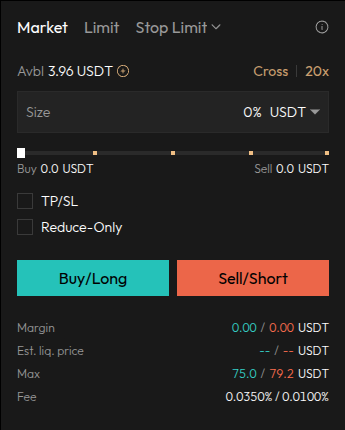
You can enter the number or move the slider to the amount you want to set as your leverage. We will leave it on 20x leverage for this example. You can also increase your leverage to 1001x using the ‘degen mode’ but this is very risky and should only be used by experts at perpetuals trading.
Enter the amount you want to trade then select ‘Buy/Long’ or ‘Sell/Short’. For this example we will select ‘Buy/Long’.
Review your transaction then click ‘Buy/Long’.
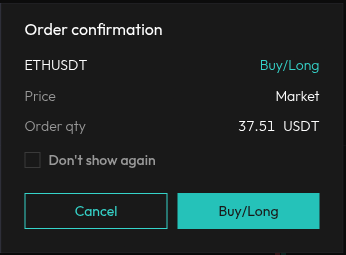
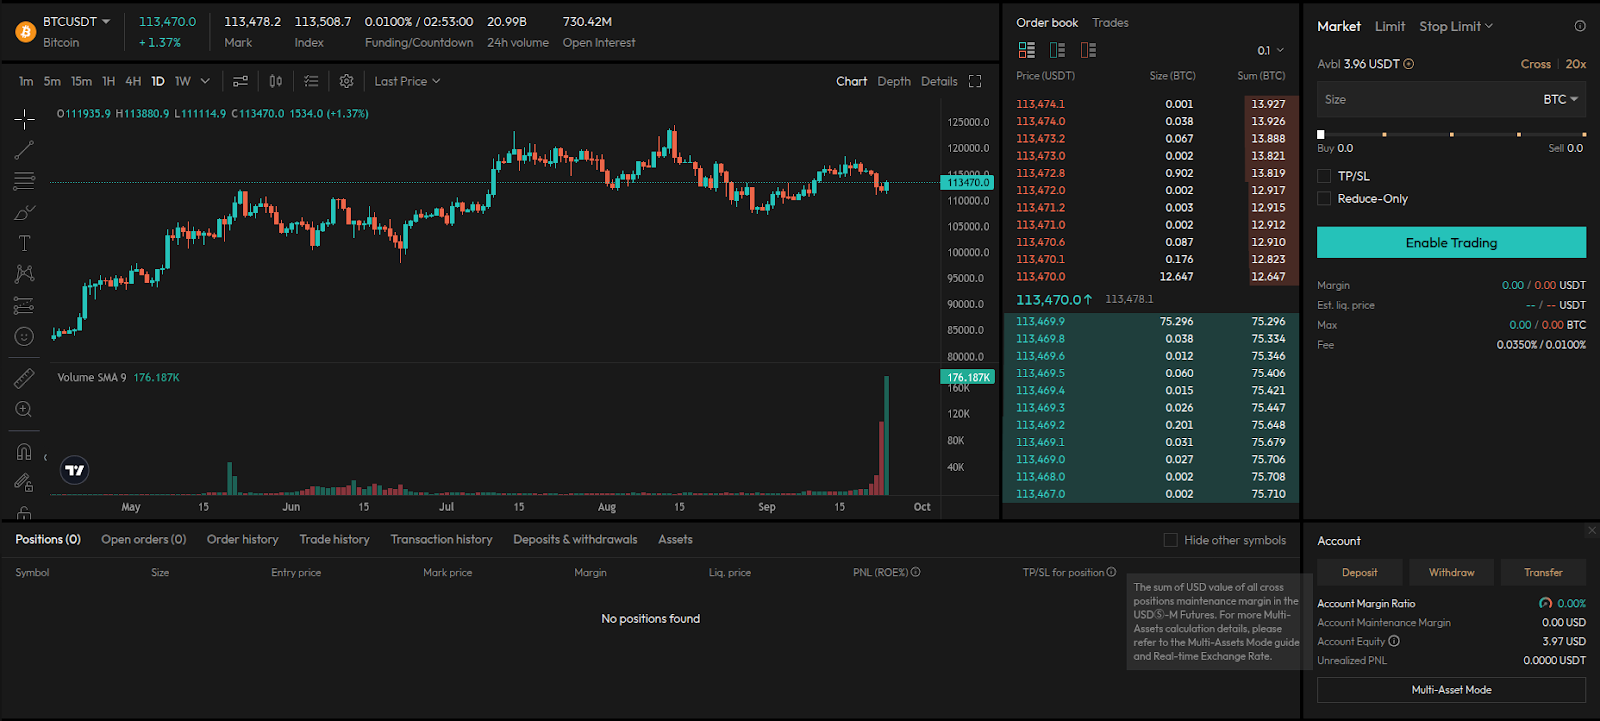
You should see your position underneath the chart in the ‘Positions’ area.

Selling a Perpetual Trade
First, select the ‘Perpetual’ option in the navigation bar.
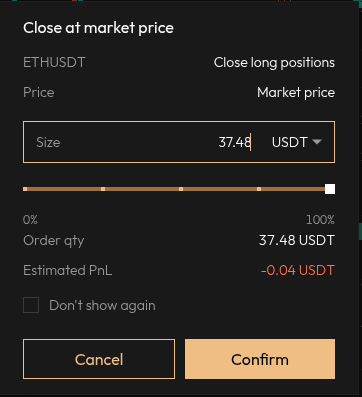
Scroll down to ‘Positions’ underneath the chart. You can choose between ‘Market’ or ‘Limit’ for selling your position.
‘Market’ sells it for Market price, which will sell your token to the highest bidder. ‘Limit’ will let you set your own price to sell the tokens at but this is riskier since you will have to wait for a buyer.
We will choose ‘Market’ for this example.

Enter the amount you want to sell then click ‘Confirm’.
You can view your previous trades by clicking ‘Order history’.

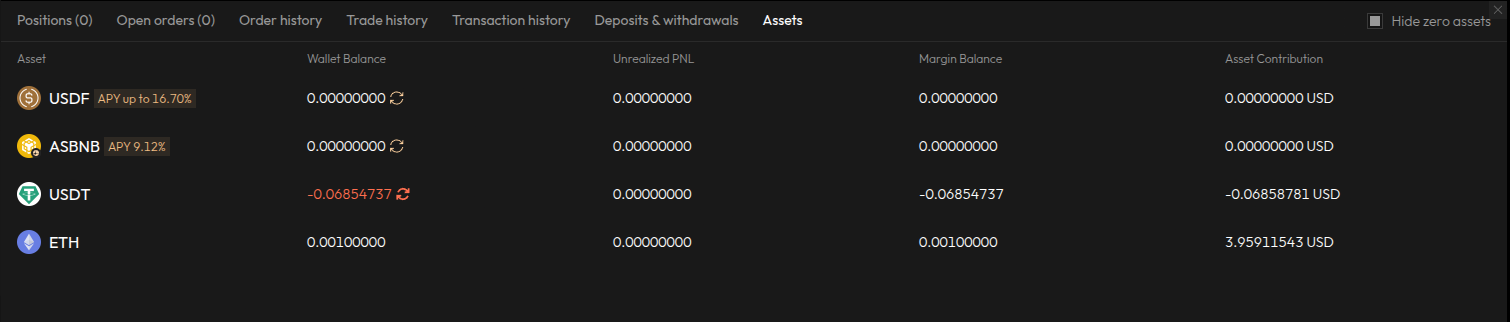
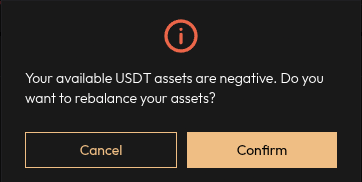
If you sold your position at a loss, you may need to rebalance your assets. To do this, click the ‘Assets’ tab then click the ‘refresh’ icon next to the asset that has a negative balance.
Confirm the rebalance by clicking ‘Confirm’ on the pop up.
Now your balances should be rebalanced and available to withdraw!

Withdrawing Tokens
First, click ‘Perpetual’ in the navigation bar.

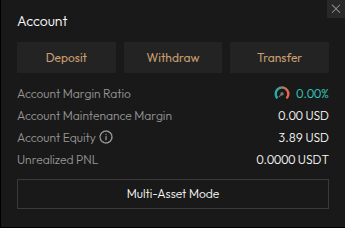
At the bottom right of the page, there is a section labeled ‘Account’ that contains ‘Deposit’, ‘Withdraw’ and ‘Transfer’ buttons.
Click ‘Withdraw’ to start the withdrawal process.
On the Withdrawal form, select the account you want to withdraw from. We will leave it on ‘Perpetual account’ for this example.
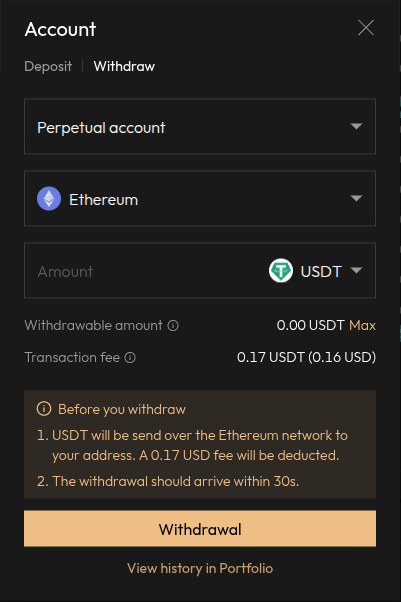
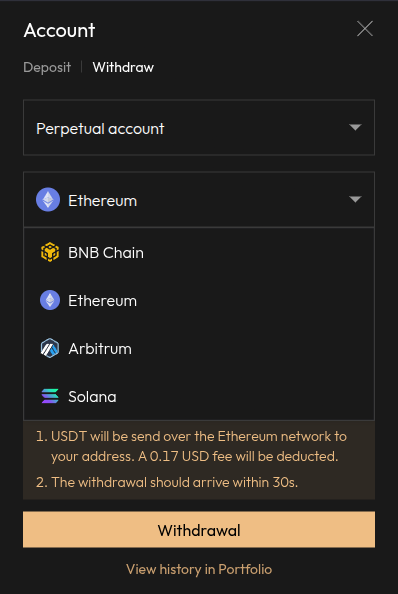
Select the network dropdown to select the network. We will leave it on Ethereum.
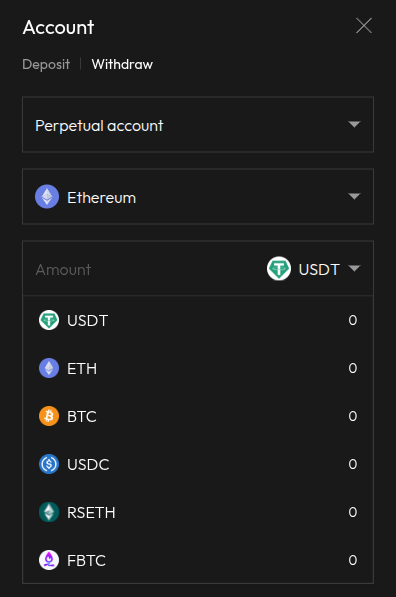
Click the token dropdown to select the token you want to withdraw. Since we deposited ETH we will choose ETH.
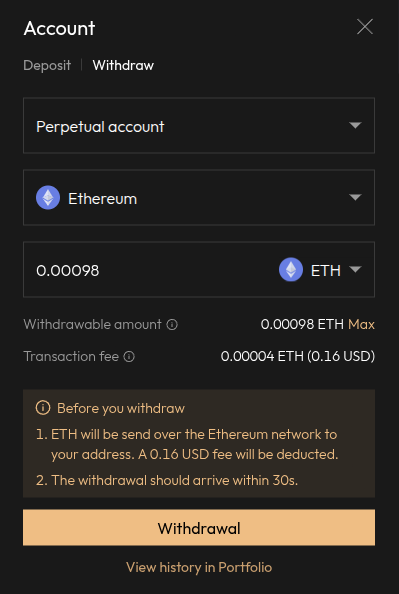
Enter the amount you want to withdraw then click ‘Withdrawal’.
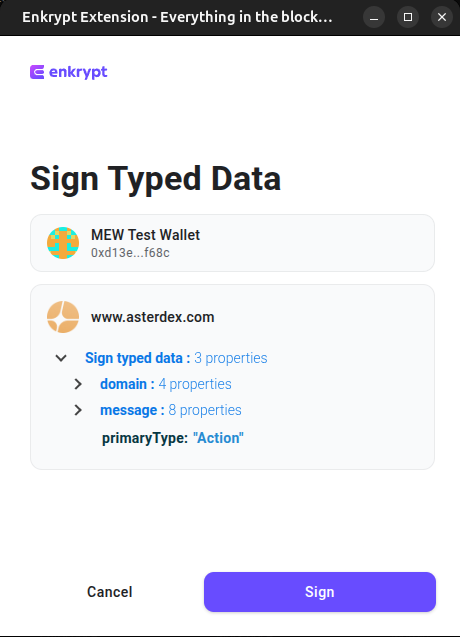
On the Enkrypt pop up, sign the message by clicking ‘Sign’.
You can view your withdrawals by clicking the ‘Deposits & withdrawals’ tab in the navigation bar.

Once your withdrawal is completed, the status of the transaction will change to ‘Success’. The tokens will be returned to your wallet and you can view the transaction details by clicking the Txid.

Thank you for checking out our guide on How to use Aster with Enkrypt! Don't forget to download Enkrypt for a seamless web3 multichain wallet experience. We would love to hear from you on our social media about any guide suggestions you have for the future. Also, if you enjoy using mobile cryptocurrency wallets, give our MEW Mobile app a try, it's available on both iOS and Android platforms!