Get a web3 user name (ENS domain) with Enkrypt
In crypto, a wallet is the basis of all interaction with the space. Buying, swapping, staking, yield farming, collecting NFTs, you name it – all of it starts with a wallet address. The difficult part, especially for newbies, is that the addresses are super long, confusing, and every blockchain has its own format. Worst of all, mistyping even one character means your crypto will go to some unknown wallet and will be lost forever.
The easy solution is blockchain domain names, which are like user names or email addresses for crypto and web3. Getting one is easy and takes less than 10 minutes. After you get one, you can use it across multiple networks to receive crypto and never deal with a gibberish 42-character address again. Here's how to do it with Enkrypt.
1- Make sure you have some ETH in your Enkrypt Ethereum account. You can buy ETH directly in Enkrypt or send from one of your other wallets or exchanges.
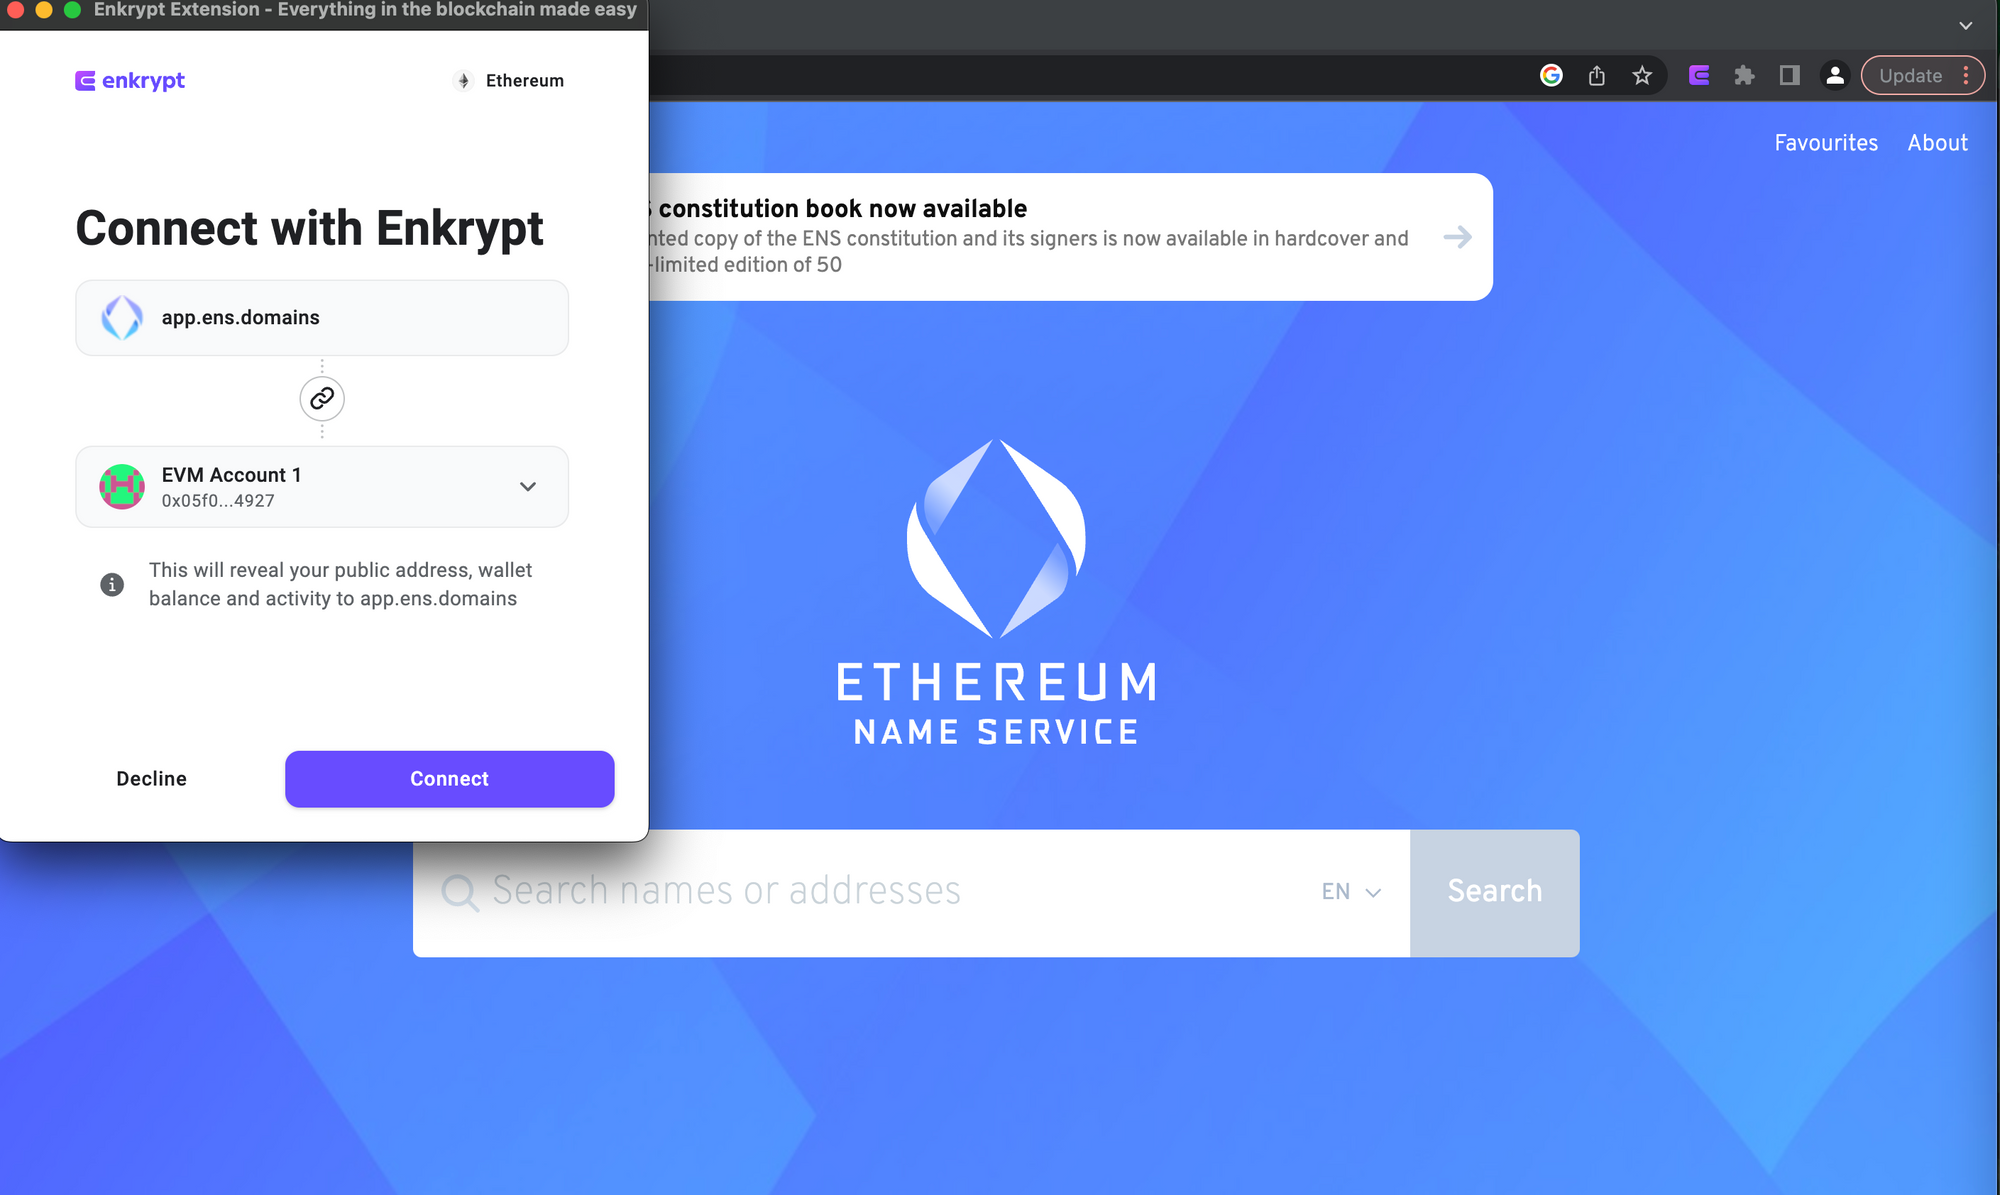
2- Go to the ENS dapp here: https://app.ens.domains. Enkrypt will connect automatically – select the account you want to connect with in the pop up and click Connect. You can also switch the account that you are connected with later by simply switching it in the Enkrypt extension. (If you are not connected automatically, click Connect in the upper left corner of the webpage and select MetaMask to connect. This will work because Enkrypt uses the same type of browser wallet connection.)
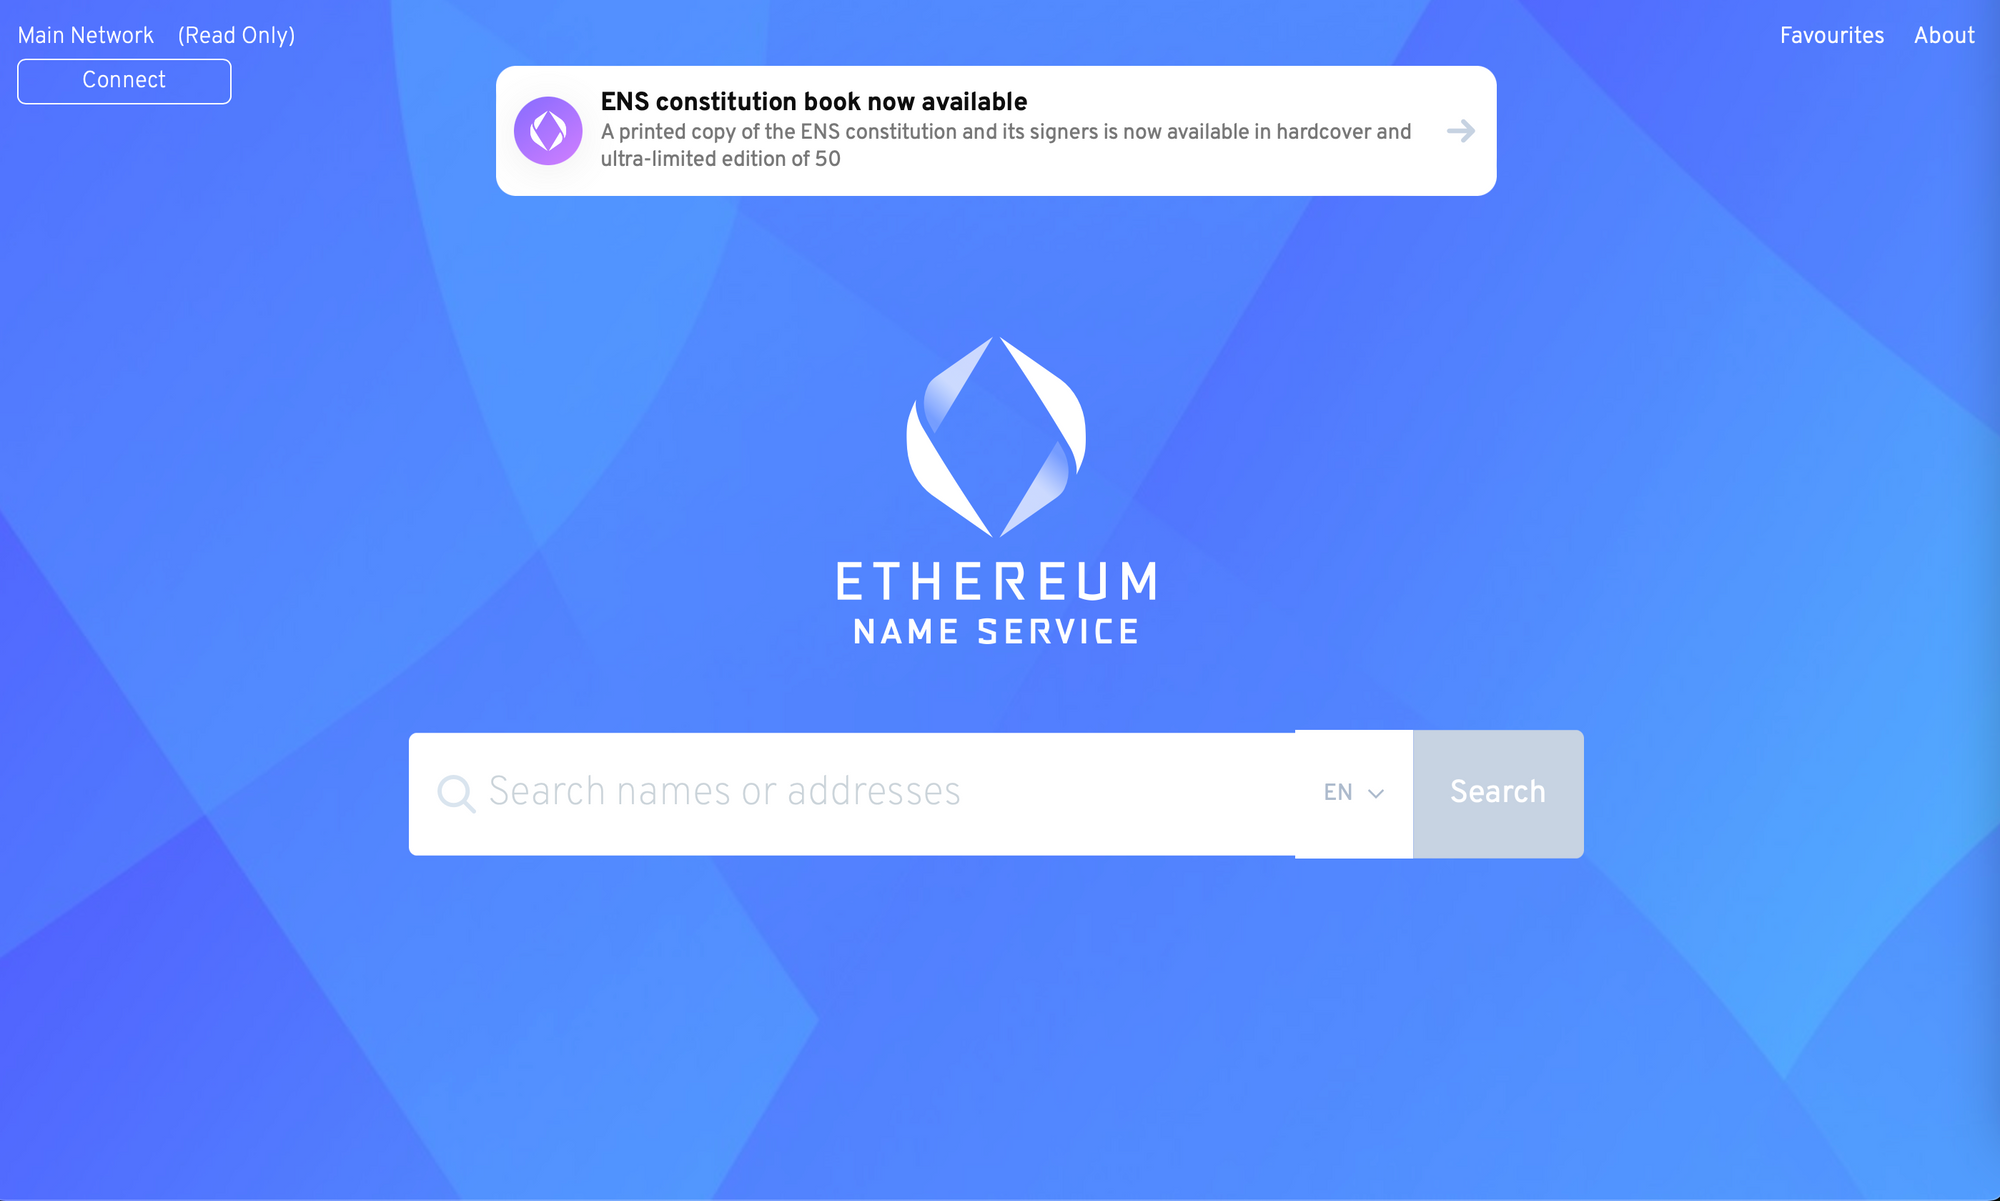
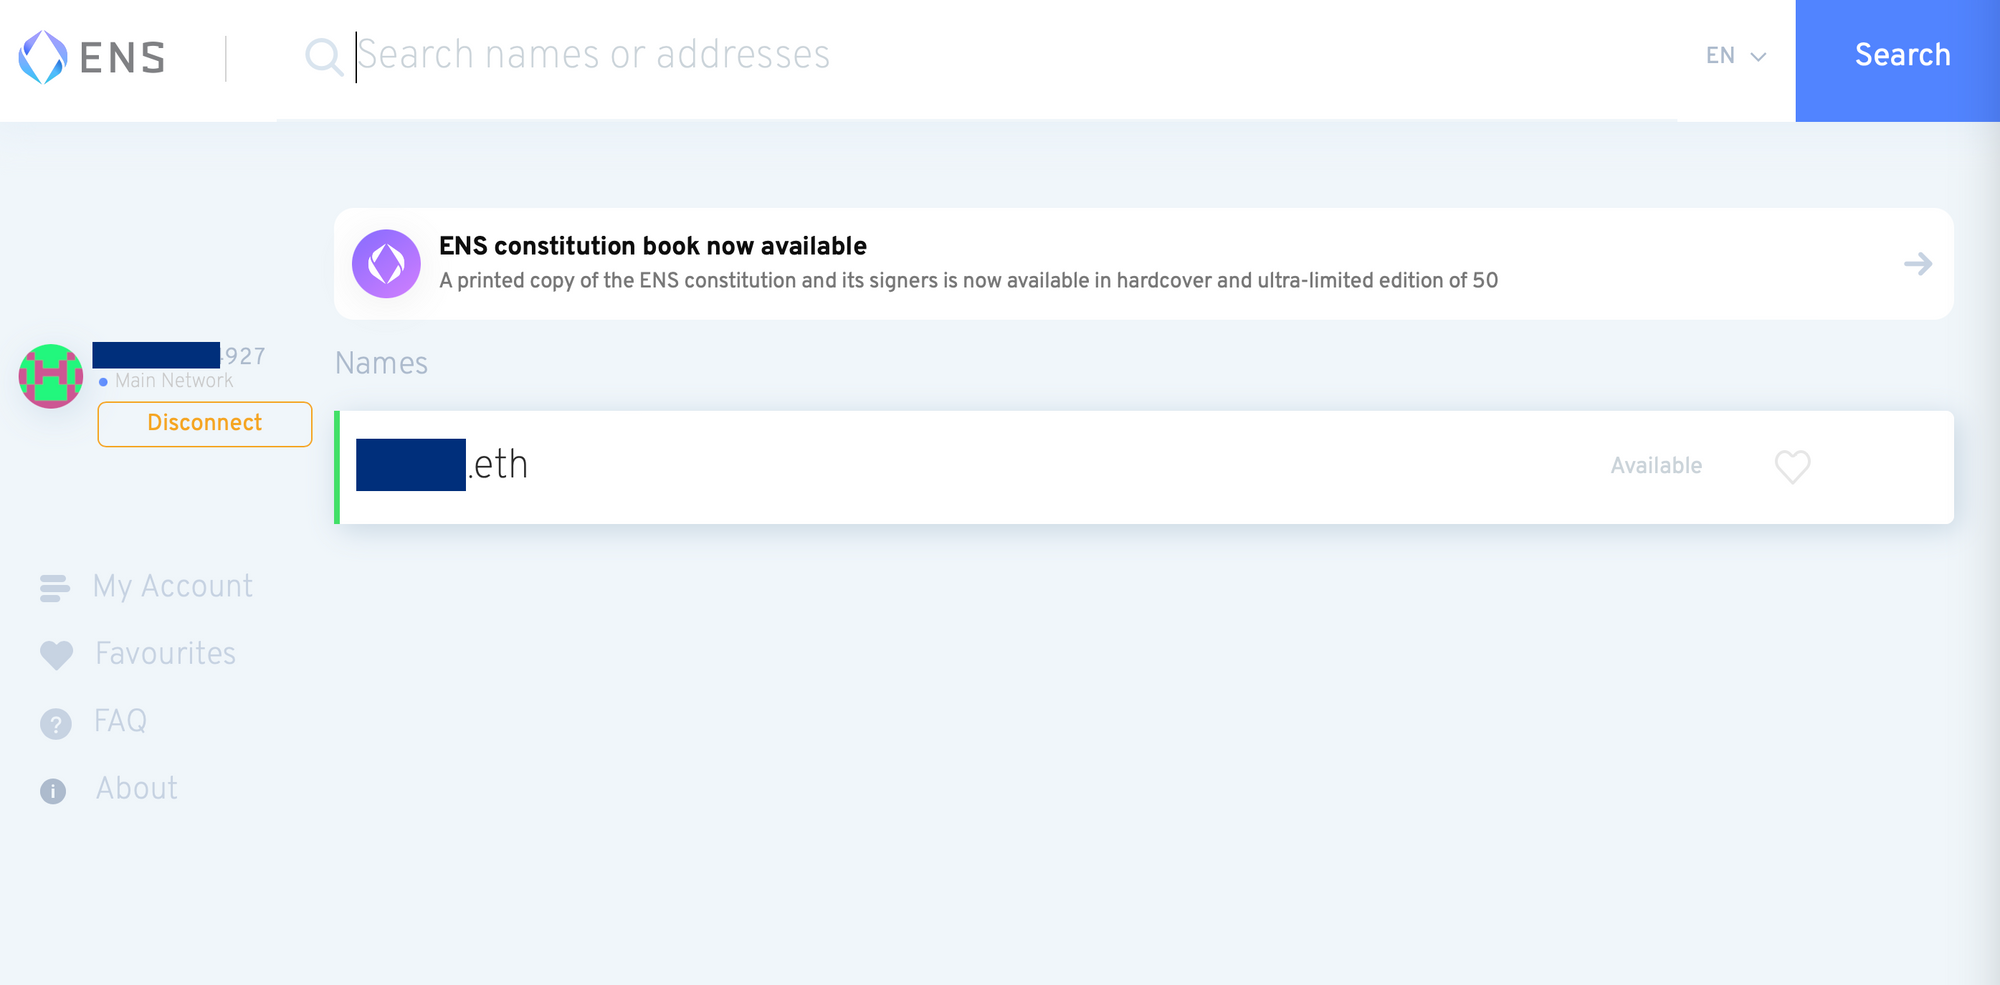
3- Search for a name until you find one that says Available. Click on it to be taken to the registration screen.
4- ENS domains need to be registered for a certain period and renewed when that time expires. Choose for how many years you want to register the name and view the estimated complete transaction price. Take note that the registration will take 3 steps to complete. You will be signing two transactions before you are done.
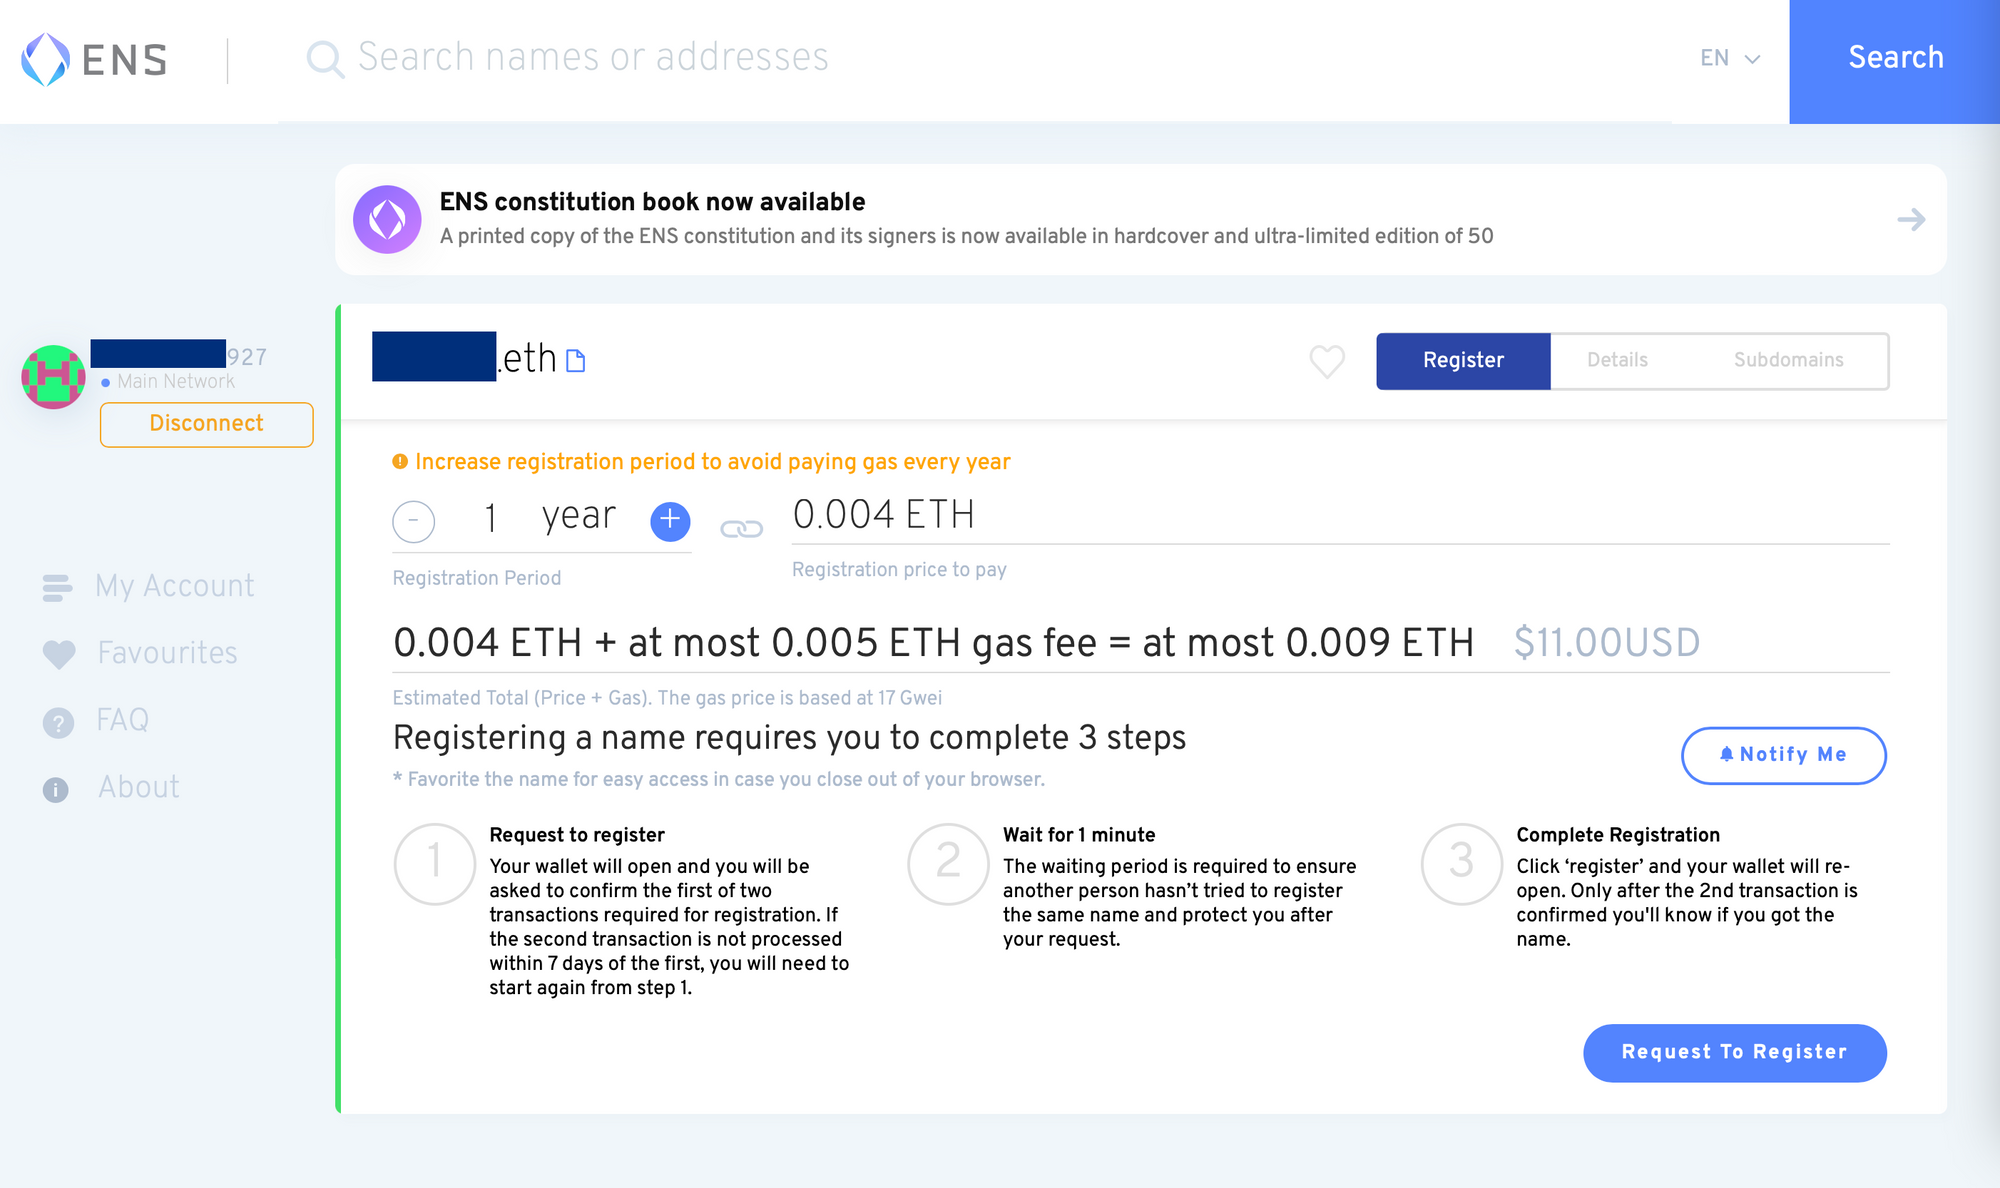
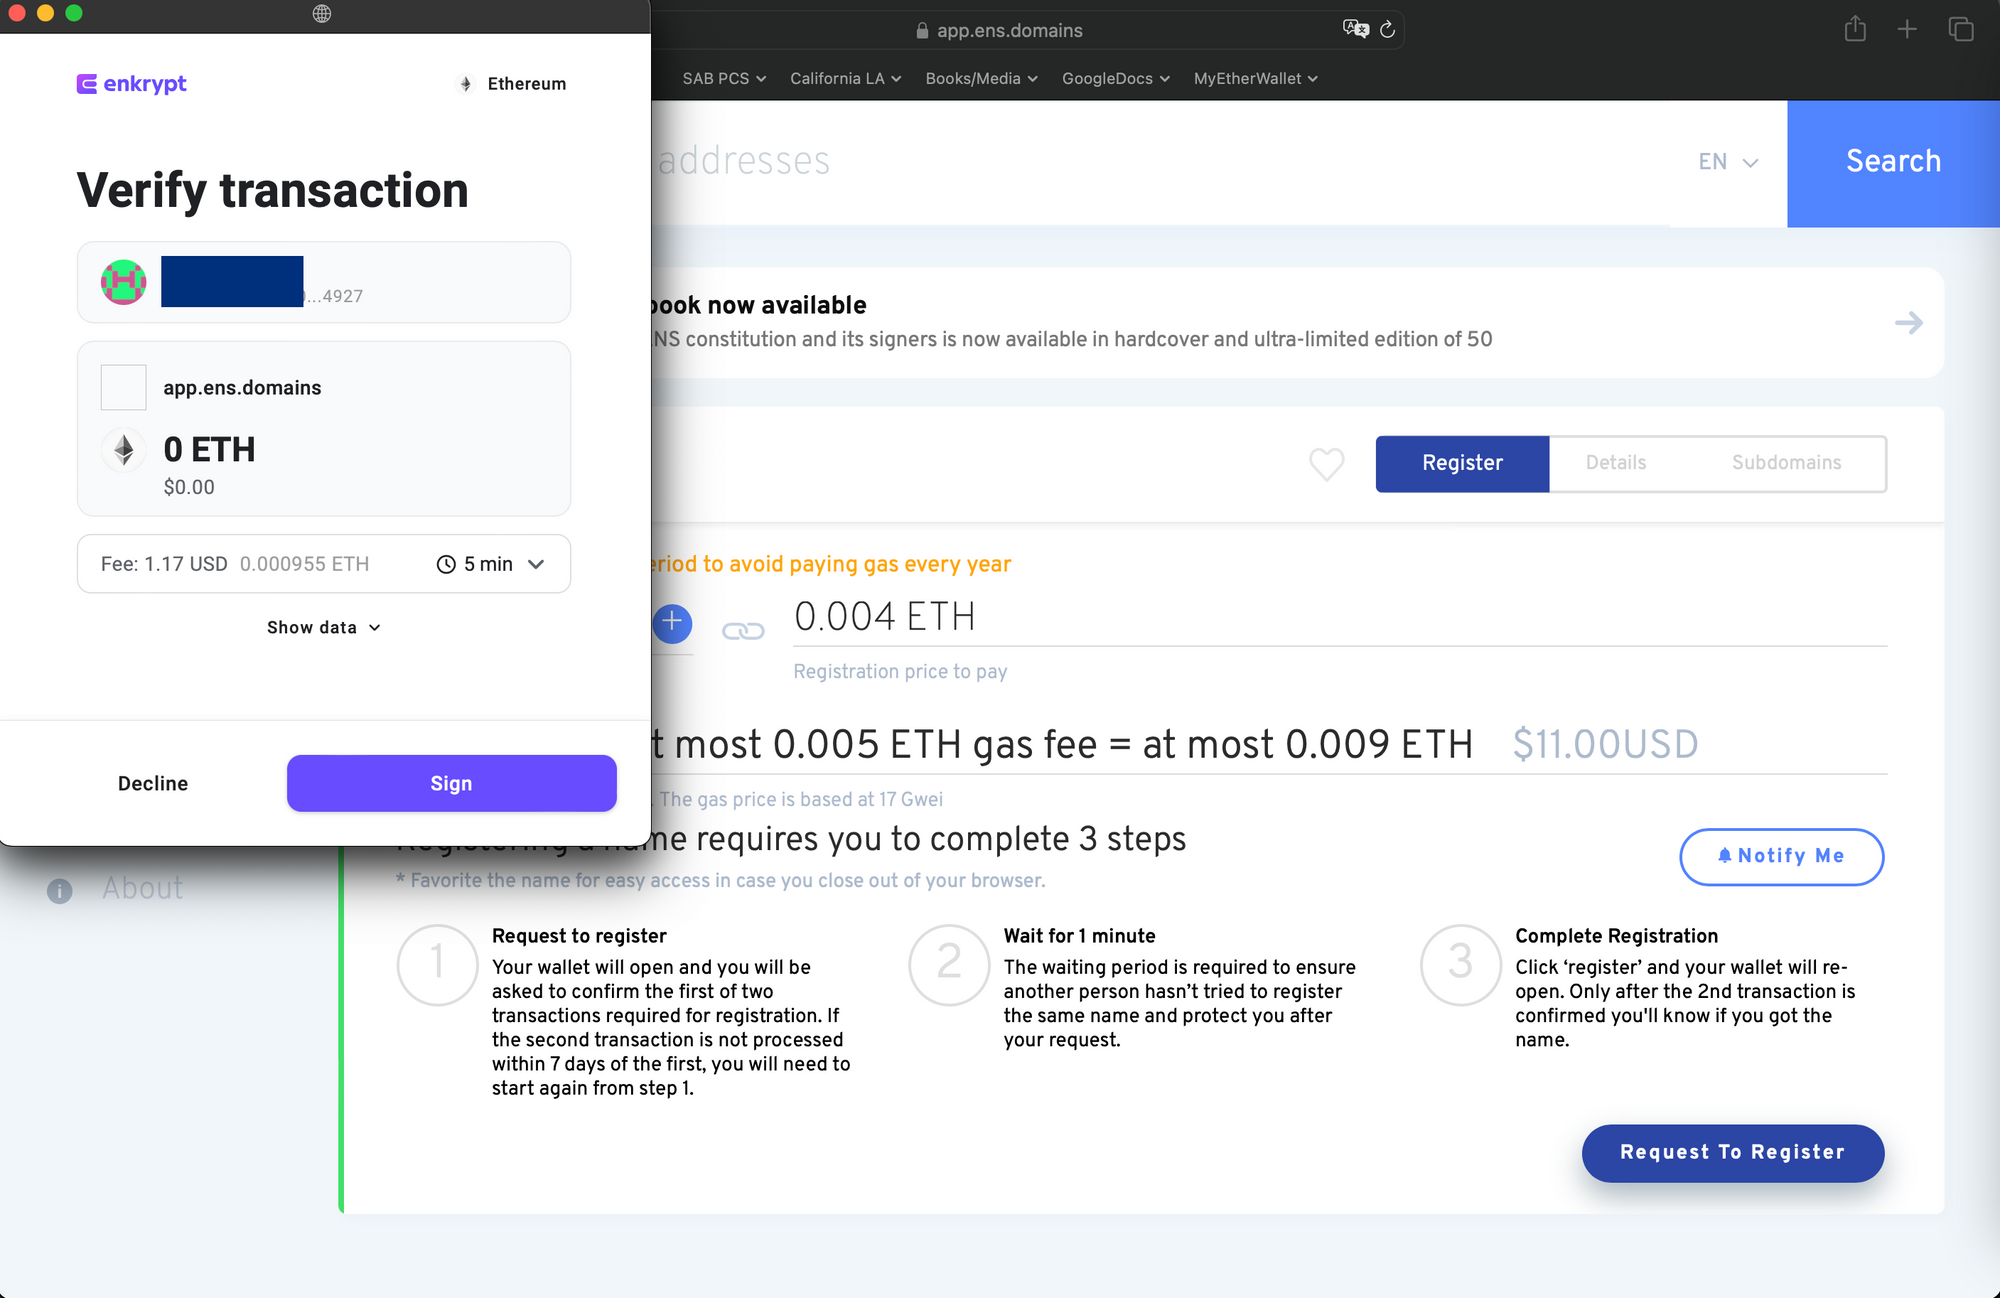
5- Click Request to Register and sign the first transaction on the Enkrypt pop up. This transaction is for '0 ETH' because it's just a request. Wait until the transaction goes through, it should take about a minute.
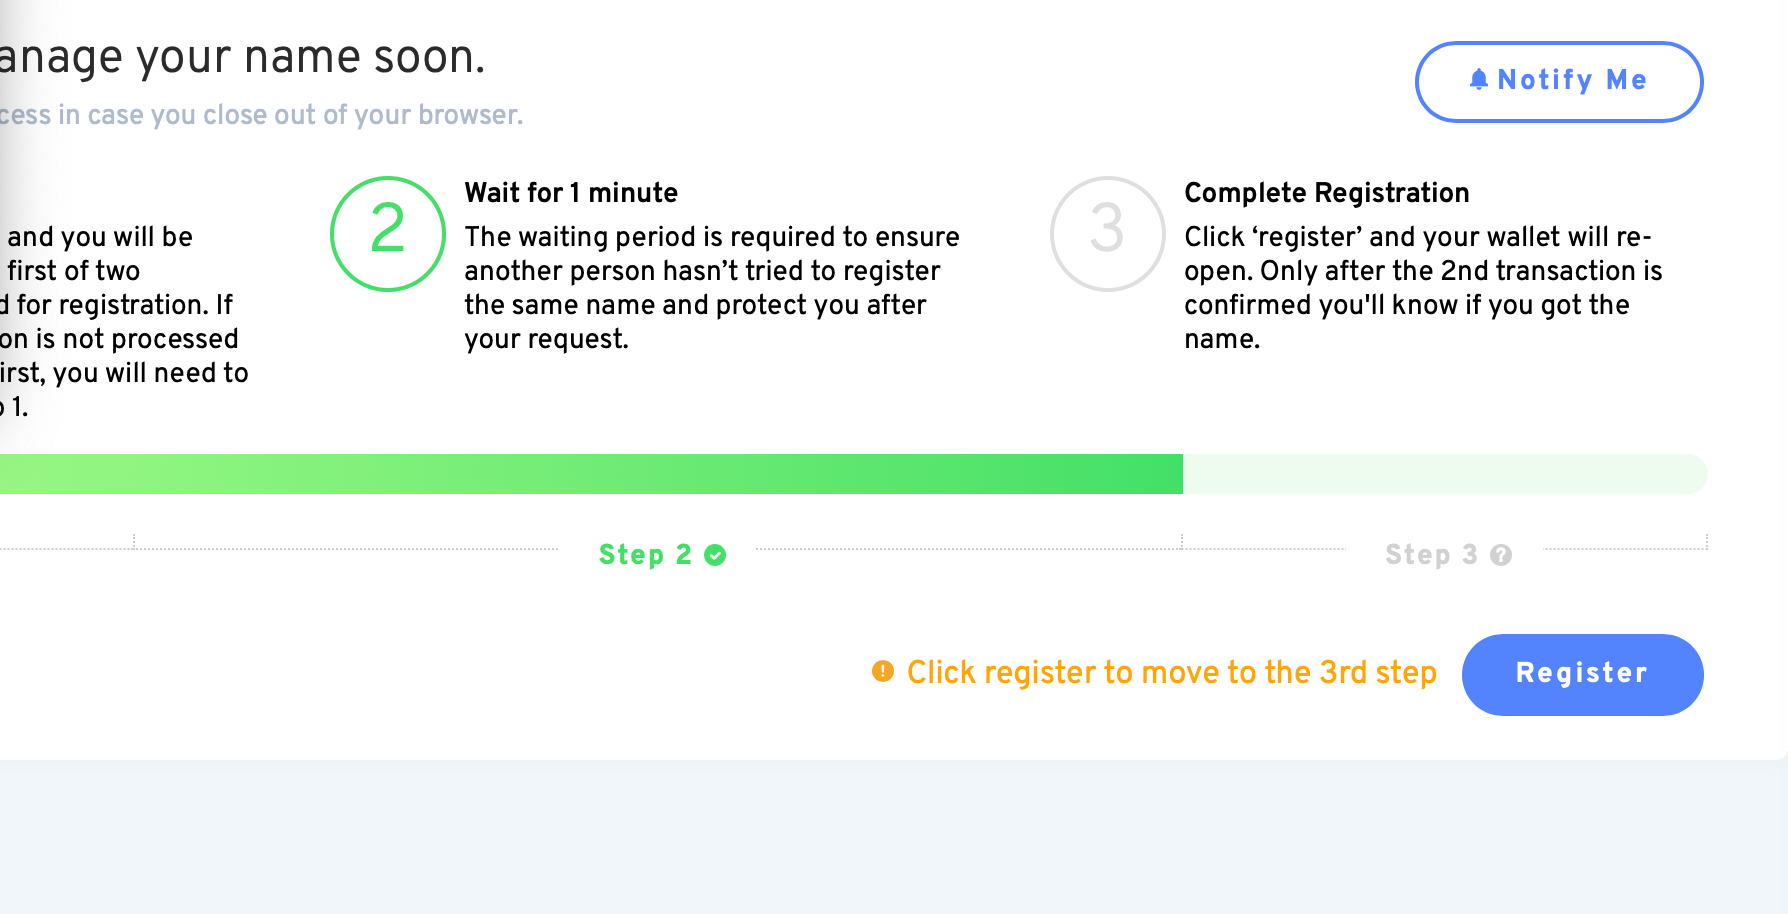
6- After the first transaction is complete, click Register and sign the second transaction which will show the amount you are paying for domain registration and the required network fee.
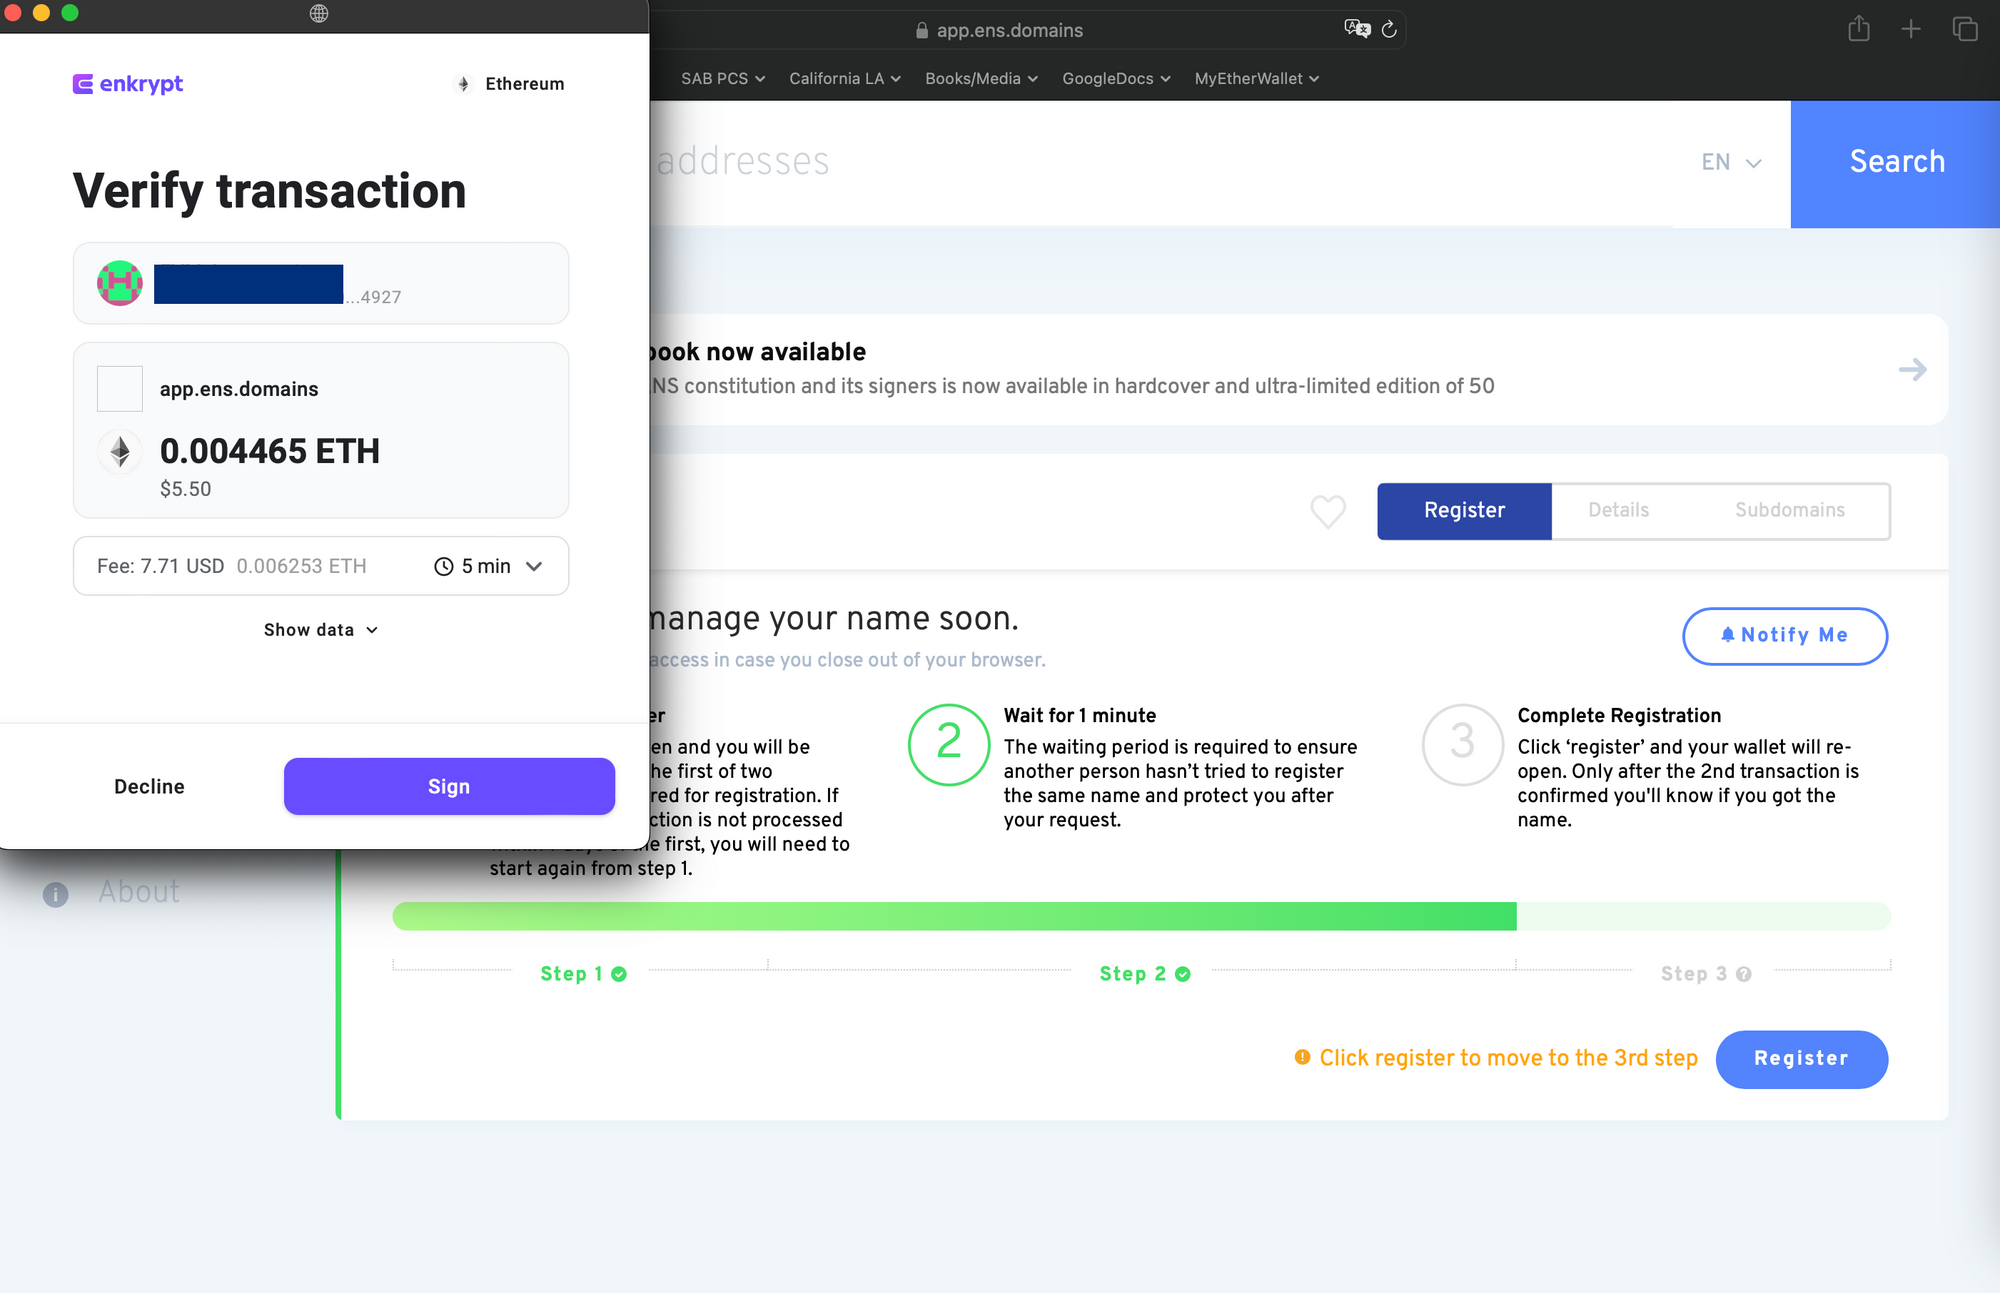
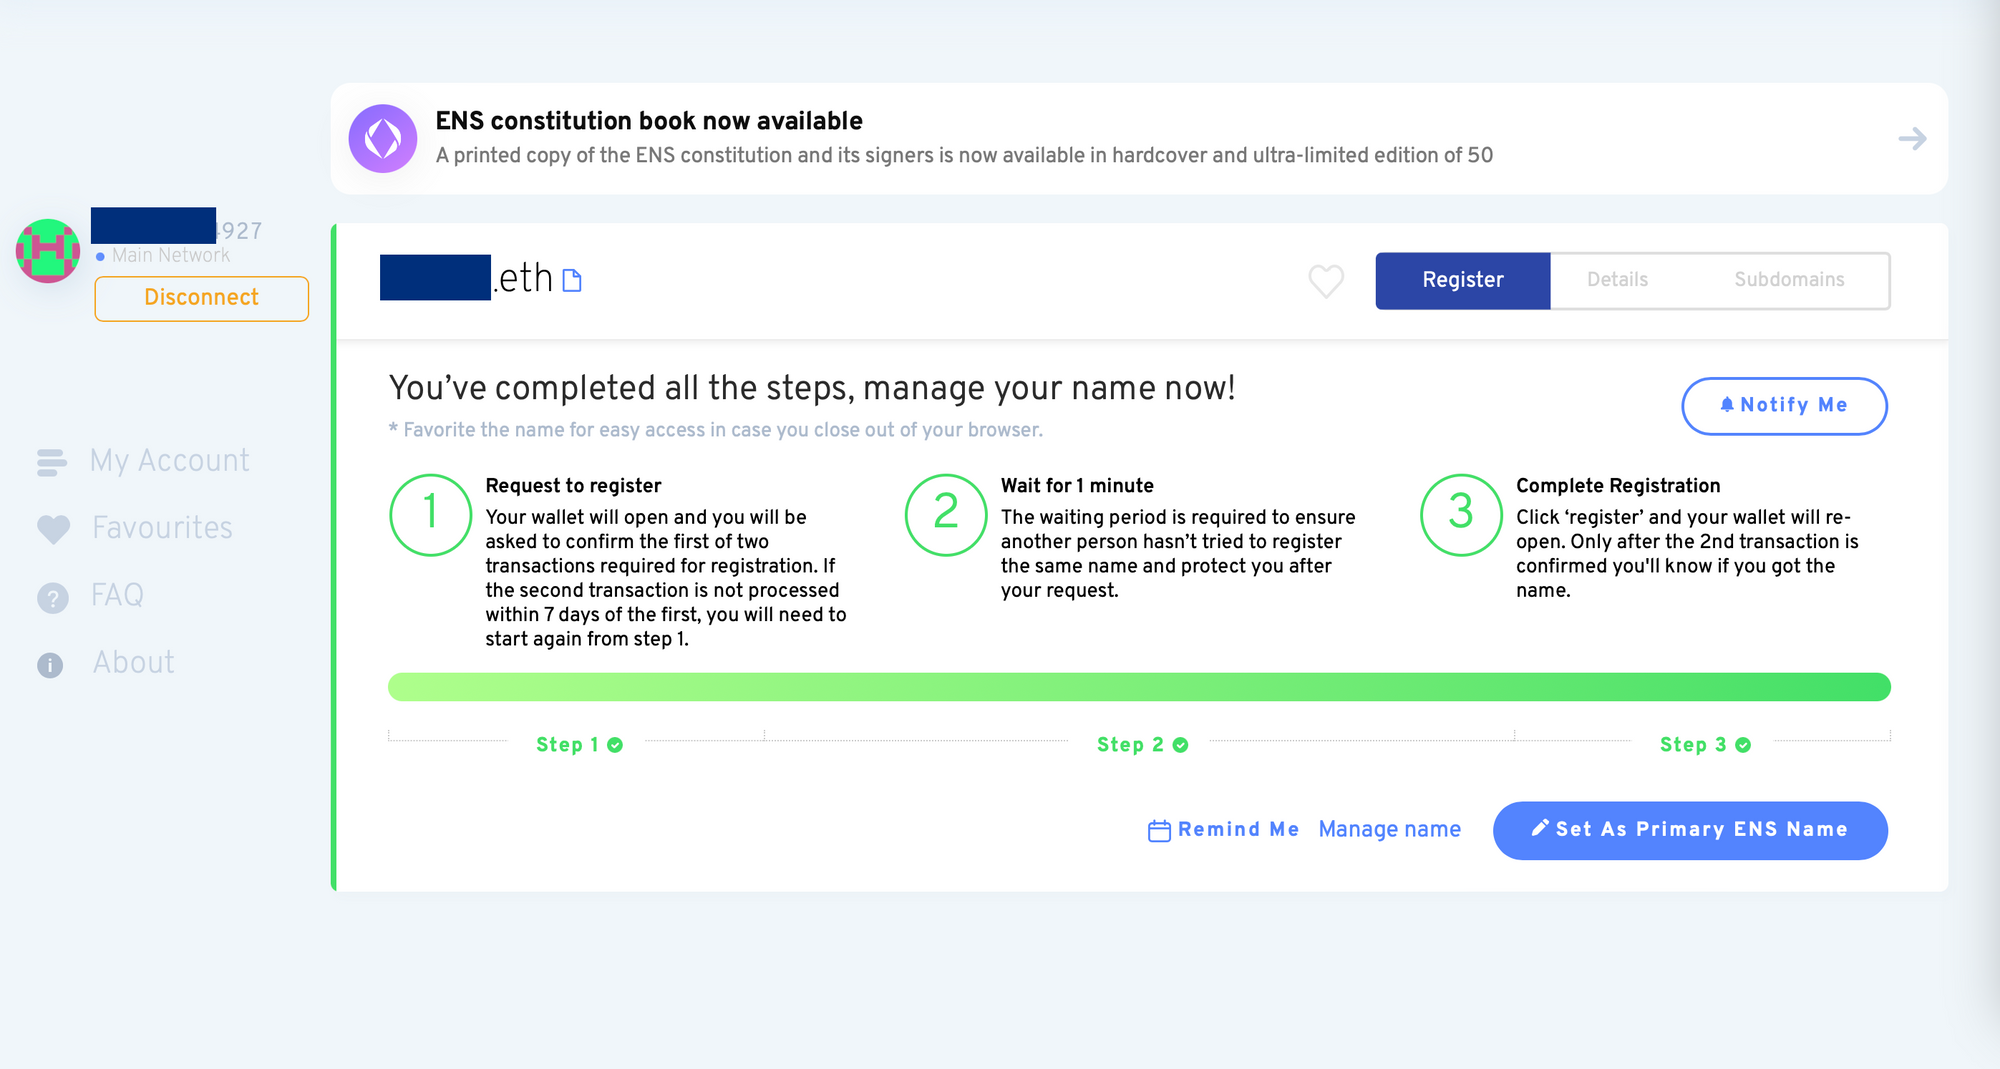
7- Wait for the transaction to complete, and you should now have your ENS domain! You can set a reminder to renew your domain by clicking Remind Me and providing your information. Click Manage name to set additional blockchain addresses that will be associated with this domain – it's not just for ETH!
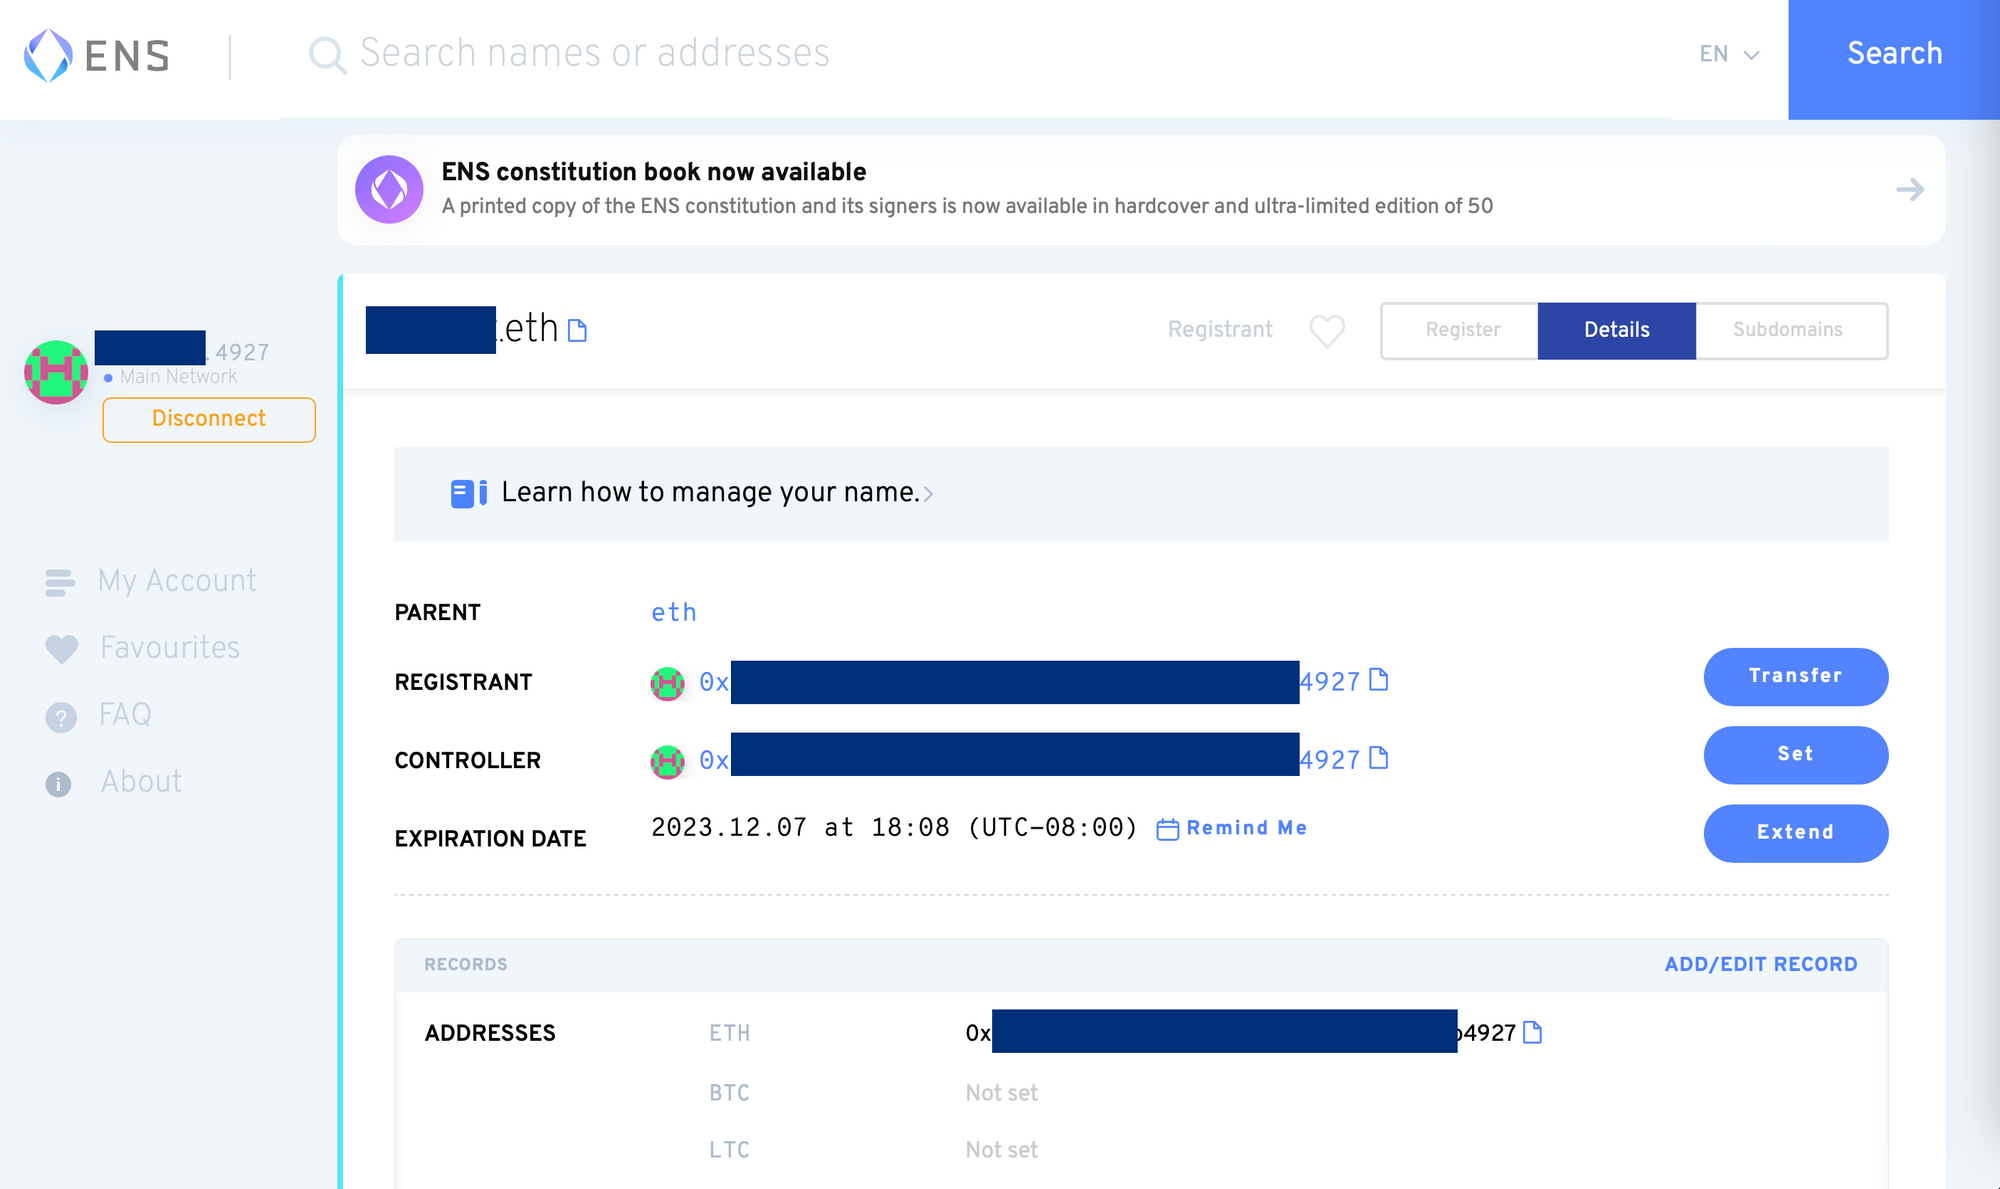
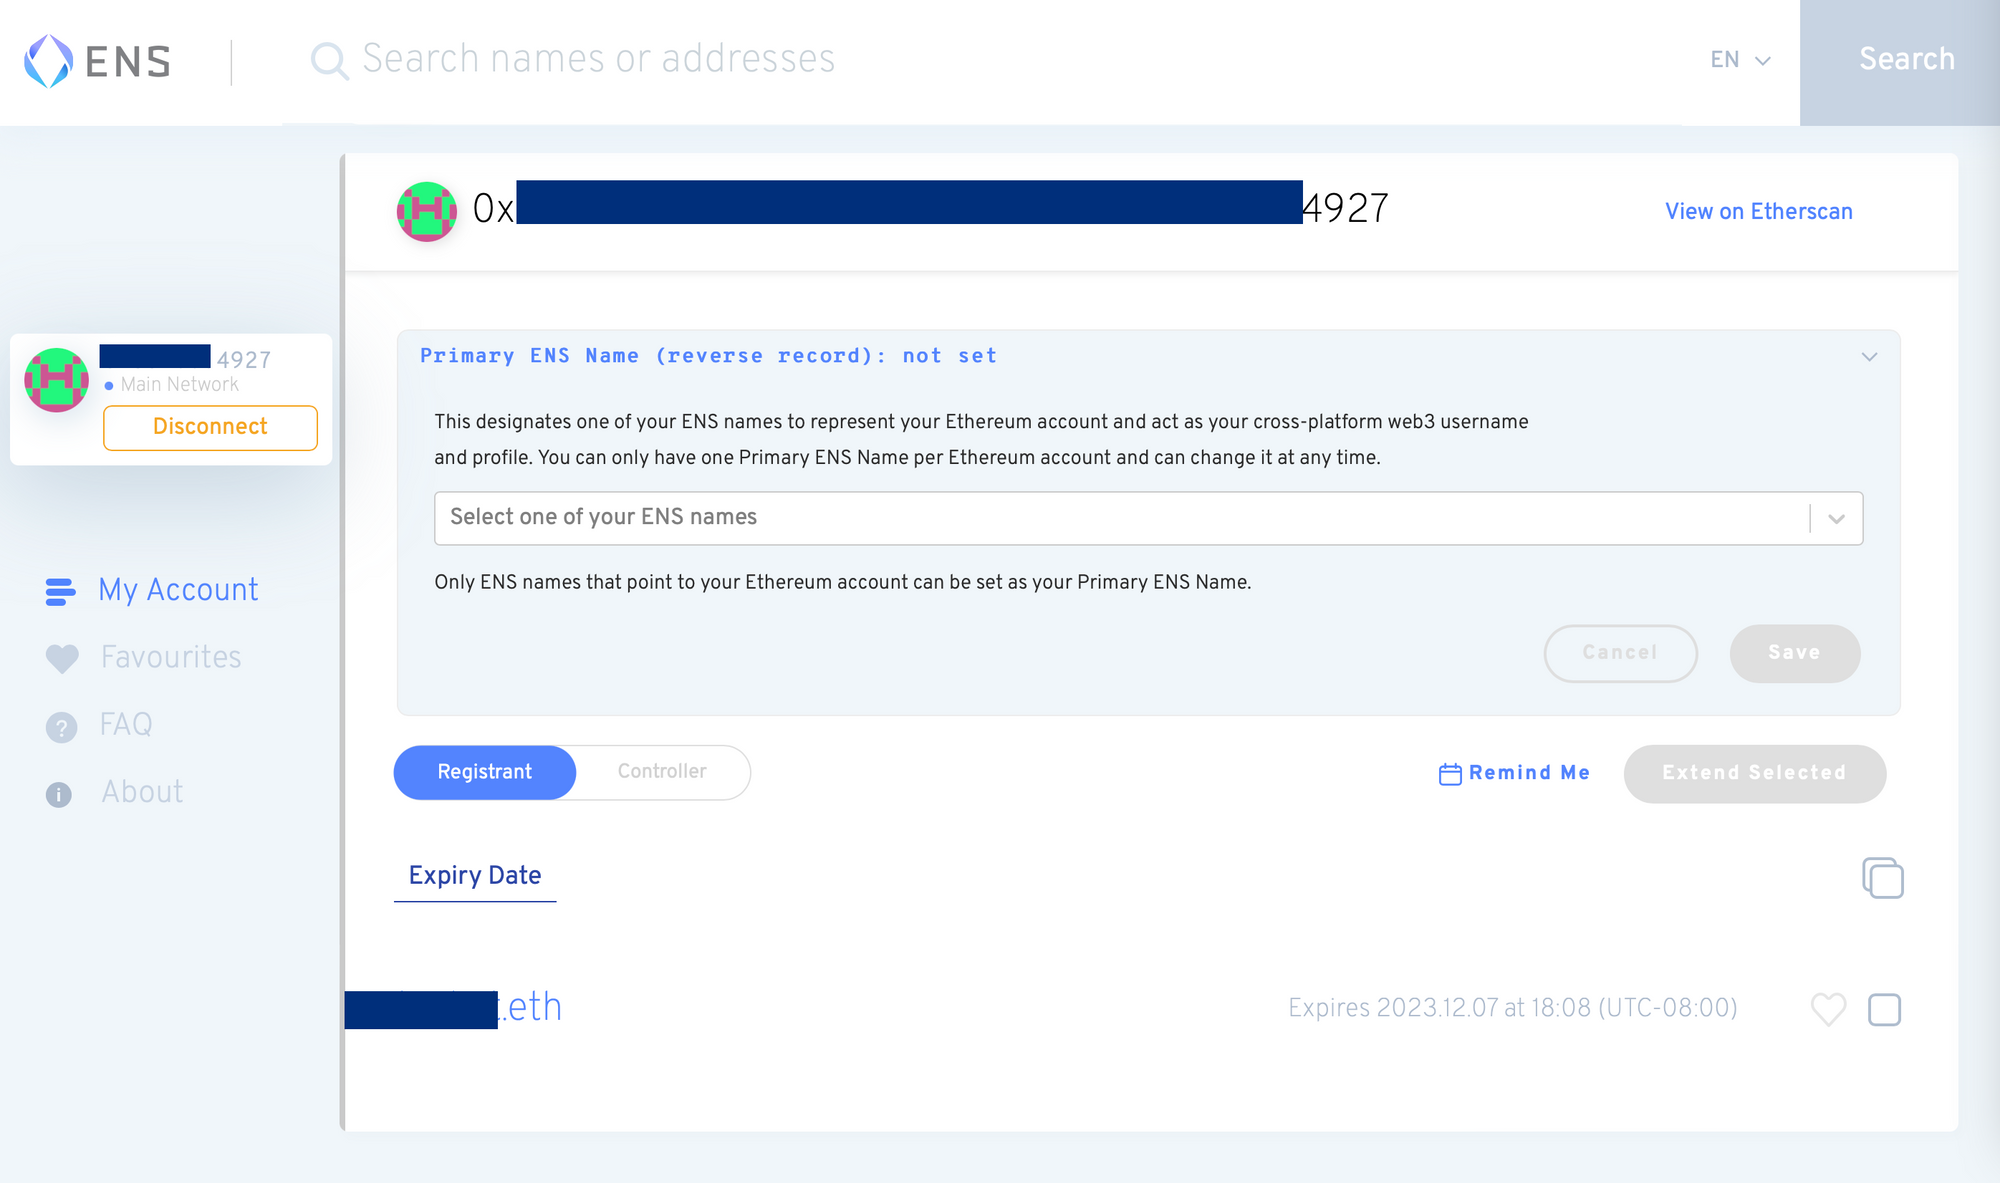
8- You can always come back to the ENS dapp and connect with your wallet to view registration time, extend registration, and manage your domain on the Account screen.
