
Getting Started with Enkrypt Wallet
Once you have an Enkrypt wallet you're ready to explore everything web3 has to offer! Read our guide for help getting started on Enkrypt.


So, you’ve created an Enkrypt wallet (or imported your recovery phrase) and now you are looking for cool things to do – here we go! With Enkrypt you can:
- Receive, send, buy, and sell crypto right from the extension
- Make in-wallet token swaps across multiple networks
- Use dozens of natively integrated chains, including Ethereum Layer 2s like Optimism, Arbitrum, and Base, as well as Bitcoin, Doge, Polkadot and many more
- Collect, view, send NFTs
- Use thousands of decentralized web3 applications (dApps) across the networks that Enkrypt supports, for infinite possibilities
- Import external accounts using private key, keystore file
- Use your hardware wallet like Ledger and Trezor with Enkrypt to interact with networks and dApps
(If you haven’t created or imported a wallet in Enkrypt yet, check out our guide on How to Create or Restore a Wallet with Enkrypt.)
First, pin the extension
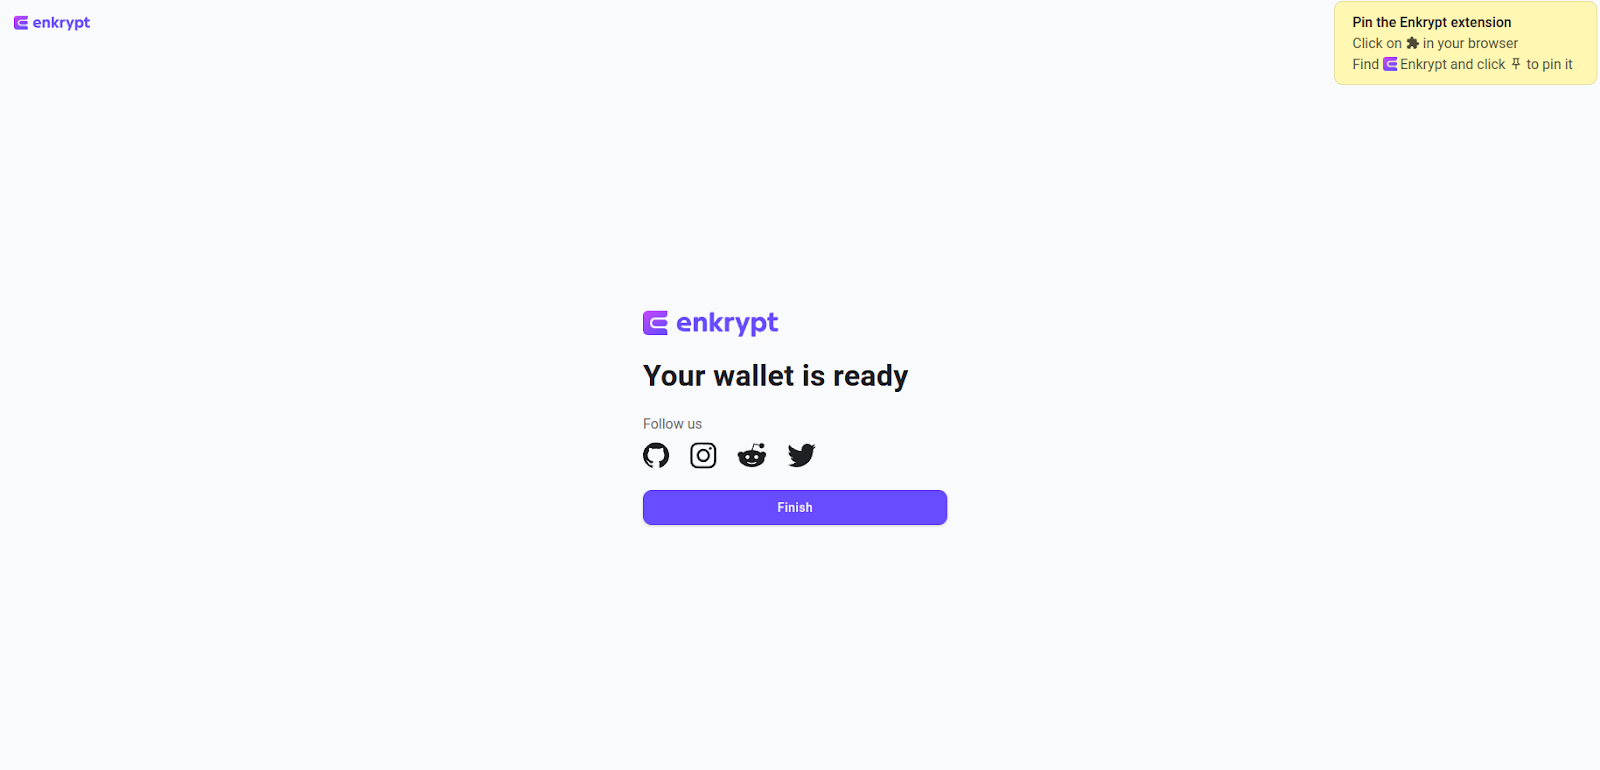
Everything in a browser wallet is done through the extension window. After you create your wallet and click ‘Finish’, pin the extension to your toolbar by clicking the puzzle piece icon on the top right corner, then click the push pin icon next to the Enkrypt option.

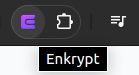
You should see a purple ‘E’ icon next to the puzzle piece. You can click the ‘Purple E’ icon to open the Enkrypt extension. Then enter your password to unlock your wallet.
(If you ever forget your password, you will need your recovery phrase to restore access to the wallet, so make sure you have your phrase written down and stored in a safe place!)

Networks and accounts
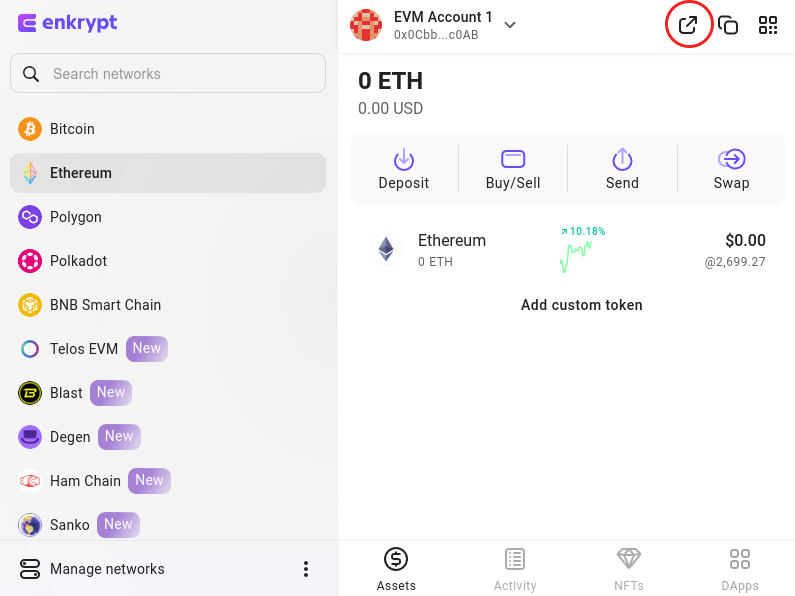
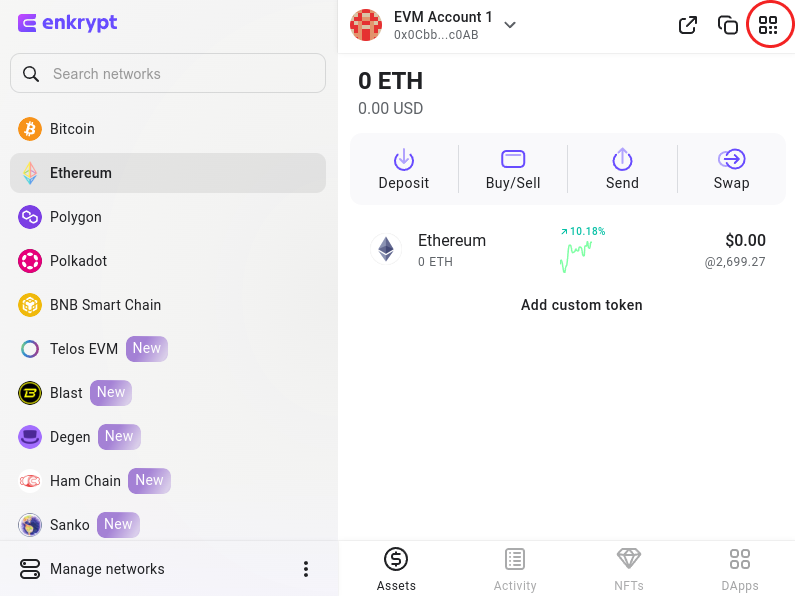
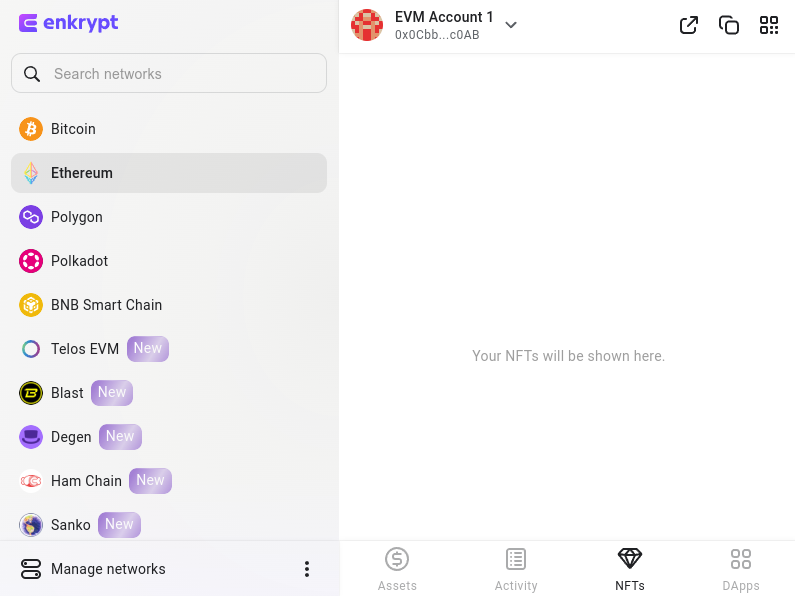
On the left side menu, you will see a list of networks. You can select the network on which you want to send or receive your tokens, or where the dApp you want to interact with is based. Your assets will be displayed on the right side of the interface for the network you have selected.

The listed networks are just a small selection of the ones available in Enkrypt – these are the most popular ones, plus the most recently integrated. To search all networks, click Manage Networks on the bottom and use the search window.

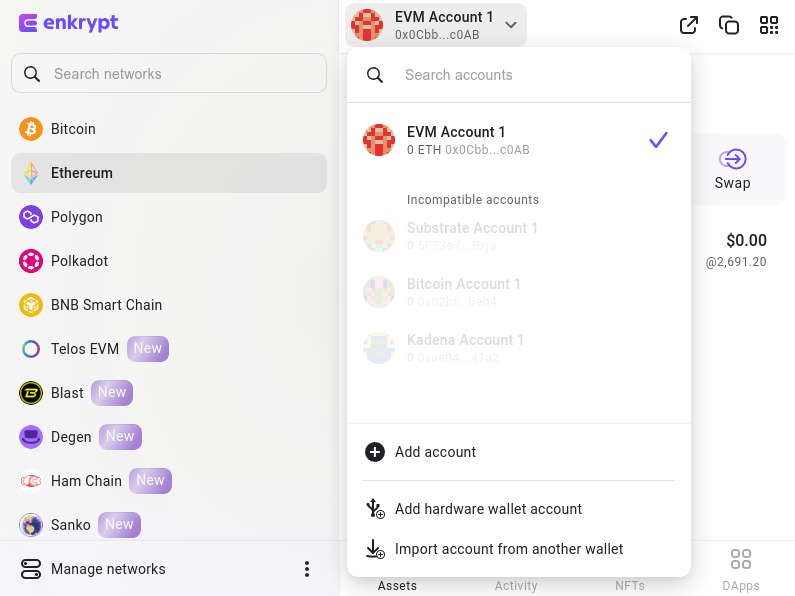
In Enkrypt, you can have multiple accounts on each network that Enkrypt supports. To add more accounts, and to give them custom names, just click the dropdown menu next to the account. All accounts on all networks are backed up by the same recovery phrase that you got when you created the wallet – so keep it safe!
Viewing Your Balance
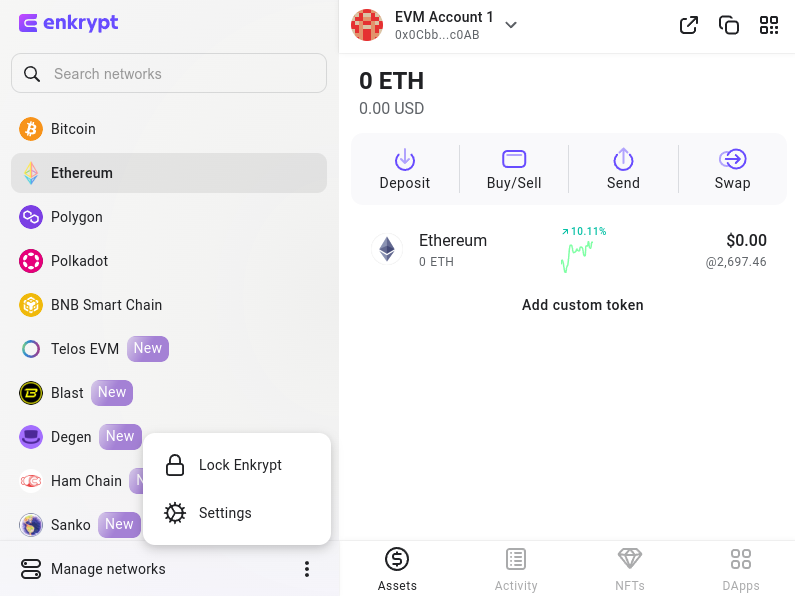
The circled area will display your balance for the native coin of the selected network and how much it is worth in fiat (our pricing is taken from CoinGecko).

Clicking the ‘Activity’ option on the bottom navigation bar will show the transactions that have taken place on your wallet.

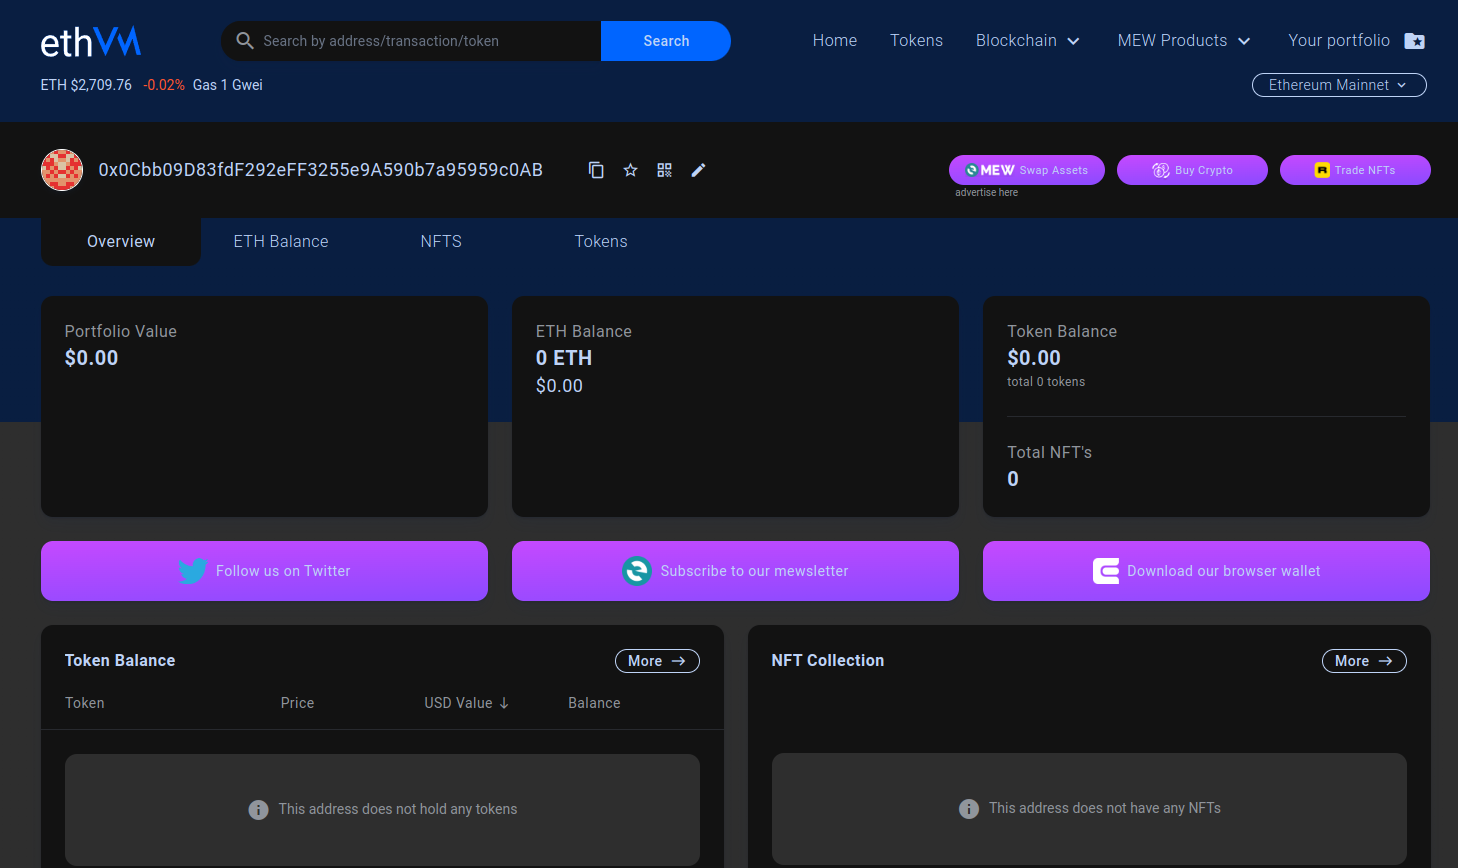
Clicking the ‘Box with an arrow’ icon will bring you to your address page on a blockchain explorer.
Our blockchain explorer EthVM will display your wallet address and all the transactions, tokens, NFTs and your total balance in USD.
Send and Receive
Clicking the ‘Two boxes’ button will copy your address to your clipboard, so you can easily share your address.

Selecting the QR code located at the top right of the interface will display your wallet address along with a QR code that you can scan with another wallet, like our MEW Mobile app, to send crypto to this address. Selecting the ‘Deposit’ button shows the same information – your wallet address so you can receive crypto.

Clicking the ‘Send’ button will let you send your tokens or NFTs to another wallet. Clicking the ‘Send token’ dropdown arrow will let you choose between sending a token or NFT.
You can enter the address you want to send your crypto to by entering it into the ‘To’ field. Then enter how much you want to send. The fee for the transaction will be displayed at the bottom with the estimated time for the transaction to complete. You can adjust the transaction priority (and therefore, the fee) by clicking on the Fee dropdown.

Buy and Sell Crypto
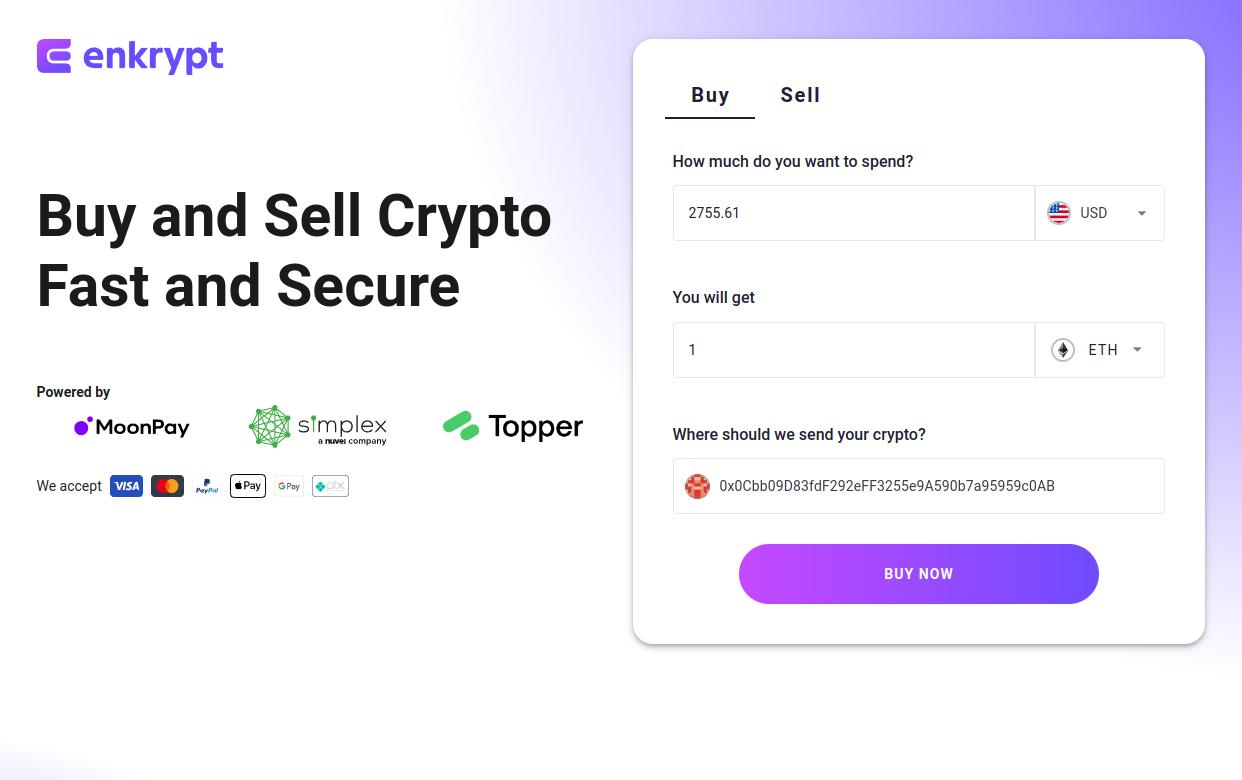
Clicking the ‘Buy/Sell’ button will bring you to our web page where you can buy or sell your ETH, BTC, MATIC, DOT and more.
Swapping Crypto
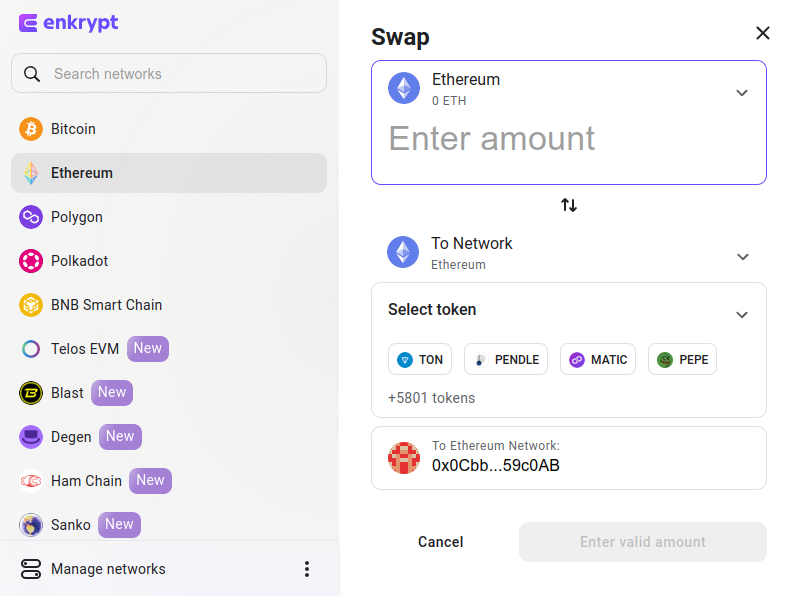
Clicking the ‘Swap’ button will allow you to swap your coins or tokens on the same network or even across different networks.
You select the token you want to swap from then select the token you would like to receive. Enter the amount you want to swap and you should be presented with an estimate of how many tokens you will receive.
Decentralized applications (DApps)
Clicking the ‘DApps’ option on the bottom right of the interface will show a list of featured decentralized applications (DApps) available on the network you are currently on. (Some networks may not have this option.)
These are just suggestions of what kind of applications you can connect to using Enkrypt, and then use the crypto you have in your wallet to list or buy NFTs, earn yield, provide liquidity, stake, trade, and much much more.

Connecting to a DApp
You can connect to a DApp by selecting the ‘Connect Wallet’ button located on the DApp. In this example, we will use Uniswap. You can either choose the ‘Connect’ button on the top right or the ‘Connect Wallet’ button in the middle of the page.
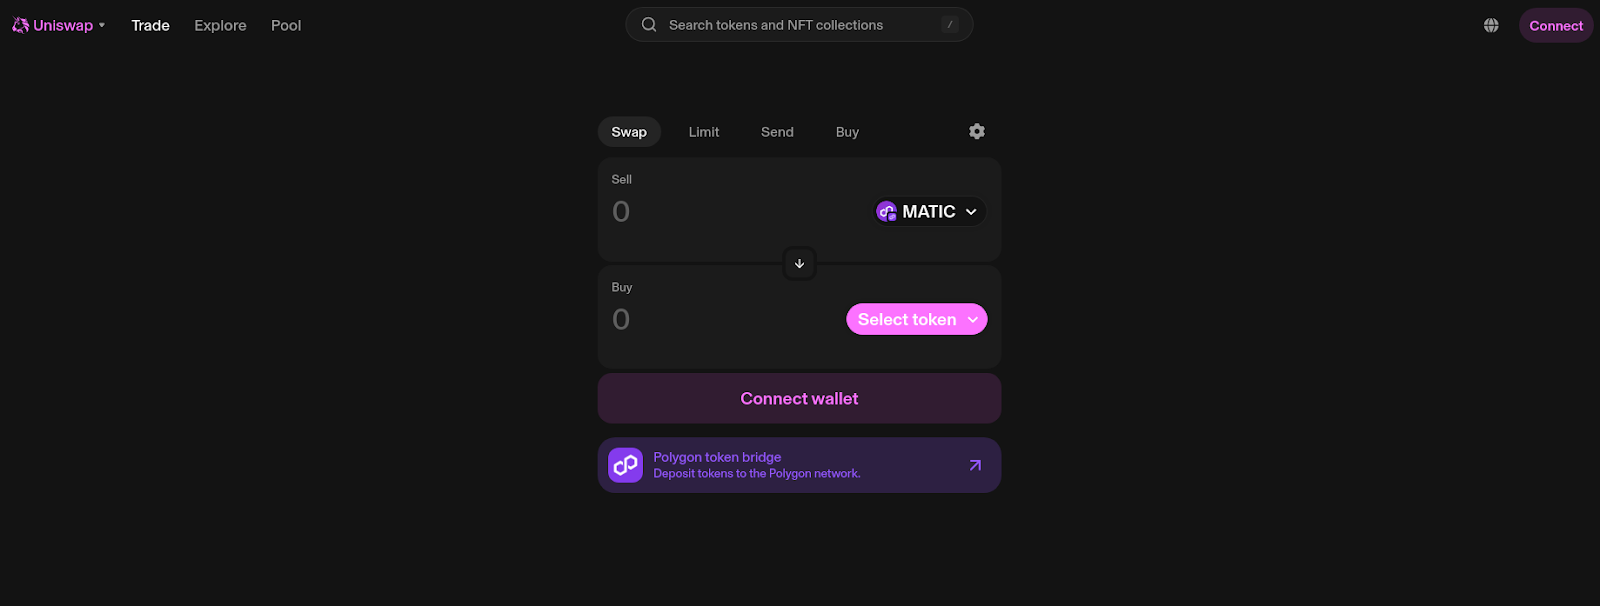
You can select the ‘Enkrypt’ option to start the connection process. If there is no Enkrypt option, you can select ‘MetaMask’. This works because Enkrypt supports the MetaMask connection.

Enkrypt should pop up asking you which wallet you want to connect with.

You can select which wallet you want to connect with by selecting the wallet selection dropdown menu. Once you’re done selecting the wallet, you can click ‘Connect’ to connect your wallet to the DApp. After that, you can take any actions in the DApp interface while using the crypto you have in your Enkrypt wallet.

NFTs
If you have NFTs, they will be viewable when clicking on the NFT tab on the bottom. NFTs may not be supported on all the integrated networks, but they are on the major ones – Ethereum, layer 2s, and even Ordinals on Bitcoin.
Settings
Clicking the ‘Three dots’ under the network list will display the ‘Settings’ and ‘Lock Enkrypt’ options.
The ‘Lock Enkrypt’ option will make it so you have to enter your password again when you try to access the wallet.
From Settings, you can contact support, check out the Bug Bounty program, review Privacy and Terms, as well as view your recovery phrase if you want to double check what you wrote down. You will need to enter your password to view your phrase.
If you would like to restore a wallet with a different recovery phrase you will need to reset the wallet by selecting ‘Reset wallet’ then restore the wallet. This will completely reset the extension so make sure you have the recovery phrase backed up if you want to access the wallet again!

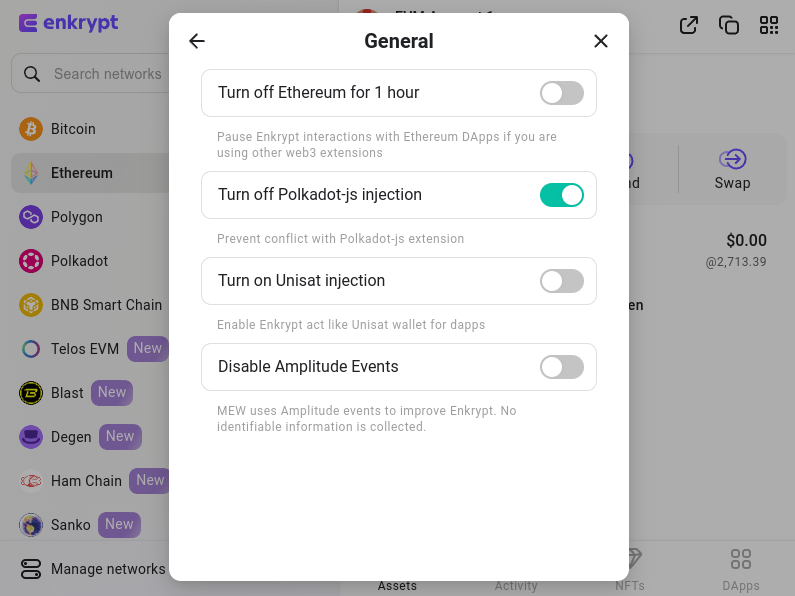
In the general settings, you can change how Enkrypt works when you have other web3 browser wallets installed, as well as disable analytics (no identifiable personal information is ever collected or stored by Enkrypt).
More resources for using Enkrypt
To explore more things you can do with Enkrypt – like adding custom tokens, custom networks, and using it with your hardware wallet – please see the Enkrypt page in our Help Center or write to [email protected] for assistance.
Thank you for checking out our guide on using Enkrypt! Don't forget to download Enkrypt for a seamless web3 multichain wallet experience. We would love to hear from you on our social media about any guide suggestions you have for the future. Also, if you enjoy using mobile cryptocurrency wallets, give our MEW Mobile wallet a try, it's available on both iOS and Android platforms!