
Connect Ledger to Enkrypt to use more dApps and networks
Combine the security of a Ledger with the flexibility of a browser wallet like Enkrypt to access a wide range of networks and dApps on web3.

The variety of crypto wallets available to users has grown exponentially in recent years, but hardware wallets remain the highest standard of security, especially when it comes to holding larger amounts of assets.
The main drawback of hardware wallets is that they may not support all tokens, networks, or decentralized applications that a user wants to explore.
Luckily, there is a solution that allows hardware wallet users to have the best of both worlds – hardware security, and access to everything the crypto space has to offer. Enkrypt is a self-custody browser wallet that can be connected to a hardware wallet, so that transactions can be initiated in the browser extension and then confirmed on the hardware device.
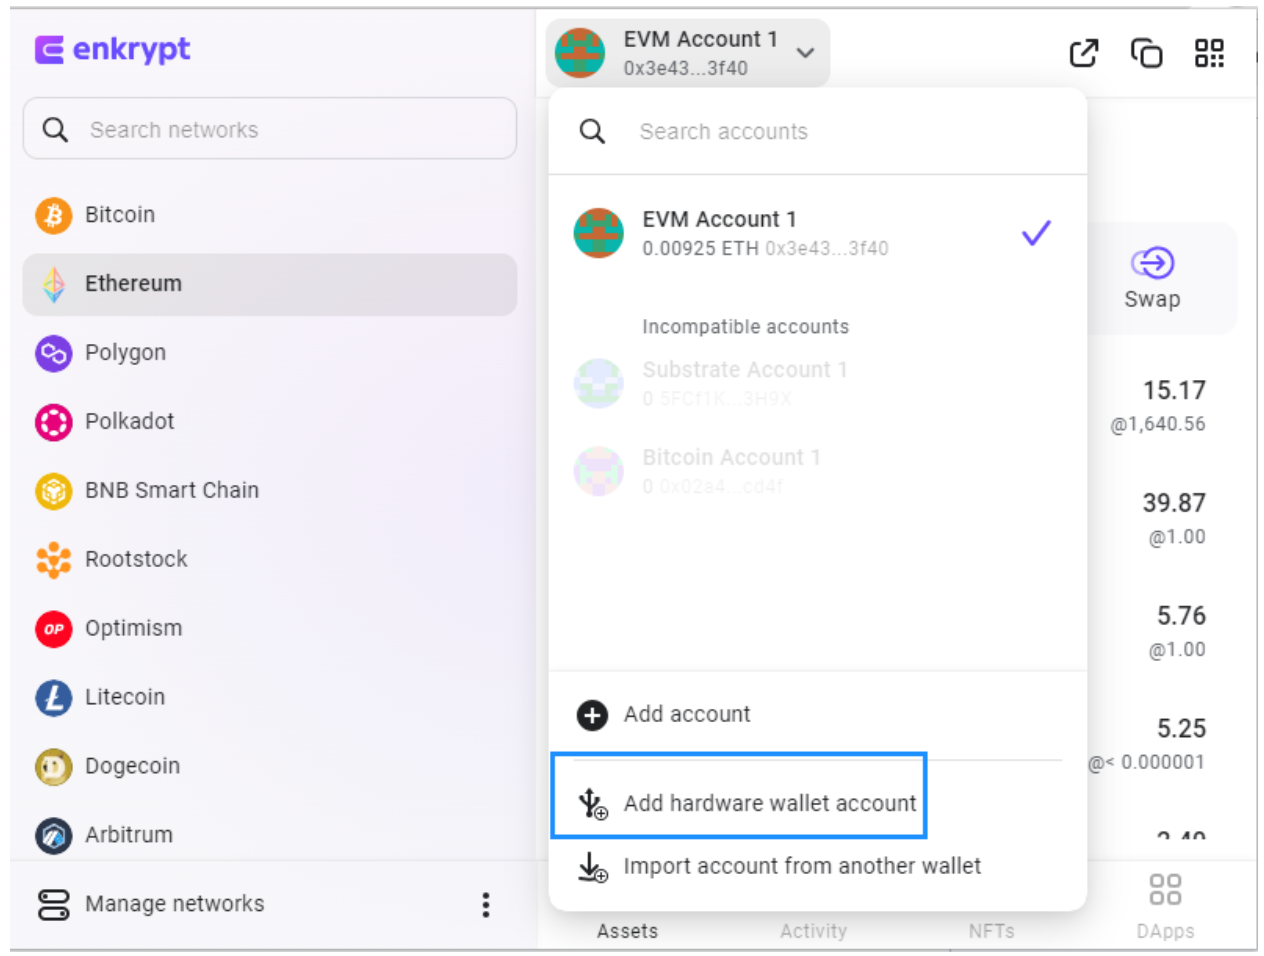
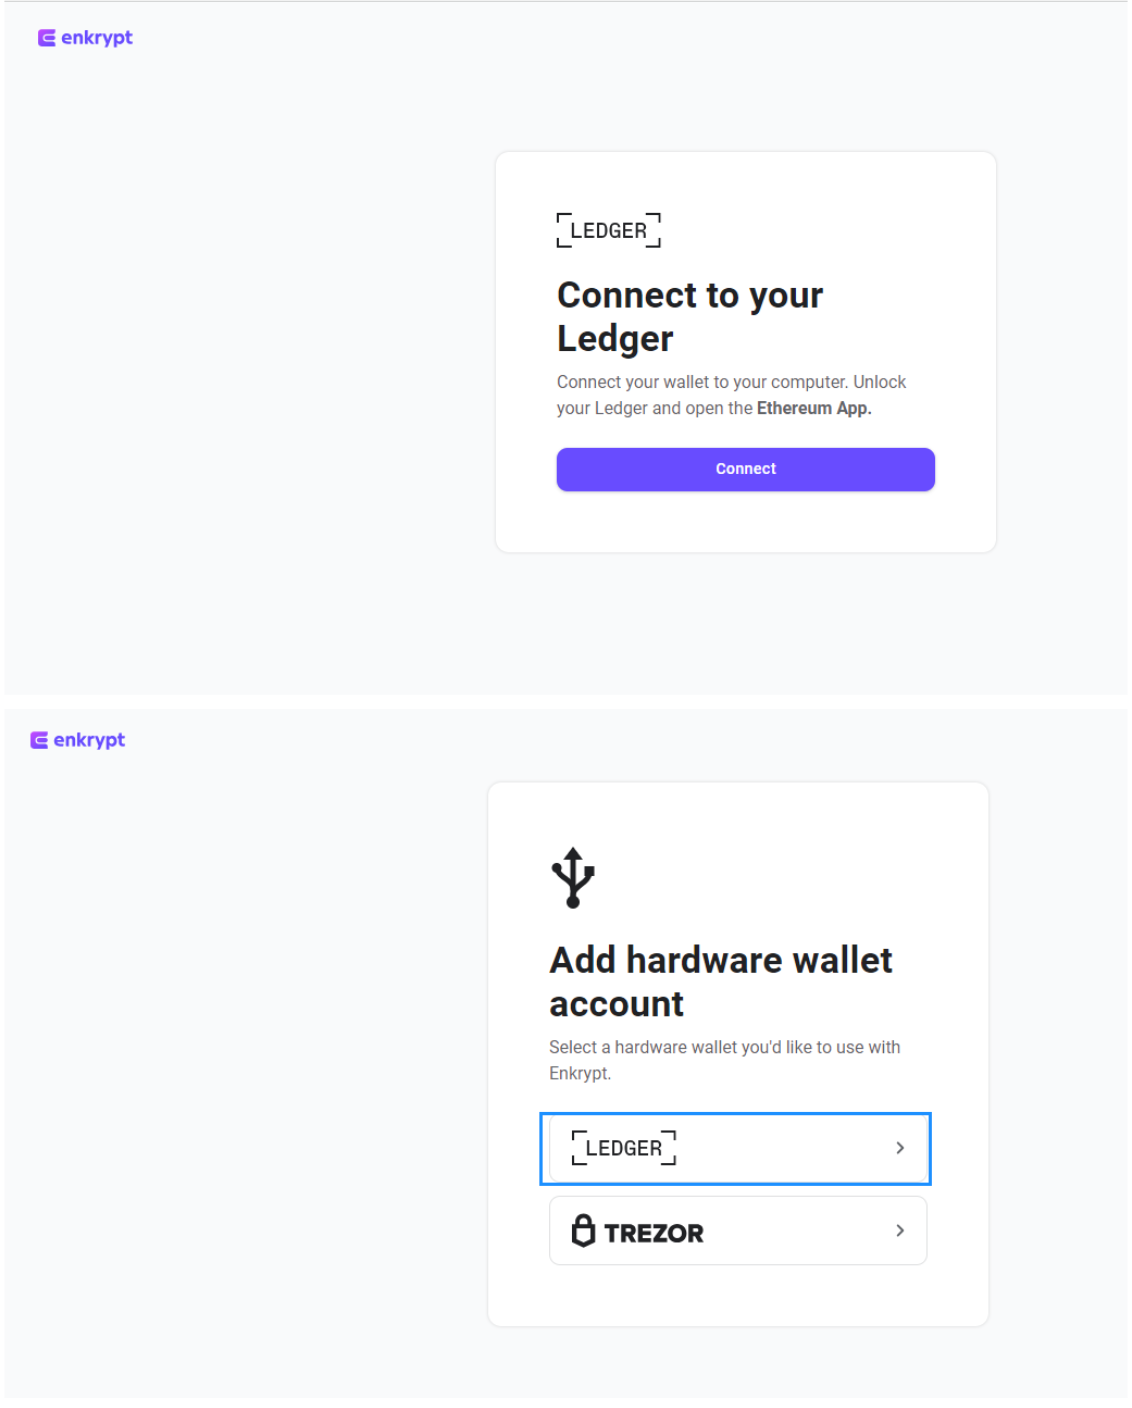
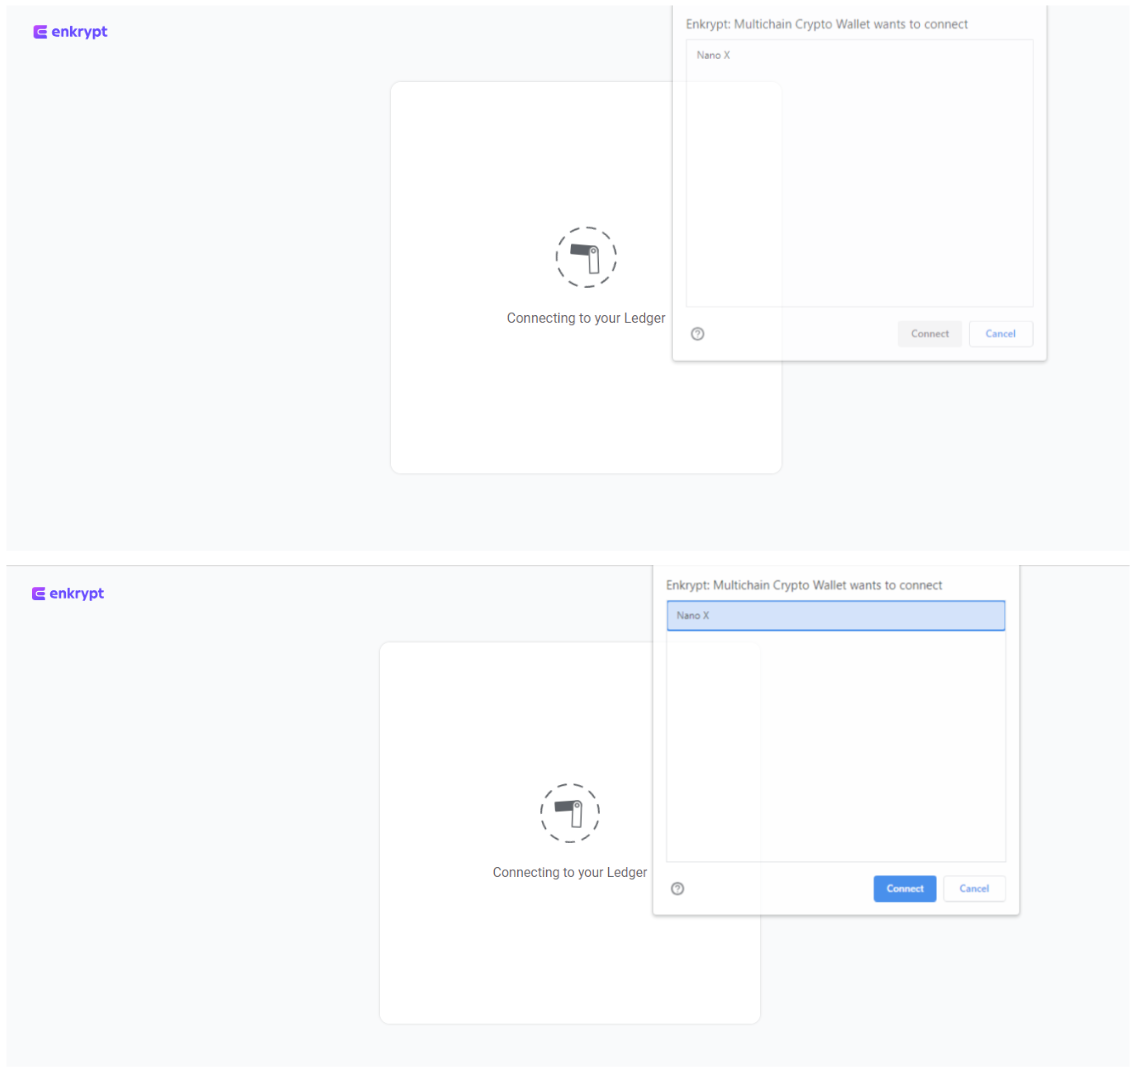
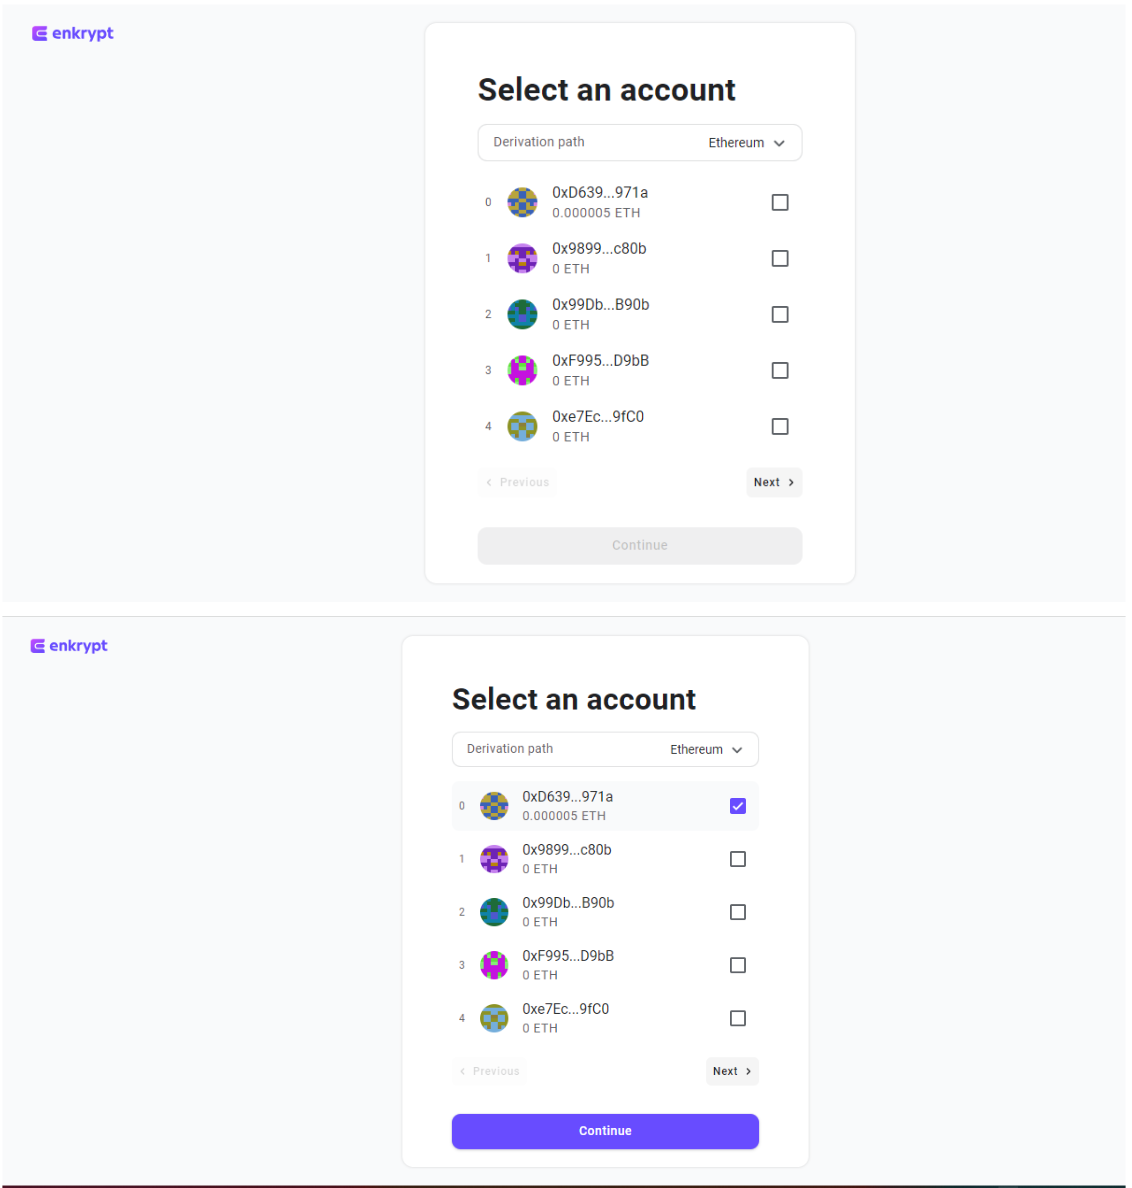
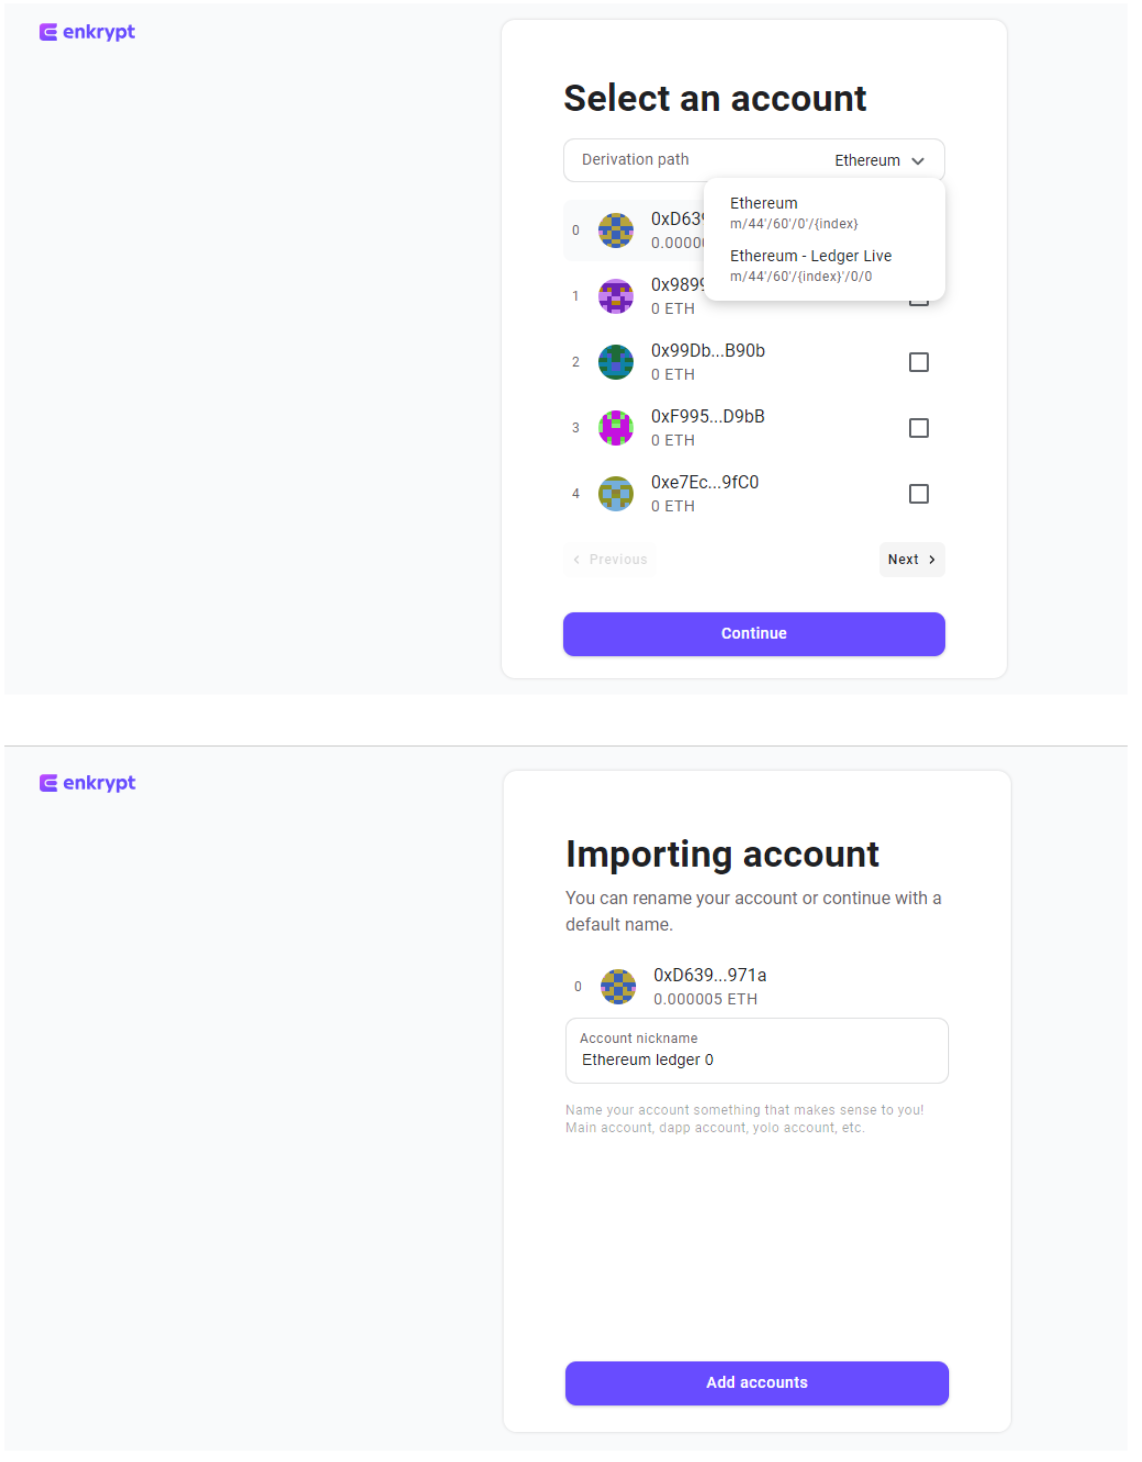
To start using your Ledger with Enkrypt, first click on the account dropdown and select ‘Add hardware wallet account’. Follow the prompts to connect your Ledger and select which address you want to use. Also note that Enkrypt offers two possible derivation paths for Ledger: Ethereum and Ethereum-Ledger Live. If you are not seeing your expected address in the selection, try switching to the other path.
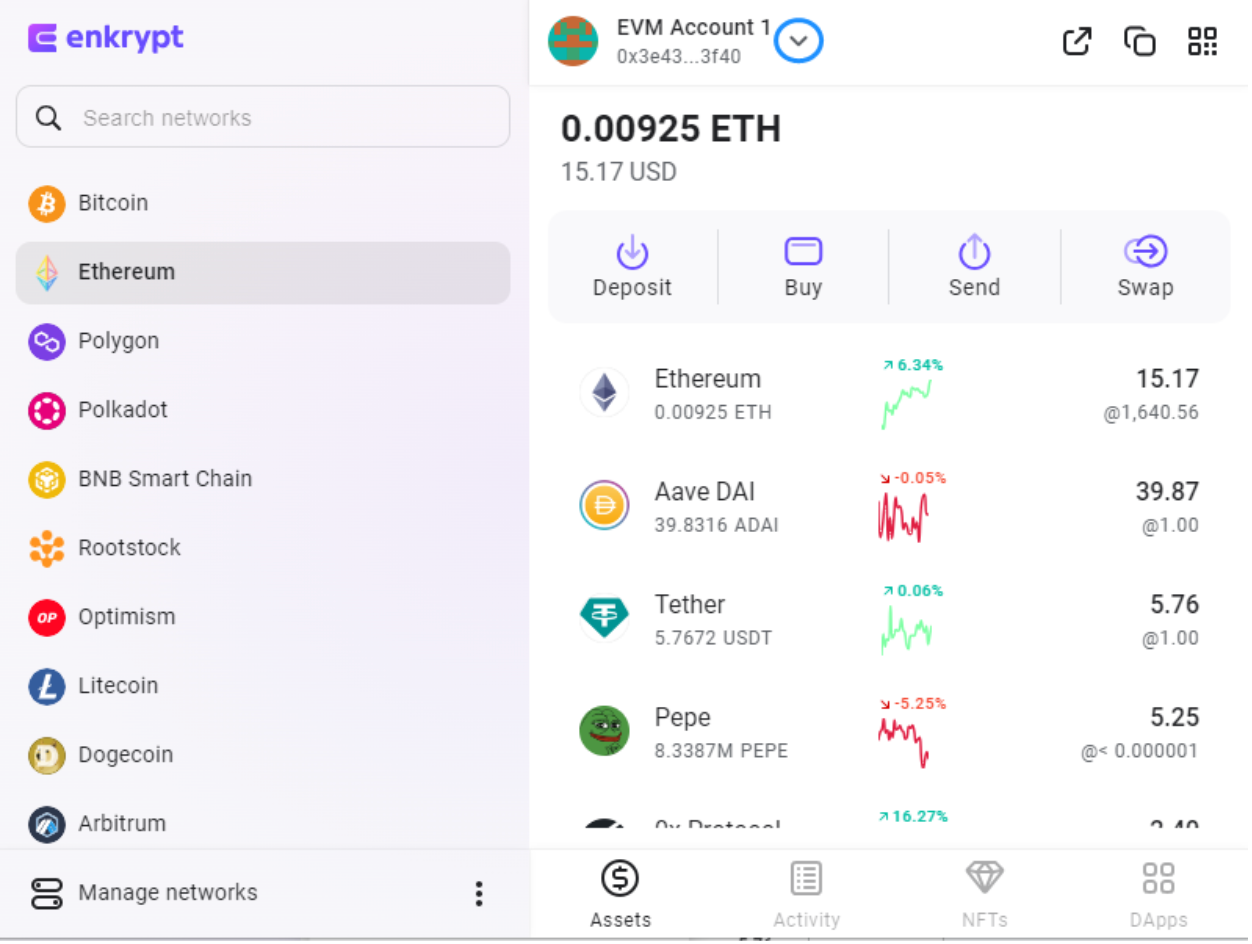

After you finish importing the account, you should see it in the list of available accounts in the dropdown in Enkrypt. Now, whenever you want to manage assets on your Ledger, or use those assets to interact with decentralized applications, make sure you have that account selected in Enkrypt.
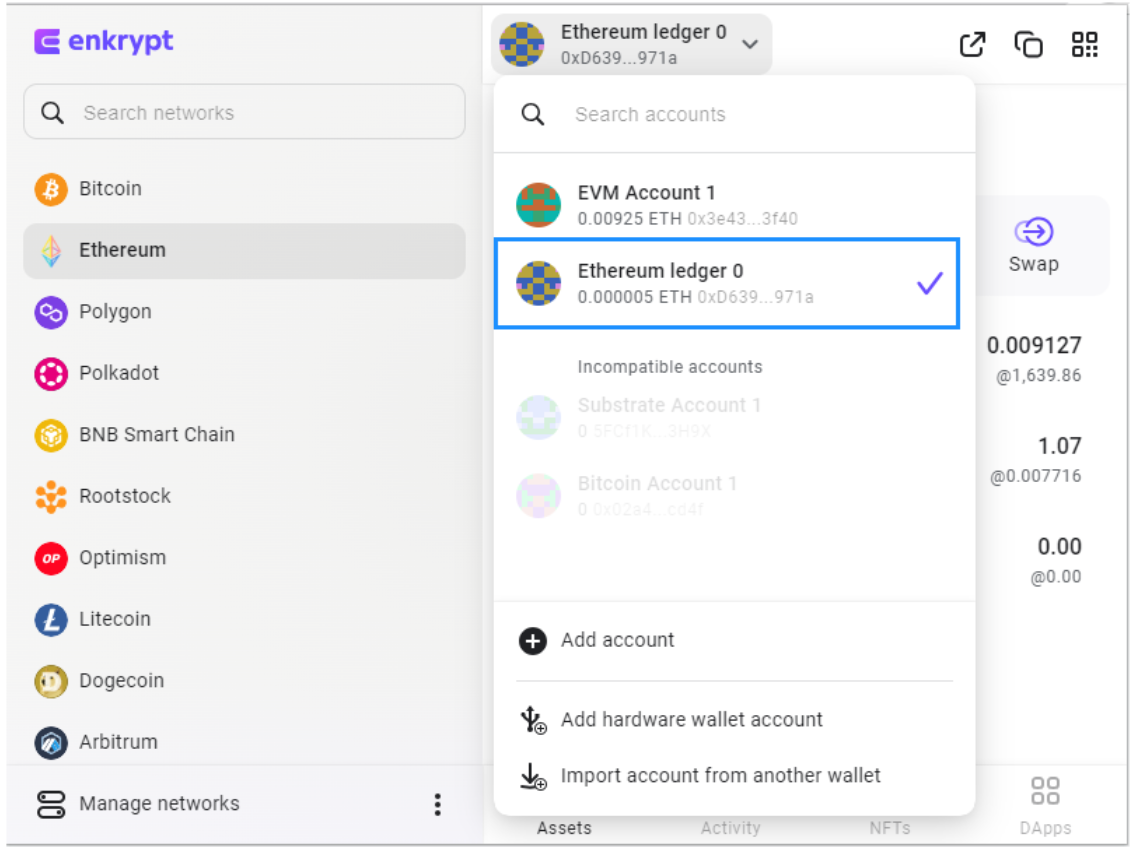
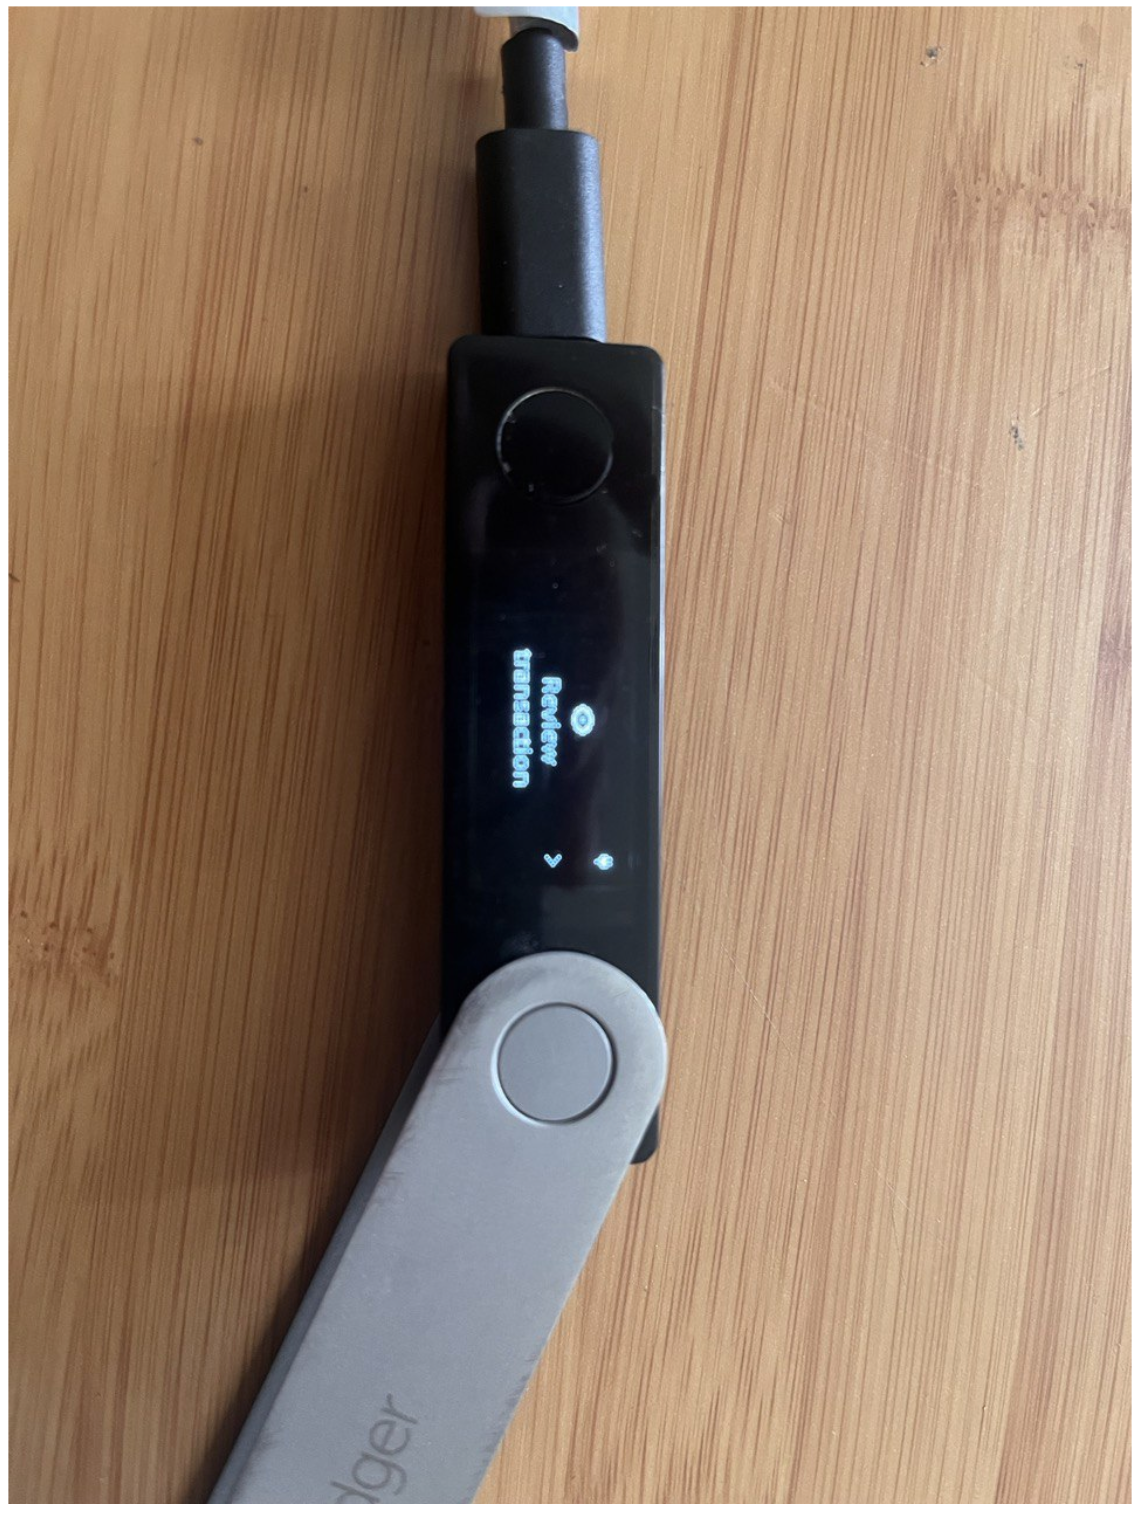
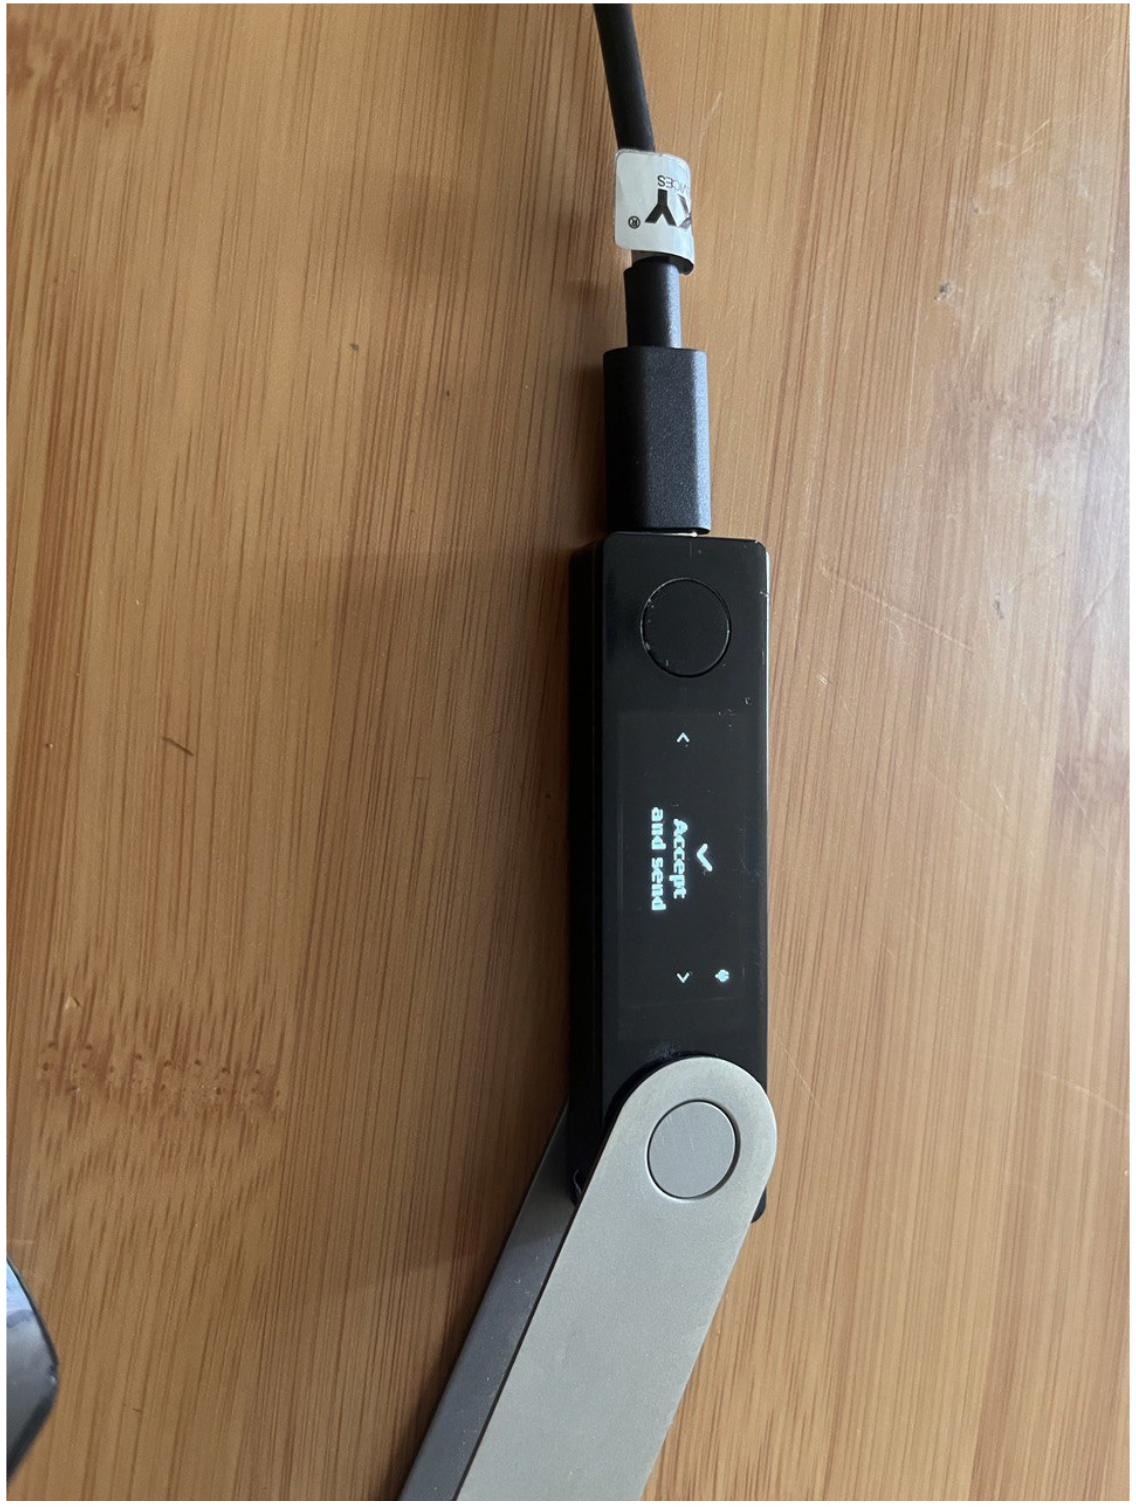
Keep in mind that in order to actually send any transactions, you will need to have your Ledger connected and confirm on the device. That's how using Enkrypt with Ledger allows you to get the best of both worlds – the unparalleled security of the hardware wallet and the flexibility of a multichain browser wallet.
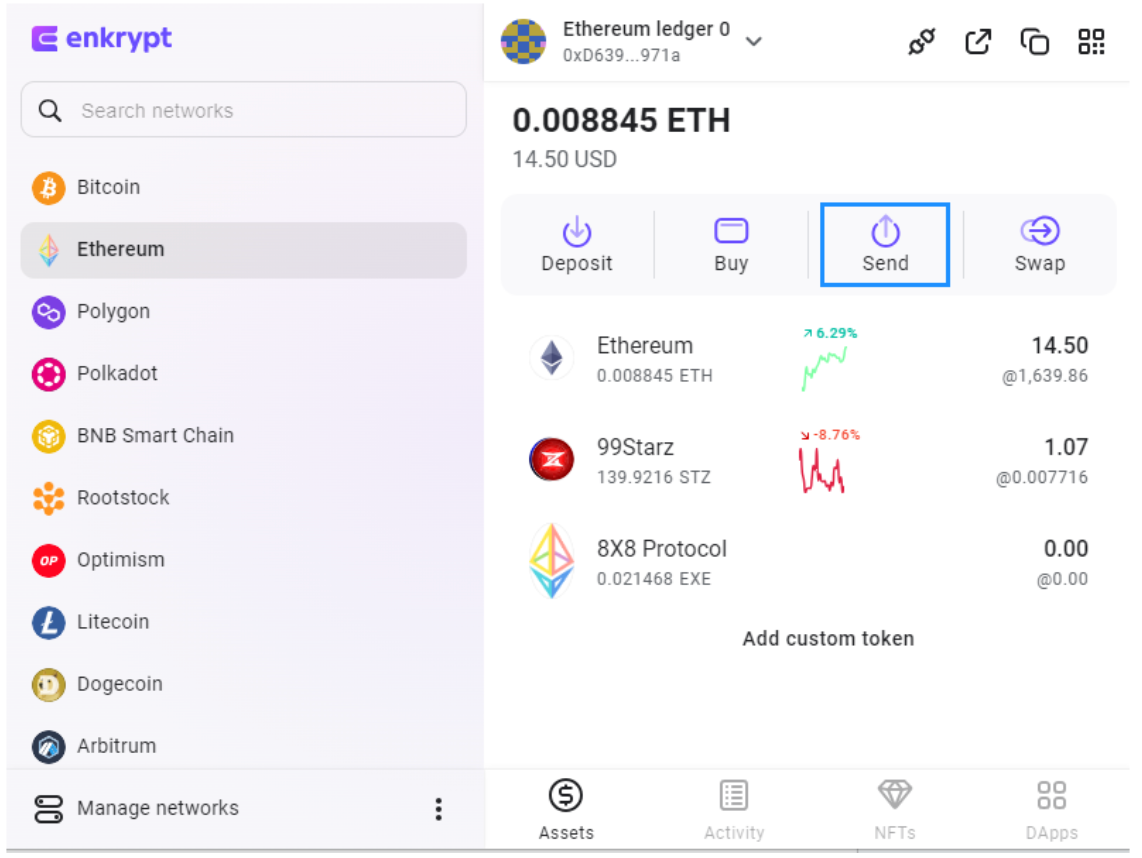
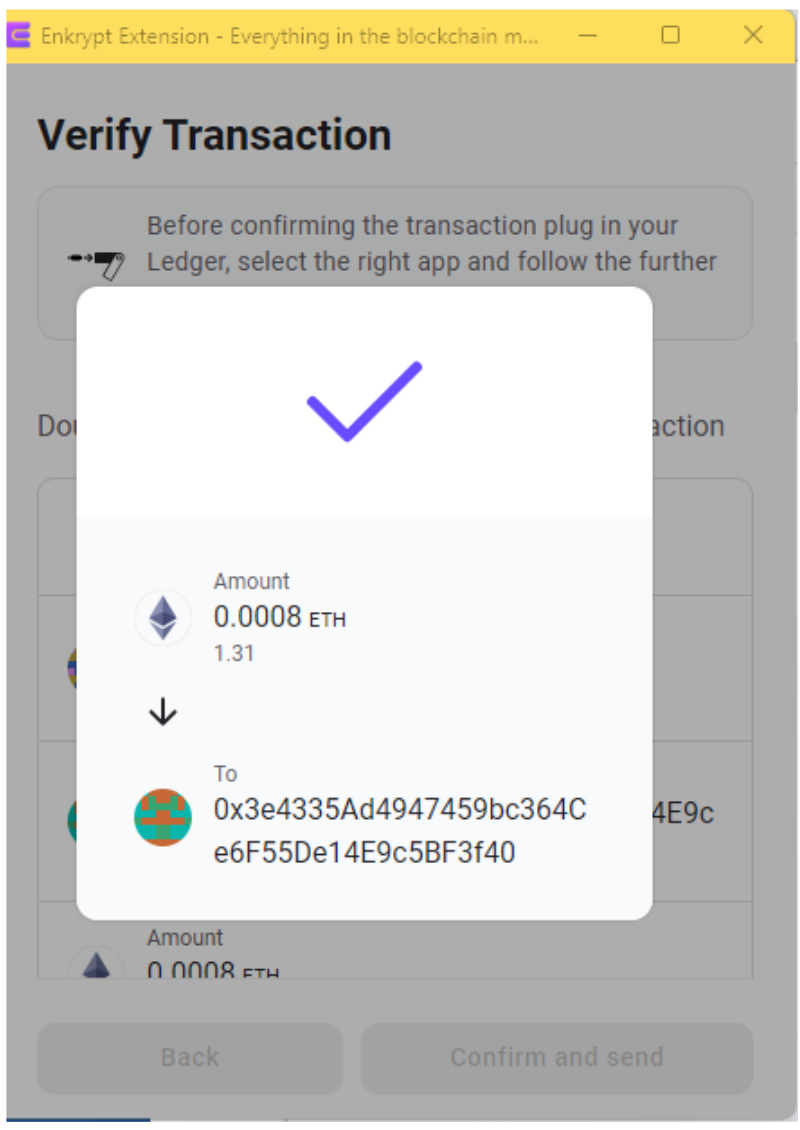
In the example below, we’ll be sending .008 ETH to another Ethereum address. While this is a basic transaction, any other transactions will follow the same pattern. Also, you'll be able to use your Ledger with other EVM compatible networks available in Enkrypt, as well as custom EVM networks that you can add manually, as long as you have the appropriate app selected on the Ledger itself. You can tell that a network is EVM compatible if, when you switch to it, the address of the account remains the same as the Ethereum address.
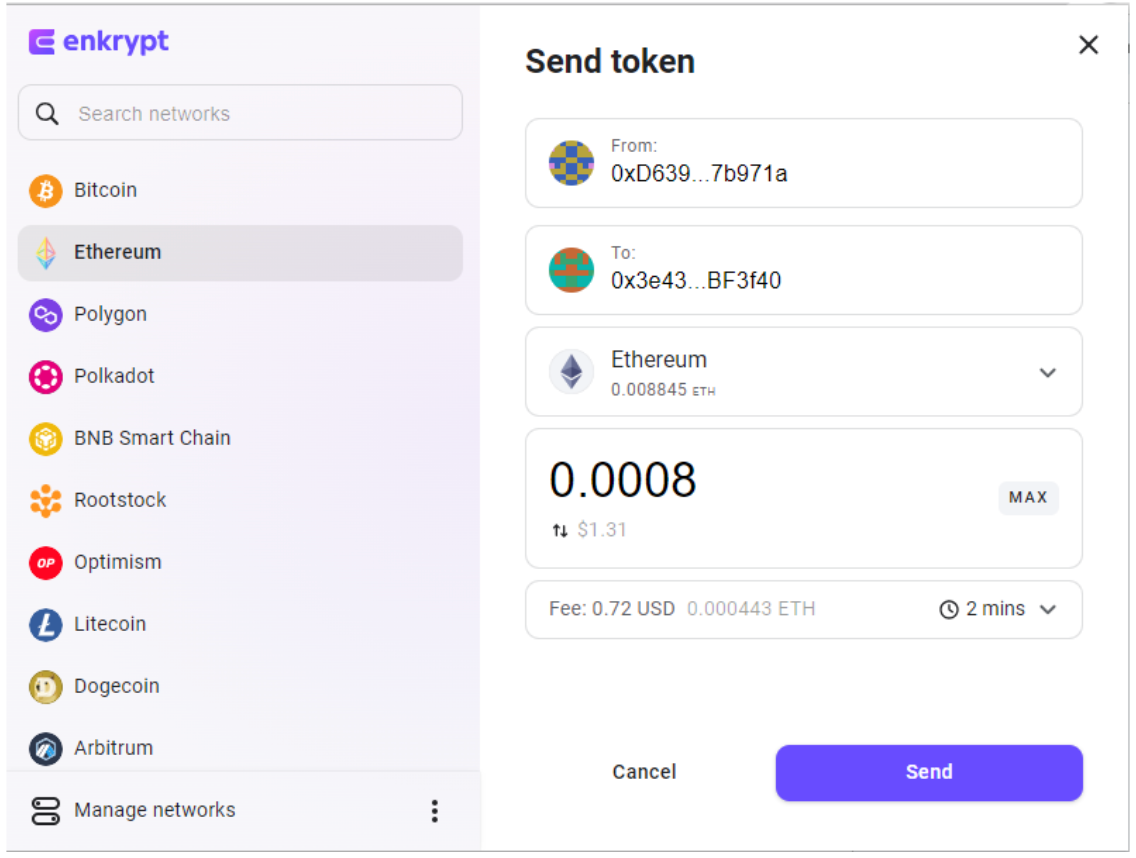
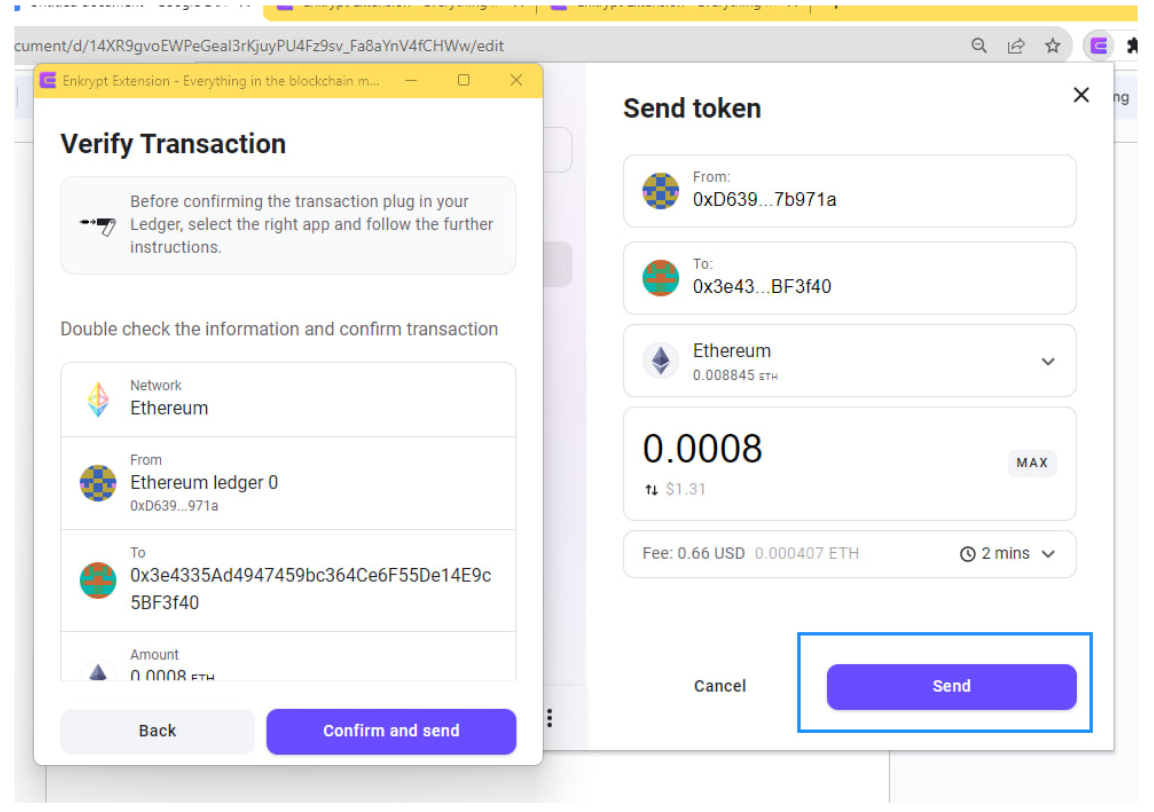
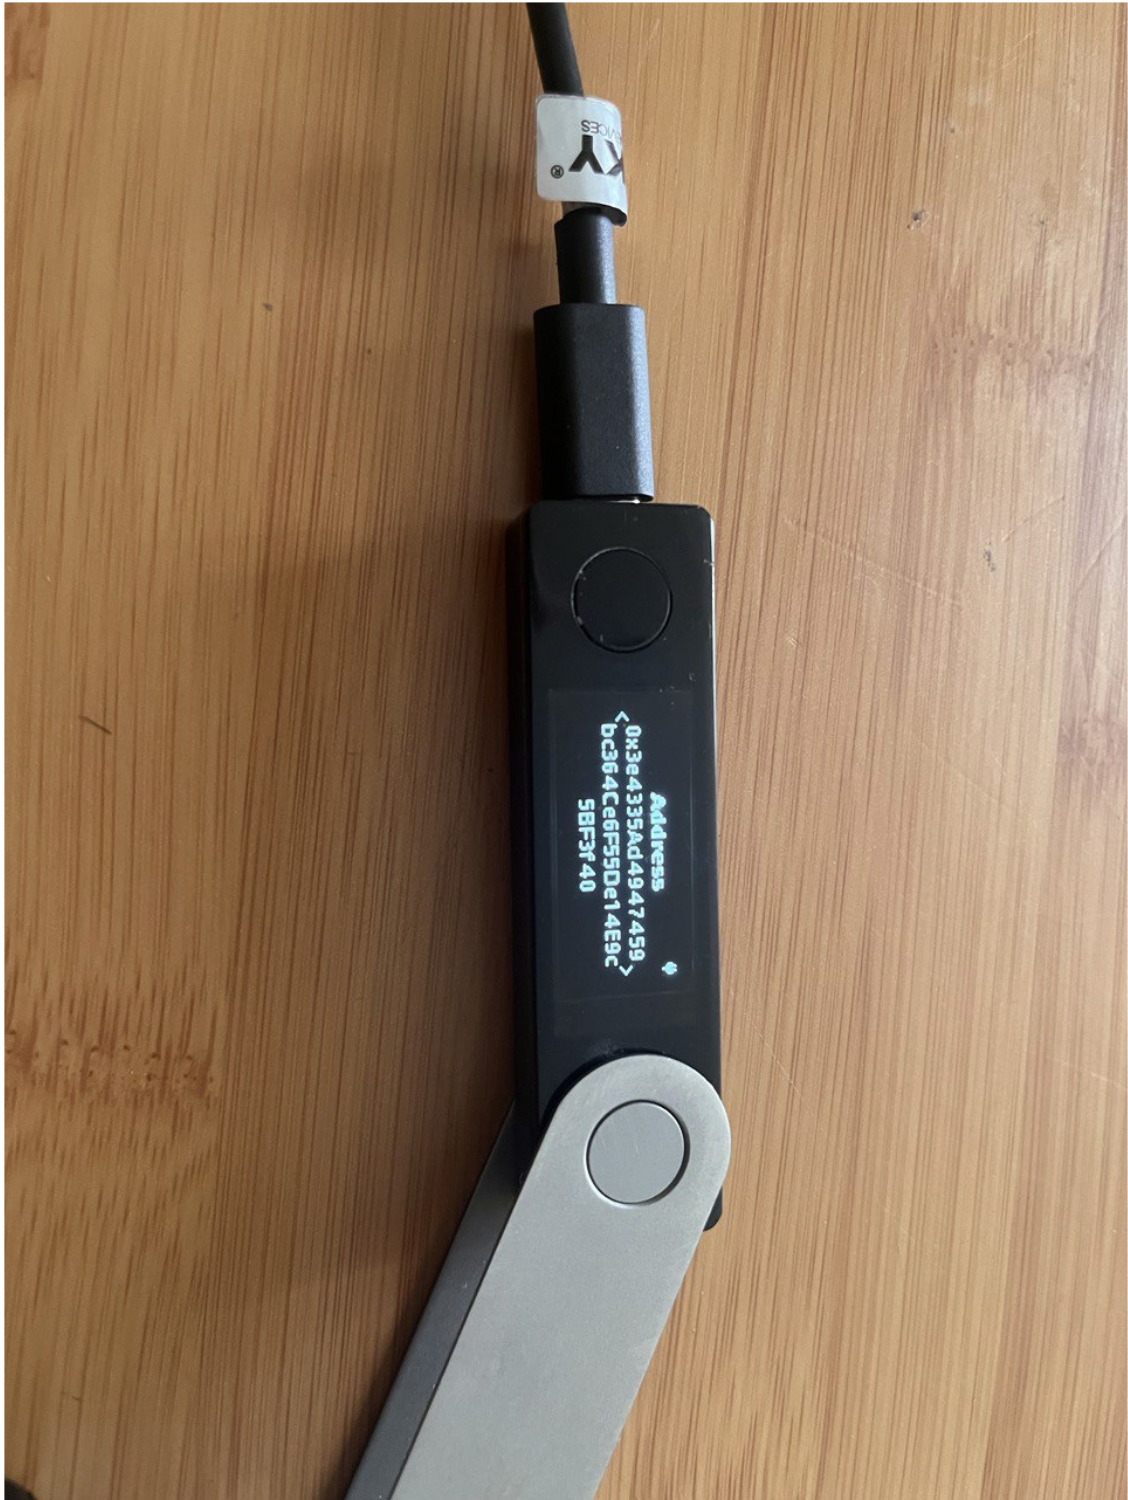
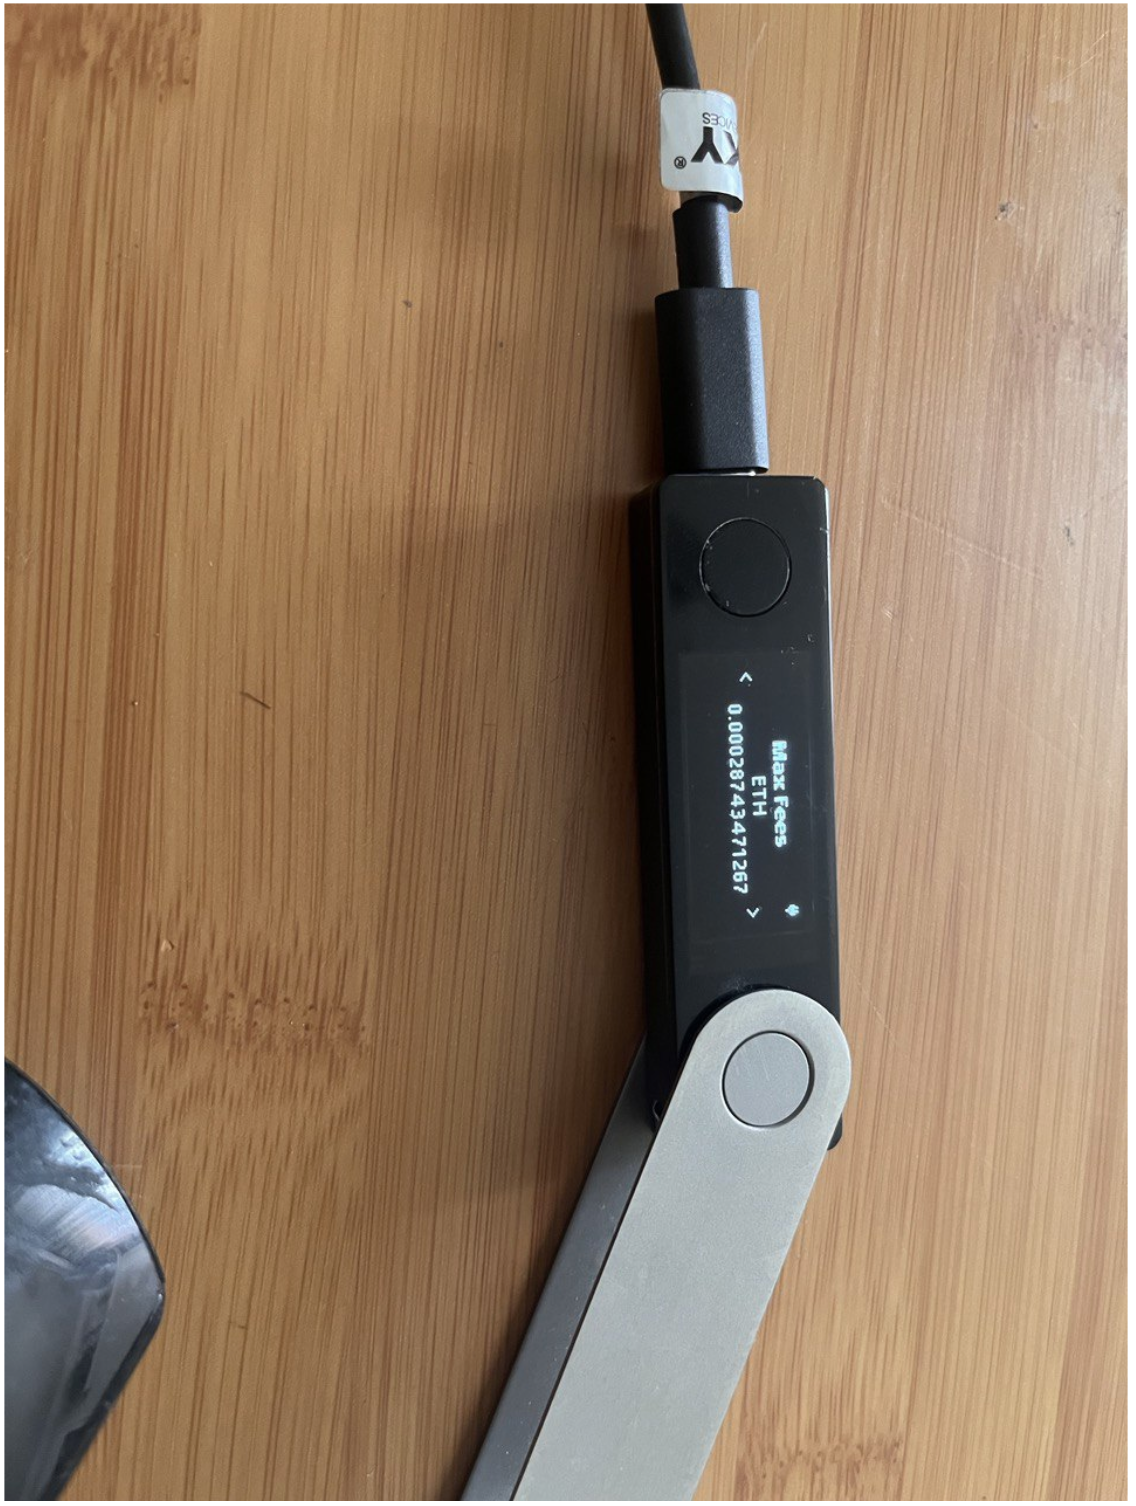
To send a transaction, select Send in Enkrypt, enter the address you are sending to, and the amount you want to send. After you click on Send at the bottom of the transaction window, you will be prompted to review all transaction details (double check the address!) and confirm on your Ledger.

Now that you have your Ledger connected to Enkrypt, take a look at some of the other guides on this blog for inspiration – they are aimed at Enkrypt users, but the only difference for Ledger will be that you'll have to confirm all transactions on the hardware device as well. Happy exploring!